Easy No Knead Crusty Rolls-Perfectly Simple Bread
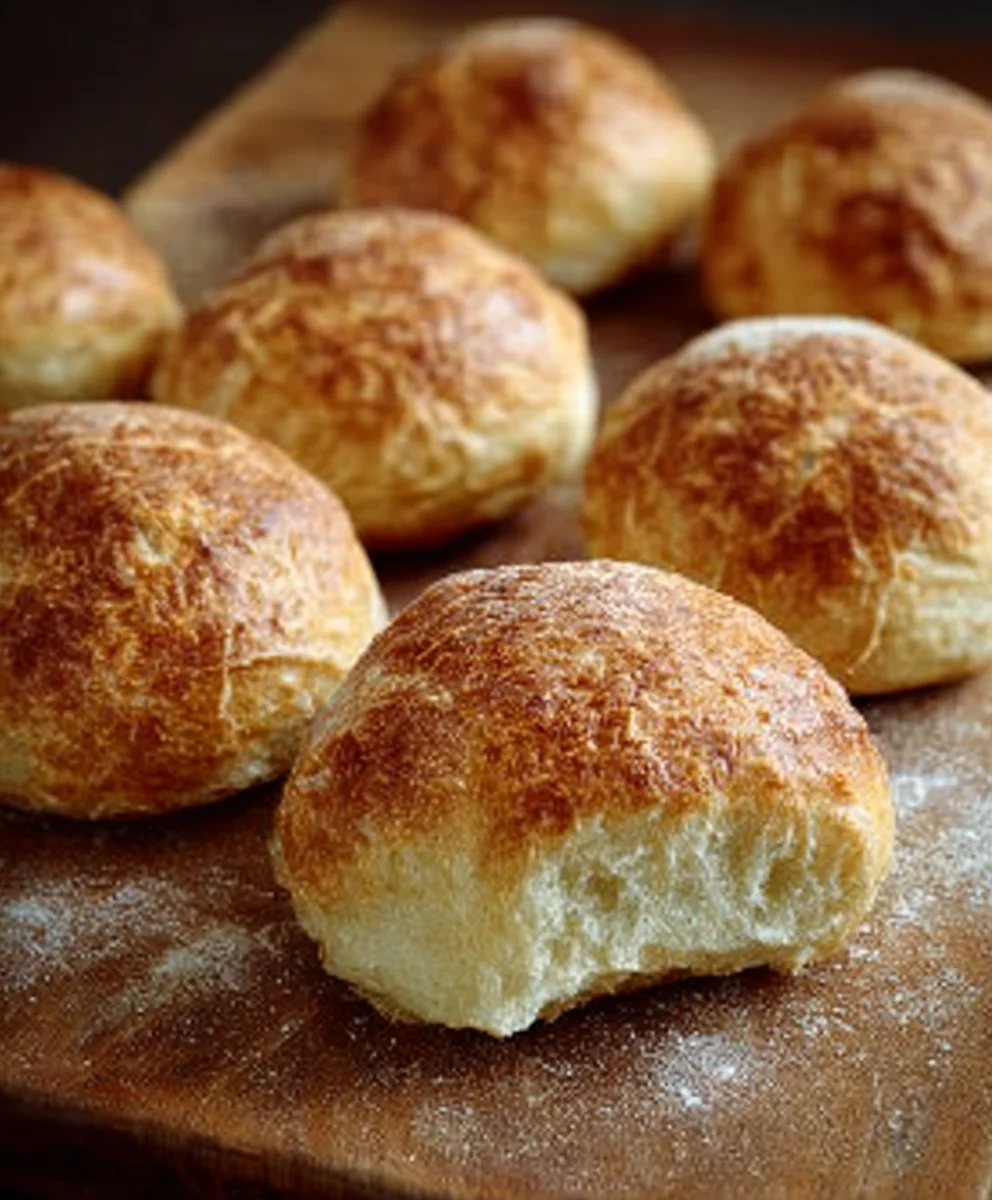
No Knead Crusty Rolls are the magical answer to your bread-baking dreams, promising a delightful crunch on the outside and a wonderfully soft, airy interior that will have everyone asking for seconds. There’s a certain comfort and satisfaction that comes from pulling a batch of freshly baked rolls from your oven, and these are no exception. People adore them because they offer that quintessential bakery-quality experience without the intimidating labor often associated with bread making. The secret to their allure lies in their simplicity and the remarkable texture achieved through a patient, low-effort process. These are not just any rolls; they are an accessible pathway to homemade perfection, proving that you don’t need to be a seasoned baker to create something truly special and incredibly delicious.
Why You’ll Love These No Knead Crusty Rolls
Simple Ingredients, Incredible Results
Ingredients:
- 4 cups all-purpose flour, plus more for dusting
- 1 ½ teaspoons instant yeast
- 1 ½ teaspoons fine sea salt
- 1 ½ cups lukewarm water (about 105-115°F)
- 1 tablespoon olive oil, plus more for greasing
Getting Started: The Dough Magic
Mixing the Dough
Let’s begin extract by combining the dry ingredients for our No Knead Crusty Rolls. In a large mixing bowl, whisk together the 4 cups of all-purpose flour, 1 ½ teaspoons of instant yeast, and 1 ½ teaspoons of fine sea salt. The instant yeast is fantastic because it dissolves directly into the flour, meaning no need for a separate blooming step. The salt is crucial for flavor development and controlling the yeast’s activity, ensuring a perfectly textured crum extractb.
Now, it’s time to introduce the liquid. Pour in the 1 ½ cups of lukewarm water. The water temperature is important here; too hot and you risk killing the yeast, too cold and it won’t activate efficiently. Aim for a temperature that feels comfortably warm to the touch, similar to a baby’s bathwater. If you don’t have a thermometer, just err on the side of caution and make it slightly warmer than room temperature.
Add the 1 tablespoon of olive oil. This adds a subtle richness and helps to keep the dough from sticking too much, though with this no-knead method, some stickiness is expected and beneficial. Use a sturdy spoon or a rubber spatula to mix everything together until just combined. Don’t worry about developing gluten or achieving a smooth ball of dough at this stage. You’re looking for a shaggy, sticky mass with no dry pockets of flour remaining. This is the beauty of the no-knead approach – minimal effort, maximum reward!
The Long, Slow Fermentation
Once your ingredients are roughly combined, cover the bowl tightly with plastic wrap or a damp kitchen towel. Find a warm, draft-free spot in your kitchen for the dough to rest and rise. An oven that’s been turned on for just a minute and then turned off is often an ideal environment, but a countertop will suffice if your kitchen is naturally warm. Let the dough ferment for at least 12 hours, and up to 18 hours. This extended fermentation period is what develops the incredible flavor and airy texture of our No Knead Crusty Rolls. During this time, the yeast will work its magic, producing carbon dioxide that creates those lovely air pockets and developing complex flavor notes that you simply can’t achieve with a quick, kneaded dough.
Shaping the Rolls
Preparing for Shaping
After the long fermentation, your dough will have more than doubled in size and will be covered in bubbles. It will be quite sticky and wet, which is exactly what we want. Lightly flour a clean work surface. Don’t be tempted to add too much extra flour; we want to keep the dough hydrated. You can also lightly oil your hands to help manage the stickiness. Gently scrape the dough out of the bowl onto the floured surface. It will spread out a bit, and that’s perfectly fine. Resist the urge to punch it down or knead it.
Dividing and Forming
Using a bench scraper or a sharp knife, divide the dough into 6 to 8 equal portions. For No Knead Crusty Rolls, we aim for rolls that are roughly the size of a large muffin. Gently shape each portion into a round ball. The key here is to be gentle and work quickly. Try to create a little surface tension by tucking the edges underneath each portion, but don’t overwork it. The goal isn’t a perfectly smooth ball, but rather a rough, cohesive shape. You can use your floured hands or lightly oiled hands to do this.
Once shaped, you can either place them on a piece of parchment paper for a second rise, or if you have them, place them directly into well-oiled muffin cups for even more defined shaping and a softer bottom. If you’re opting for parchment paper, make sure to leave plenty of space between the rolls as they will continue to expand. For this method, I find placing them on parchment paper and then gently pressing them down slightly with a floured hand helps to create that characteristic slightly flattened, crusty roll shape. This gentle pressing also helps to keep the air pockets from becoming too large and collapsing during baking.
Baking to Perfection
Preheating and Preparing for Baking
About 30 minutes before you’re ready to bake, preheat your oven to 450°F (230°C). If you have a baking stone or steel, place it in the oven during preheating. This will help create a wonderfully crisp bottom crust for our No Knead Crusty Rolls. If you don’t have a baking stone or steel, a heavy-duty baking sheet will work, just ensure it’s fully preheated as well. I also like to place a shallow metal pan on the bottom rack of the oven during preheating. This pan will be used to create steam, which is essential for achieving a beautiful, crackly crust.
The Steam Injection
Once the oven is fully preheated, it’s time to add the steam. Carefully (and I mean very carefully, as there will be a lot of hot steam) pour about 1 cup of hot water into the preheated pan on the bottom rack. Quickly close the oven door to trap the steam inside. Immediately place your shaped rolls into the oven. If you’re using parchment paper, you can carefully slide the entire sheet onto the preheated baking stone or steel. If you’re using muffin tins, place those on the middle rack.
Baking Time and Finish
Bake the rolls for 20-25 minutes, or until they are deeply golden brown and sound hollow when tapped on the bottom. The steam introduced agin extracthe beginning helps the rolls to expand beautifully and creates that coveted crispy crust. After about 15 minutes of baking, carefully remove the steam pan from the oven. This allows the crust to dry out and become truly crisp. Continue baking for the remaining time, allowing the rolls to achieve their perfect golden hue.
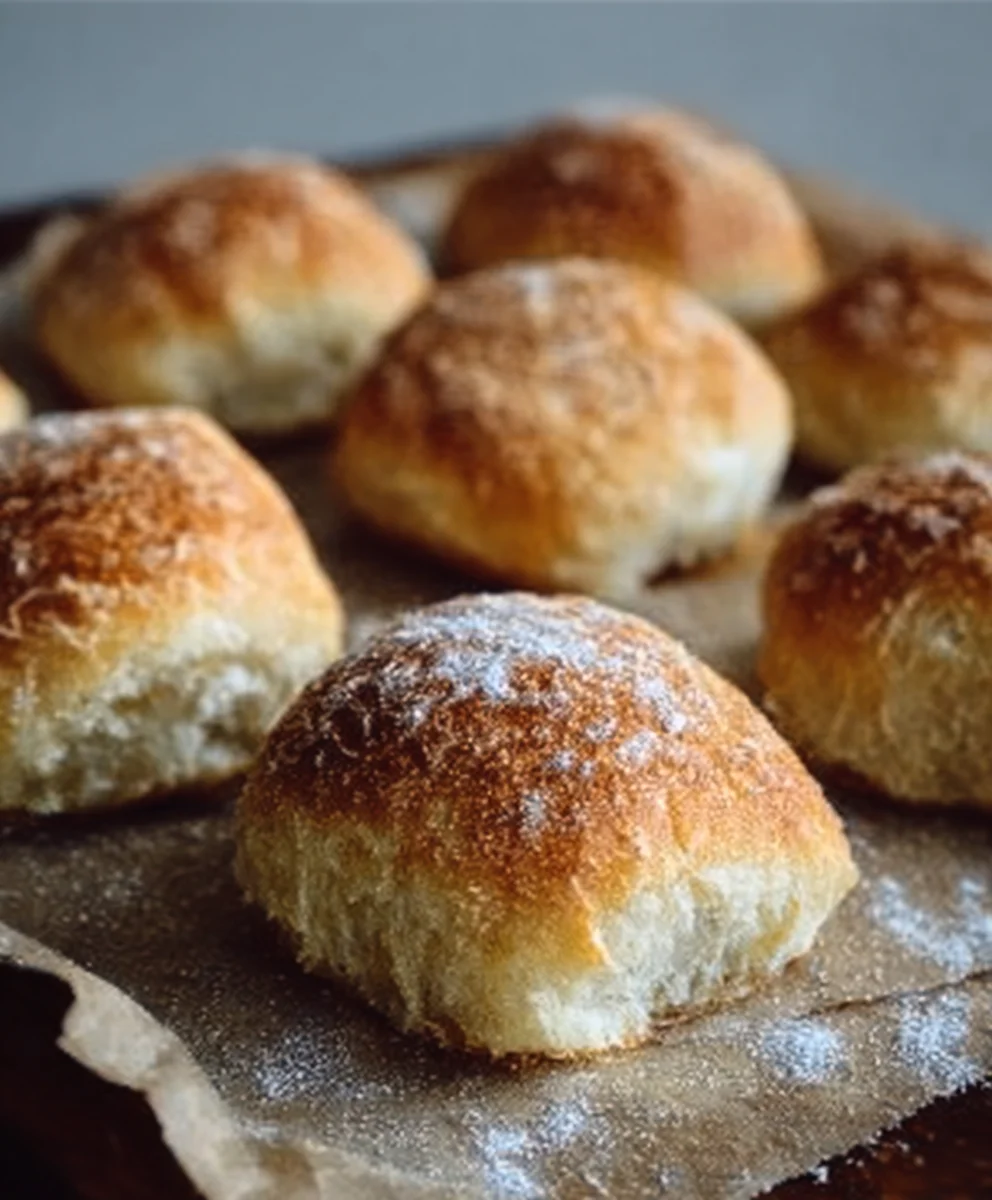
Once baked, remove the No Knead Crusty Rolls from the oven and transfer them to a wire rack to cool. Resist the urge to cut into them immediately! Letting them cool slightly allows the internal structure to set, ensuring a delightful chew. You’ll notice the crust crackling as they cool – a sure sign of success!
Conclusion:
You’ve done it! You’ve successfully created a batch of delicious No Knead Crusty Rolls. I hope you enjoyed the simplicity and satisfaction of this recipe. The aroma of freshly baked bread filling your kitchen is truly unparalleled, and the incredible texture and flavor of these rolls make them a rewarding endeavor. They are wonderfully versatile and can elevate any meal, from a casual weeknight dinner to a special gathering.
For serving suggestions, I love tearing into these No Knead Crusty Rolls warm, straight from the oven, with a generous smear of good quality butter or a drizzle of olive oil. They are the perfect accompaniment to soups, stews, salads, or even just enjoyed on their own. Don’t be afraid to experiment with variations! You can add fresh herbs like rosemary or thyme to the dough, or sprinkle some seeds on top before baking for extra flavor and crunch.
I encourage you to make this recipe again and again, perhaps even adjusting it to your personal preferences. Baking bread doesn’t have to be intimidating, and these No Knead Crusty Rolls are proof of that. Enjoy the process and savor the delicious results!
Frequently Asked Questions:
Can I freeze these No Knead Crusty Rolls?
Yes, absolutely! Once the No Knead Crusty Rolls have cooled completely, you can store them in an airtight container or a freezer bag for up to 2-3 months. To reheat, you can thaw them at room temperature and then warm them in a low oven for a few minutes until they are crusty again.
What kind of flour is best for No Knead Crusty Rolls?
While you can use all-purpose flour, a bread flour will yield the best results for these No Knead Crusty Rolls due to its higher protein content, which contributes to a better crust and chewier texture. However, all-purpose flour will still produce delicious rolls!
Easy No Knead Crusty Rolls-Perfectly Simple Bread
Simple no-knead bread rolls that are perfectly crusty and easy to make. Ideal for beginners and busy bakers.
Ingredients
-
4 cups all-purpose flour, plus more for dusting
-
1 ½ teaspoons instant yeast
-
1 ½ teaspoons fine sea salt
-
1 ½ cups lukewarm water (about 105-115°F)
-
1 tablespoon olive oil, plus more for greasing
Instructions
-
Step 1
In a large mixing bowl, whisk together the flour, instant yeast, and sea salt. Pour in the lukewarm water and olive oil. Mix with a sturdy spoon or spatula until just combined, forming a shaggy, sticky mass with no dry pockets of flour. -
Step 2
Cover the bowl tightly with plastic wrap or a damp kitchen towel. Let the dough ferment in a warm, draft-free spot for at least 12 hours, and up to 18 hours. The dough will more than double in size and be covered in bubbles. -
Step 3
Lightly flour a clean work surface or lightly oil your hands. Gently scrape the dough out of the bowl. Divide the dough into 6 to 8 equal portions. Gently shape each portion into a round ball, creating slight surface tension by tucking edges underneath. Place on parchment paper, leaving space between rolls, and gently press them down slightly. -
Step 4
About 30 minutes before baking, preheat your oven to 450°F (230°C). Place a baking stone or steel (if using) and a shallow metal pan on the bottom rack. Once preheated, carefully pour about 1 cup of hot water into the pan to create steam, then quickly close the oven door. -
Step 5
Immediately place the shaped rolls into the oven on the preheated stone or steel. Bake for 20-25 minutes, or until deeply golden brown and hollow-sounding when tapped. After 15 minutes, carefully remove the steam pan to allow the crust to crisp up. Remove from oven and transfer to a wire rack to cool.
Important Information
Nutrition Facts (Per Serving)
It is important to consider this information as approximate and not to use it as definitive health advice.
Allergy Information
Please check ingredients for potential allergens and consult a health professional if in doubt.