Easy Mini Apple Pies-Perfectly Sweet & Simple
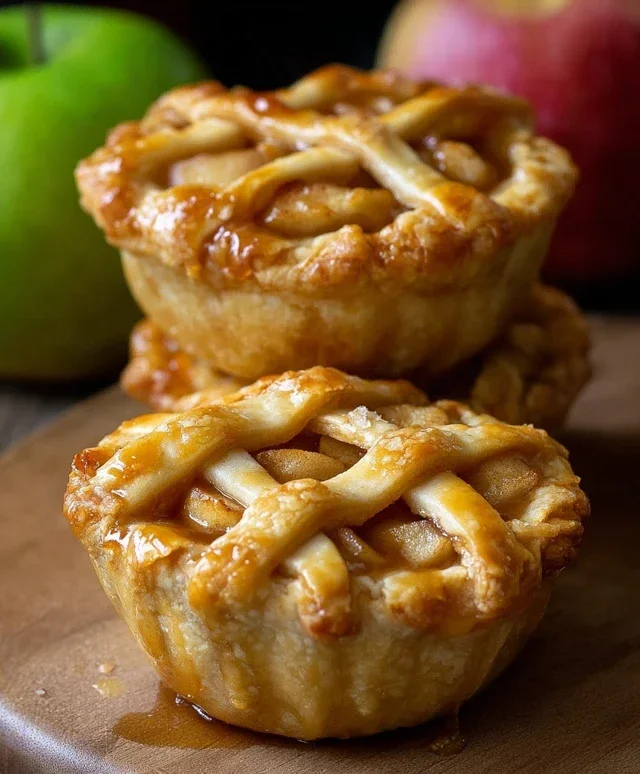
Mini apple pies are more than just a dessert; they are little pockets of pure autumnal joy. There’s something undeniably comforting and nostalgic about the warm spice of cinnamon mingling with tender, sweet apples, all encased in a flaky, golden crust. We all have those memories, don’t we? Perhaps of baking with a grandparent, or the irresistible aroma wafting from a bakery window. These mini apple pies capture that magic in an individual, perfectly portioned package, making them ideal for sharing (or not!). What makes these mini apple pies truly special is their inherent charm and versatility. They’re perfect for a cozy afternoon treat, a delightful addition to a holiday spread, or even a sweet surprise for a packed lunch. Get ready to fall in love with these delightful little treasures.
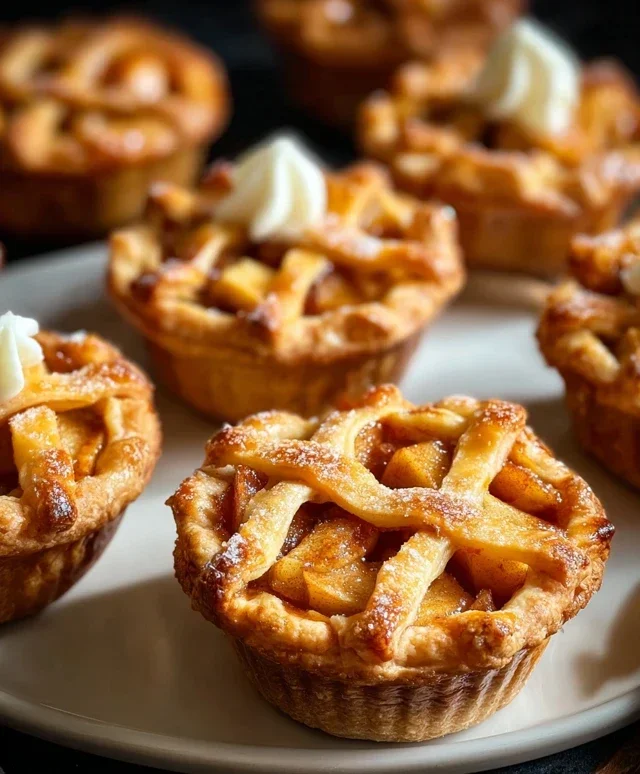
Mini Apple Pies
There’s something undeniably charming and delightful about mini apple pies. They offer all the comforting, spiced goodness of a traditional apple pie, but in perfectly portioned, individual servings. These little bundles of joy are perfect for potlucks, holiday gatherings, or simply as a sweet treat for yourself. The crisp, flaky crust encasing tender, warmly spiced apples is pure bliss. Making them is surprisingly straightforward, and the results are always a crowd-pleaser. Get ready to impress your friends and family with these adorable and delicious mini pies!
Ingredients:
Preparing the Mini Pies
Let’s get started on creating these little masterpieces. The beauty of mini pies is their adaptability. You can use a muffin tin, a mini pie pan set, or even just cut out circles and bake them on a baking sheet. For this recipe, we’ll assume you’re using a standard muffin tin, which is a readily available kitchen staple.
Step 1: Preparing the Apple Filling
Begin extract by washing and peeling your Granny Smith apples. These tart apples are fantastic for pies because they hold their shape well when baked and offer a lovely counterpoint to the sweetness. Chop them into small, bite-sized pieces, aiming for about 1/2-inch cubes. Place the chopped apples in a medium-sized bowl. In a separate small bowl, whisk together the granulated sugar, light brown sugar, ground cinnamon, ground nutmeg, and all-purpose flour. The flour acts as a thickener, ensuring your apple filling isn’t too watery. Pour this dry mixture over the chopped apples and add the vanilla extract. Gently toss everything together until the apples are evenly coated with the spice and sugar mixture. Set this aside for a few minutes to allow the flavors to meld and the apples to start releasing some of their juices.
Step 2: Preparing the Pie Crusts
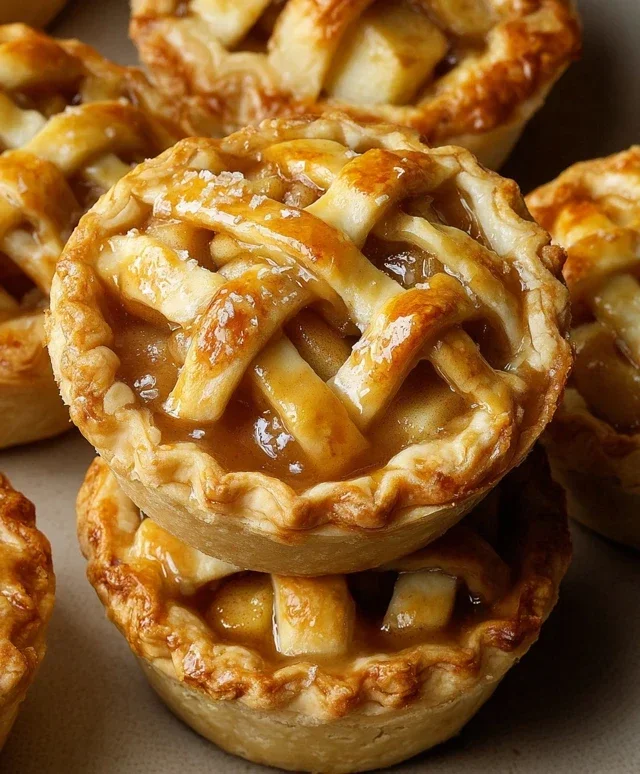
Unroll your two refrigerated pie crusts on a lightly floured surface. You’ll need to cut circles from these crusts that are large enough to fit into your muffin tin cups and come up the sides. A standard cookie cutter or a small bowl with a rim can be used as a guide. Aim for circles that are about 4-5 inches in diameter. You’ll likely get 6 circles from each crust, so you should have enough to make 12 mini pies. Carefully press each circle of dough into the individual cups of your muffin tin, gently coaxing it to fit snugly against the bottom and sides. Don’t worry if it’s not perfectly smooth; a little rustic charm is part of the appeal. You can use any dough scraps to cut out decorative shapes for the tops of your pies, like small leaves or lattice strips, if you’re feeling ambitious.
Step 3: Assembling the Mini Pies
Now it’s time to fill those little crusts! Spoon the prepared apple filling evenly into each of the dough-lined muffin tin cups. Don’t overfill them, as the apples will soften and reduce slightly during baking. Leave a little bit of space at the top to accommodate the pie crust tops. If you’ve cut out decorative shapes, now is the time to place them on top of the apple filling. If you’re opting for a full top crust, you’ll need to cut out 12 more circles of dough, slightly smaller than the bottom crusts, and place them over the filling. Crimp the edges of the top and bottom crusts together to seal the pies. If you’re using a full top crust, make sure to cut a few small vents in the top with a sharp knife to allow steam to escape during baking. This is crucial for preventing the crust from becoming soggy.
Step 4: The Egg Wash and Finishing Touches
In a small bowl, whisk together the egg and the tablespoon of water. This mixture is your egg wash. Using a pastry brush, gently brush the tops of each mini pie with the egg wash. This step is purely for aesthetics; it will give your pies a beautiful golden-brown sheen as they bake. If you have sanding sugar, now is the perfect time to sprinkle a little over the egg-washed tops. This adds a delightful sparkle and a slight crunch. The sanding sugar is optional, but it truly elevates the presentation of these already charming desserts.
Step 5: Baking the Mini Pies
Preheat your oven to 375 degrees Fahrenheit (190 degrees Celsius). Place the muffin tin on a baking sheet (this will catch any potential drips and make it easier to handle). Bake for 25-30 minutes, or until the crust is golden brown and the apple filling is bubbly and tender. The exact baking time will depend on your oven and the size of your mini pies. You can check for doneness by carefully inserting a small knife into an apple piece; it should be easily pierced. Once baked, carefully remove the muffin tin from the oven. Let the mini pies cool in the muffin tin for about 10-15 minutes before attempting to remove them. This allows them to firm up. After the initial cooling, gently use a small spatula or a butter knife to loosen the edges of each mini pie and carefully lift them out of the muffin tin onto a wire rack to cool completely.
Enjoy these delightful mini apple pies warm or at room temperature. They are wonderful on their own, or even better with a scoop of vanilla ice cream or a dollop of whipped cream. The aroma alone will transport you to cozy autumn days!
Conclusion:
I hope you’ve enjoyed learning how to make these delightful Mini Apple Pies! This recipe is truly fantastic because it delivers all the comforting flavors of a classic apple pie in a perfectly portioned, charming package. They’re incredibly versatile and just the right size for a satisfying dessert or a sweet treat anytime. The flaky, buttery crust combined with the warm, spiced apple filling is a winning combination that’s sure to impress. Don’t be intimidated; they are surprisingly easy to whip up, making them perfect for both begin extractners and seasoned bakers alike. I truly encourage you to give these Mini Apple Pies a try!
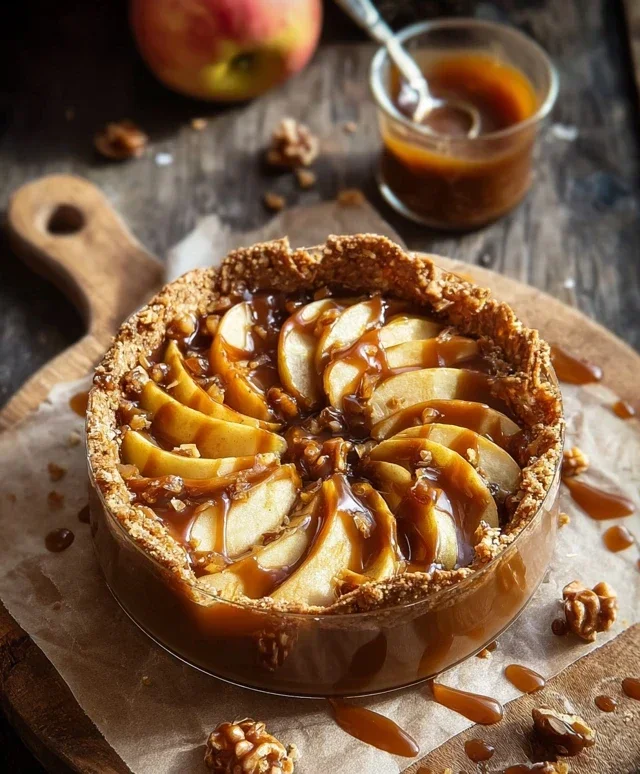
When it comes to serving, these little pies are wonderful on their own, but I absolutely love serving them warm with a scoop of vanilla bean ice cream or a dollop of freshly whipped cream. A drizzle of caramel sauce takes them to the next level of deliciousness. For variations, consider adding a pinch of nutmeg or a splash of lemon juice to the apple filling for an extra zesty kick. You could also experiment with different spices like cinnamon, allspice, or even a touch of cardamom. Chopped nuts like walnuts or pecans can add a lovely crunch too. Get creative and make them your own!
Frequently Asked Questions:
Can I make the crust ahead of time?
Absolutely! You can prepare the pie dough up to 2 days in advance and store it, wrapped tightly, in the refrigerator. You can even freeze the dough for up to a month and thaw it overnight in the fridge before using.
How long do Mini Apple Pies last?
These Mini Apple Pies are best enjoyed fresh, but they can be stored in an airtight container at room temperature for up to 2 days, or in the refrigerator for up to 4 days. Reheat gently in a low oven or microwave before serving for the best texture.
What kind of apples are best for this recipe?
A mix of apples often provides the best flavor and texture. I recommend using a combination of tart and sweet apples like Granny Smith (for tartness and structure) and Honeycrisp or Fuji (for sweetness and a crisp bite). Avoid overly mushy apples like Red Delicious.
Mini Apple Pies
Delightful individual apple pies with a classic cinnamon-nutmeg filling.
Ingredients
-
2 refrigerated pie crusts
-
3 cups chopped Granny Smith apples
-
1/4 cup granulated sugar
-
1/4 cup light brown sugar
-
1 teaspoon ground cinnamon
-
1/4 teaspoon ground nutmeg
-
2 tablespoons all-purpose flour
-
1 teaspoon vanilla extract
-
1 egg
-
1 tablespoon water
-
Sanding sugar (optional)
Instructions
-
Step 1
Preheat oven to 375°F (190°C). Lightly grease a 12-cup muffin tin. -
Step 2
In a large bowl, combine chopped apples, granulated sugar, brown sugar, cinnamon, nutmeg, and flour. Stir to coat evenly. -
Step 3
Unroll pie crusts. Use a 3.5 to 4-inch round cutter to cut out 12 circles from the pie crusts. Place one circle into each muffin cup, gently pressing it against the bottom and up the sides. -
Step 4
Divide the apple mixture evenly among the muffin cups. -
Step 5
In a small bowl, whisk together the egg and water. Brush the edges of the pie crusts with the egg wash. -
Step 6
If desired, sprinkle sanding sugar over the apple filling. -
Step 7
Bake for 20-25 minutes, or until the crust is golden brown and the filling is bubbly. Allow to cool slightly before removing from the muffin tin.
Important Information
Nutrition Facts (Per Serving)
It is important to consider this information as approximate and not to use it as definitive health advice.
Allergy Information
Please check ingredients for potential allergens and consult a health professional if in doubt.