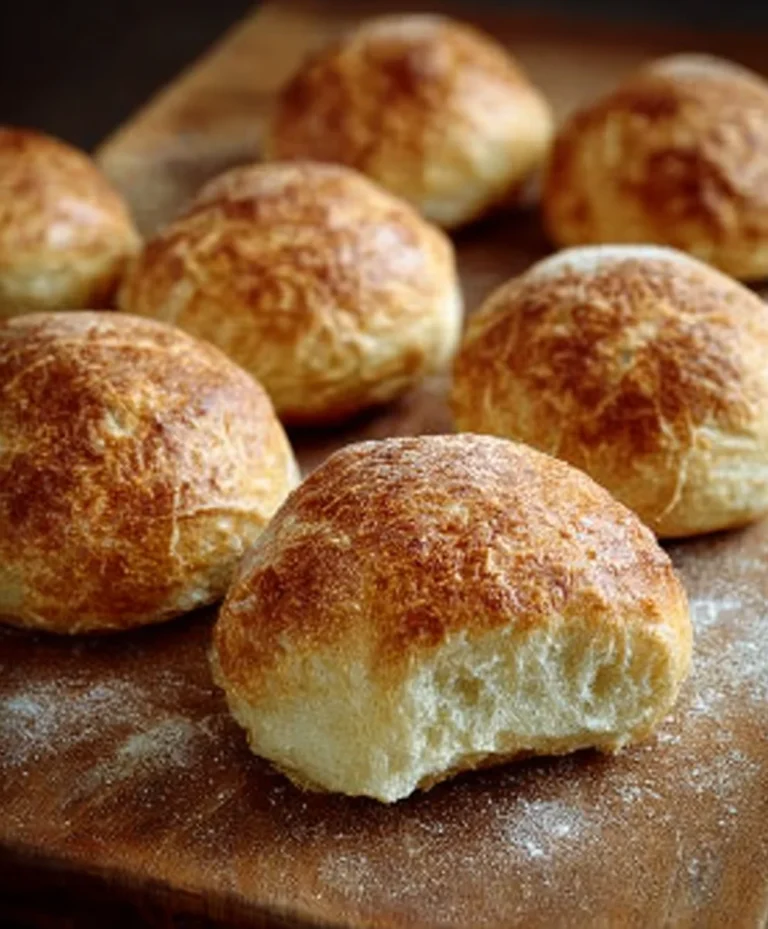
Easy Homemade English Muffins – Step By Step Recipe
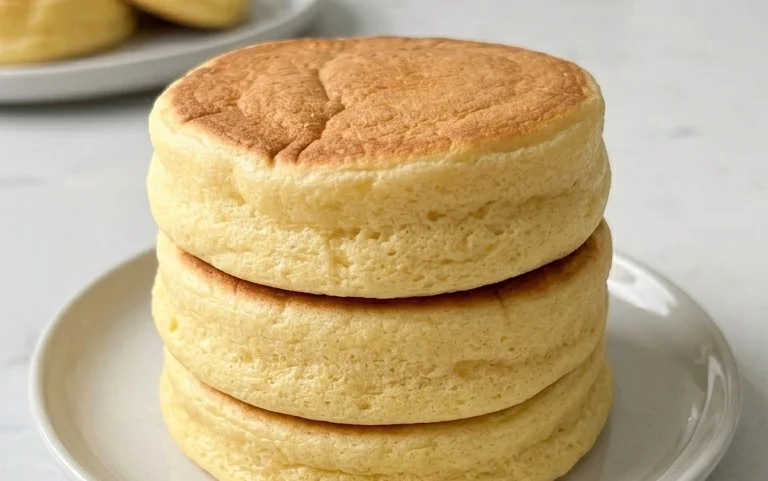
Homemade English Muffins Easy Step By Step will unlock a world of breakfast bliss you never knew existed! Forget the pre-packaged, often disappointing versions from the grocery store. We’re talking about achieving that perfect, nooks-and-crannies texture right in your own kitchen, with a recipe so straightforward, you’ll wonder why you waited so long. There’s a reason these glorious rounds are a breakfast staple; their slightly crisp exterior, tender interior, and unparalleled ability to soak up butter, jam, or even your favorite savory toppings make them utterly irresistible. What truly sets these Homemade English Muffins Easy Step By Step apart is the satisfying feeling of accomplishment you’ll get with every batch, plus the incredible aroma that will fill your home as they bake to golden perfection. Get ready to elevate your mornings with these delightful treats!
Ingredients:
- 2 ¼ teaspoons active dry yeast
- 1 ½ cups warm water (105-115°F)
- 1 tablespoon granulated sugar
- 4 cups all-purpose flour, plus more for dusting
- 1 ½ teaspoons salt
- ½ cup milk
- 4 tablespoons unsalted butter, melted, plus more for brushing
- Cornmeal, for dusting
Making the Dough
The journey to perfect Homemade English Muffins Easy Step By Step begin extracts with activating the yeast. In a large mixing bowl, combine the warm water and granulated sugar. Sprinkle the active dry yeast over the top. Give it a gentle stir, then let it sit undisturbed for about 5-10 minutes. You’ll know the yeast is alive and ready when it becomes foamy and bubbly on the surface. This visual cue is your assurance that your muffins will have that lovely, airy texture we’re aiming for. If you don’t see foam, your yeast might be old, or the water might have been too hot or too cold. In that case, it’s best to start again with fresh yeast and the correct water temperature.
Once the yeast is active, add the all-purpose flour and salt to the same bowl. If you have a stand mixer with a dough hook, now is the time to usgin extractt. Begin mixing on low speed until the ingredients just start to come together. If you’re mixing by hand, use a sturdy spoon or your hands to incorporate the flour and salt into the yeasty liquid.
Now, gradually add the milk and the melted butter to the mixture. Continue mixing, either with the stand mixer or by hand, until a shaggy dough forms. If the dough seems too dry and isn’t coming together, you can add a tablespoon of water at a time until it does. Conversely, if it’s too sticky, add a tablespoon of flour. The goal is a dough that’s slightly tacky but manageable.
Kneading the Dough
After the initial mixing, it’s time to knead. If you’re using a stand mixer, increase the speed to medium-low and let it knead for about 5-7 minutes. The dough should become smooth, elastic, and pull away cleanly from the sides of the bowl. It will still be slightly sticky to the touch, which is perfectly normal for English muffin dough.
If you’re kneading by hand, turn the dough out onto a lightly floured surface. Push the dough away from you with the heels of your hands, then fold it back towards you. Rotate the dough a quarter turn and repeat. Continue this process for about 8-10 minutes. You’re looking for that same smooth, elastic texture. Don’t be tempted to add too much extra flour during this stage; it can lead to tough muffins. Trust the process, and your hands will start to feel the dough transform.
First Rise and Shaping
Once your dough has been kneaded to perfection, it’s time for its first rise. Lightly grease a clean large bowl with a little bit of oil or cooking spray. Place the kneaded dough into the bowl and turn it to coat all sides with the grease. Cover the bowl tightly with plastic wrap or a clean kitchen towel. Find a warm, draft-free spot in your kitchen for the dough to rise. This usually takes about 1 to 1 ½ hours, or until the dough has doubled in size. The warmth helps the yeast work its magic, creating those delightful air pockets.
After the dough has risen, gently punch it down to release the air. Turn the dough out onto a lightly floured surface. Now, we’ll shape the muffins. You can either divide the dough into 8-10 equal pieces and gently flatten each piece into a round disc, about ½ inch thick, or you can roll the dough out to about ½ inch thickness and use a round cookie cutter (about 3-4 inches in diameter) to cut out your muffin shapes. Be gentle as you shape; we want to preserve as much of that lovely air as possible.
Cooking the English Muffins
This is where the magic happens and you start to see your Homemade English Muffins Easy Step By Step come to life! Prepare your cooking surface. You’ll want to heat a large, heavy-bottomed skillet or a griddle over medium-low heat. This is a crucial step; if the heat is too high, the outside will brown too quickly before the inside cooks. Generously sprinkle the skillet or griddle with cornmeal. This not only helps prevent sticking but also gives the muffins their characteristic texture and golden-brown exterior.
Carefully place the shaped dough rounds onto the prepared skillet, leaving a little space between each one so they don’t crowd each other. You’ll likely need to cook them in batches. Cover the skillet loosely with a lid or aluminum foil. Cook for about 5-7 minutes per side. You’re looking for a beautiful golden-brown color on both sides, and the muffins should feel slightly firm to the touch. Resist the urge to press down on them while they’re cooking, as this will deflate them. Gently flip them with a spatula to ensure even cooking.
Cooling and Serving
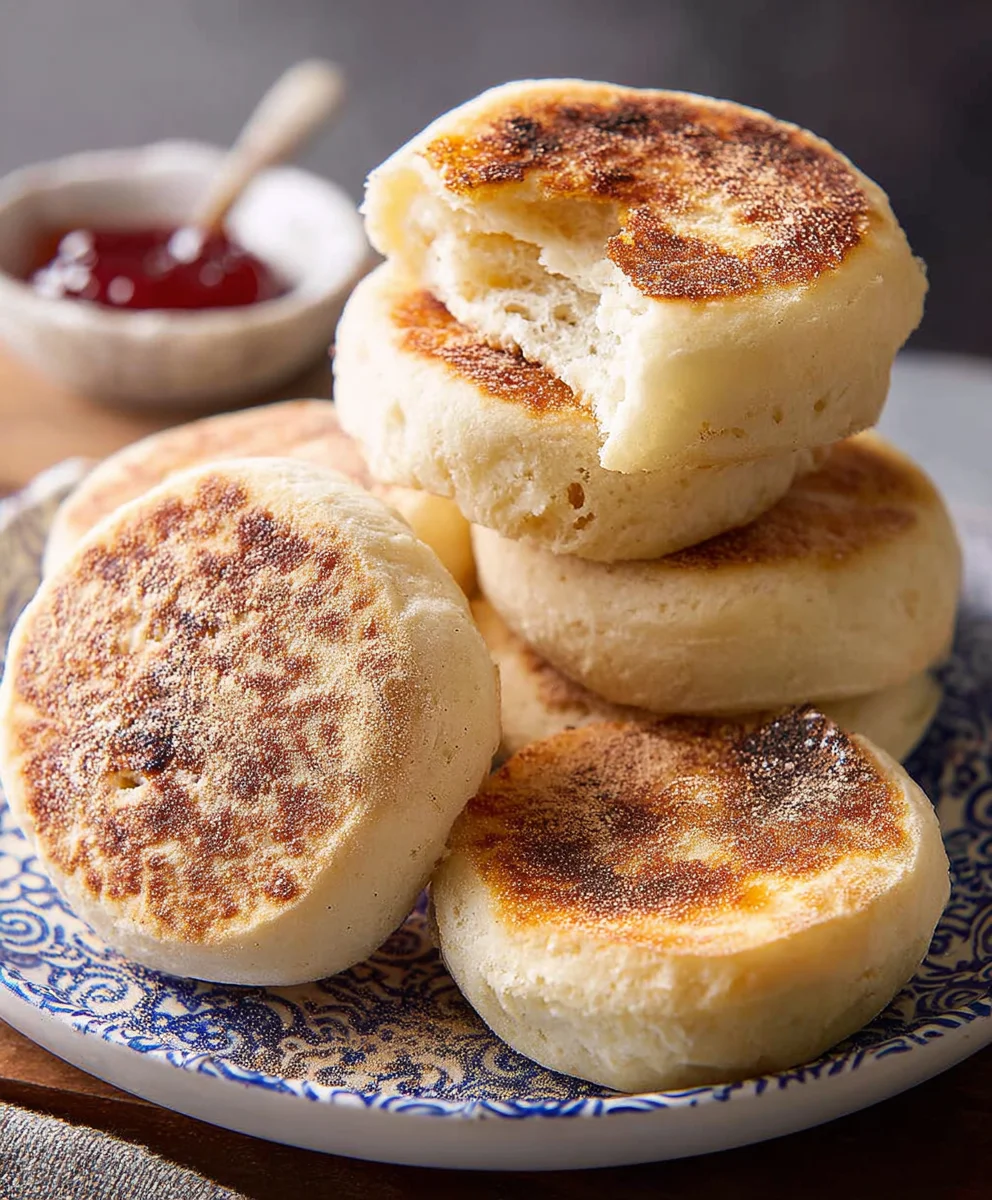
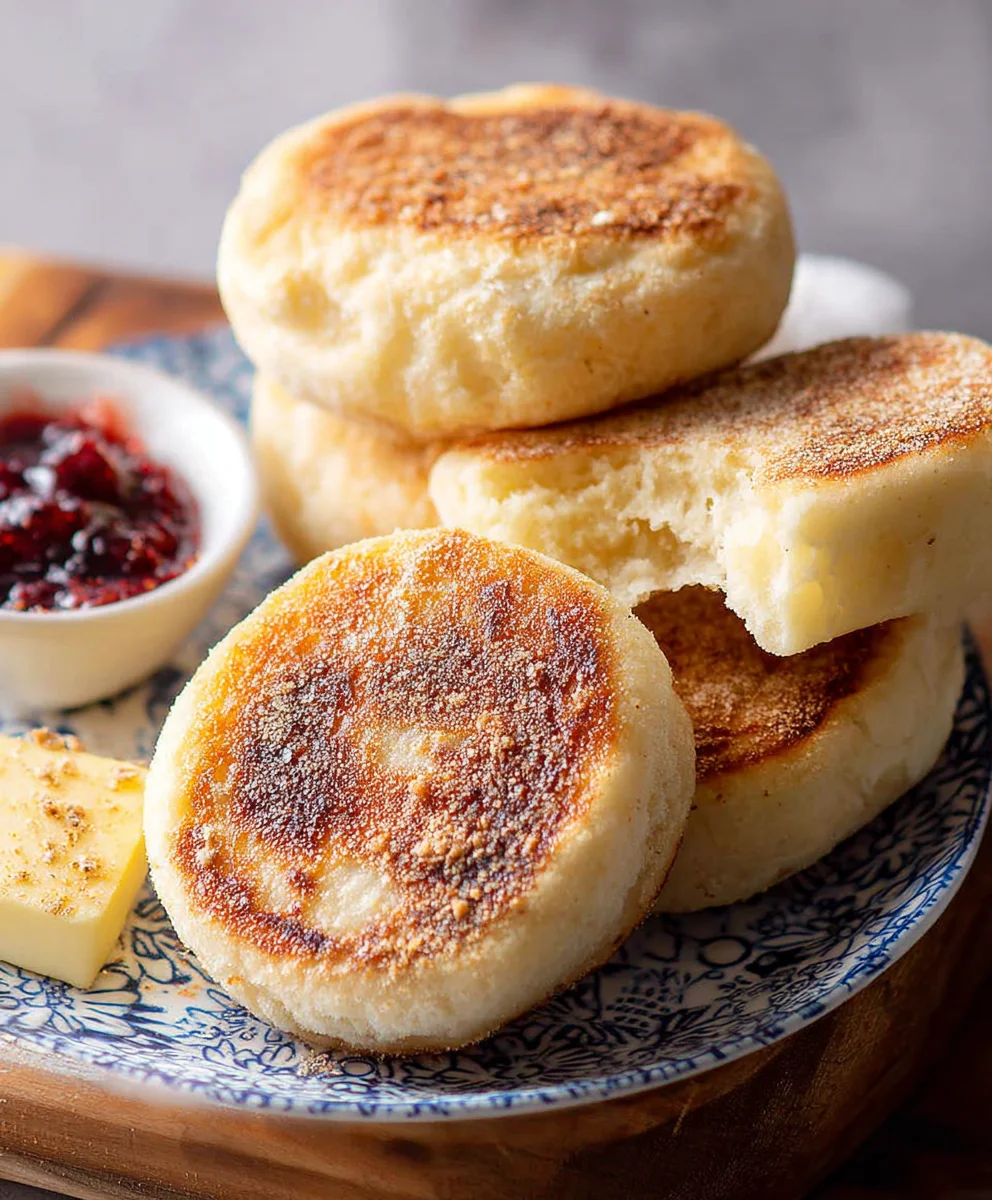
Once your English muffins are cooked to a perfect golden brown on both sides and feel cooked through, remove them from the skillet. Place them on a wire rack to cool slightly. While they’re still warm, you can brush the tops with a little bit of melted butter for an extra touch of richness, though this is entirely optional. Allow them to cool for at least 10-15 minutes before splitting them open. The best way to enjoy these beauties is to split them horizontally with a fork, rather than slicing, which helps preserve their nooks and crannies. Toast them lightly, then slather them with butter, jam, or your favorite spread. The anticnon-alcoholic ipation will be worth it!
Conclusion:
Congratulations! You’ve successfully navigated the process of creating delicious Homemade English Muffins Easy Step By Step. We hope you found these instructions clear and empowering. The aroma of freshly baked English muffins wafting through your kitchen is truly a rewarding experience, and the taste is far superior to anything store-bought. These muffins are incredibly versatile, making them a perfect canvas for your culinary creativity. We encourage you to embrace the joy of baking and to make these delightful muffins a regular feature in your breakfast or brunch repertoire. Don’t be afraid to experiment with different toppings and spreads!
For serving suggestions, we love these muffins toasted to golden perfection and slathered with butter and jam. They are also fantastic as the base for eggs Benedict or as a savory sandwich bun. Feel free to get creative with variations! Consider adding a pinch of dried herbs like rosemary or thyme to the dough for an aromatic twist, or perhaps some finely grated cheese for a savory bite. You could also experiment with different flours, like whole wheat or a blend, for a slightly different texture and nutty flavor. The possibilities are truly endless!
FAQs:
Why are my Homemade English Muffins Easy Step By Step flat instead of fluffy?
Flat English muffins can result from several factors. Ensure your yeast is active by proofing it in warm liquid with a touch of sugar. Overworking the dough can also develop too much gluten, making them tough and flat. Be sure to follow the kneading time precisely and avoid adding too much extra flour. Finally, allowing adequate proofing time is crucial for that characteristic rise.
Can I make Homemade English Muffins Easy Step By Step ahead of time?
Yes, you absolutely can! Once cooled, Homemade English Muffins Easy Step By Step can be stored in an airtight container at room temperature for 2-3 days. For longer storage, they freeze beautifully. Wrap them tightly in plastic wrap and then place them in a freezer-safe bag for up to 3 months. Simply toast them from frozen for a quick and easy treat.
Easy Homemade English Muffins – Step By Step Recipe
A simple, step-by-step recipe for creating delicious homemade English muffins with a perfect nooks and crannies texture.
Ingredients
-
2 ¼ teaspoons active dry yeast
-
1 ½ cups warm water (105-115°F)
-
1 tablespoon granulated sugar
-
4 cups all-purpose flour, plus more for dusting
-
1 ½ teaspoons salt
-
½ cup milk
-
4 tablespoons unsalted butter, melted, plus more for brushing
-
Cornmeal, for dusting
Instructions
-
Step 1
Activate the yeast: In a large mixing bowl, combine warm water and granulated sugar. Sprinkle active dry yeast over the top. Let sit for 5-10 minutes until foamy. -
Step 2
Make the dough: Add all-purpose flour and salt to the yeast mixture. Gradually add milk and melted butter. Mix until a shaggy dough forms, adjusting with water or flour if needed for a slightly tacky texture. -
Step 3
Knead the dough: Knead the dough for 5-7 minutes in a stand mixer or 8-10 minutes by hand until smooth and elastic. It will remain slightly sticky. -
Step 4
First rise and shaping: Place dough in a greased bowl, cover, and let rise in a warm place for 1-1.5 hours until doubled. Punch down, turn onto a floured surface, and divide into 8-10 pieces, flattening into ½ inch thick discs. -
Step 5
Cook the muffins: Heat a skillet or griddle over medium-low heat. Generously sprinkle with cornmeal. Place dough rounds on the skillet, cover loosely, and cook for 5-7 minutes per side until golden brown and firm. -
Step 6
Cool and serve: Remove muffins from skillet and cool on a wire rack. Brush with melted butter if desired. Split horizontally with a fork and toast before serving with your favorite toppings.
Important Information
Nutrition Facts (Per Serving)
It is important to consider this information as approximate and not to use it as definitive health advice.
Allergy Information
Please check ingredients for potential allergens and consult a health professional if in doubt.