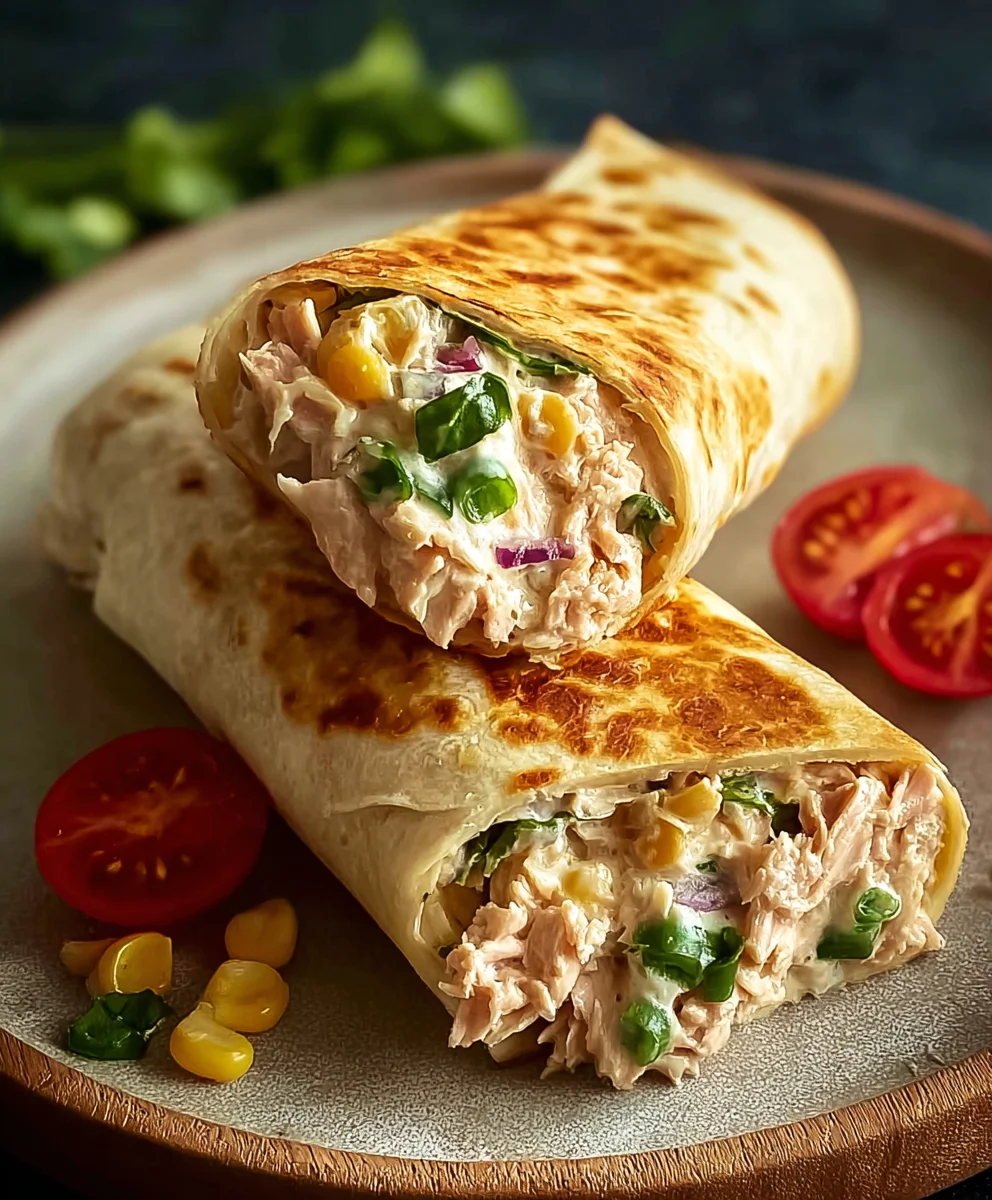
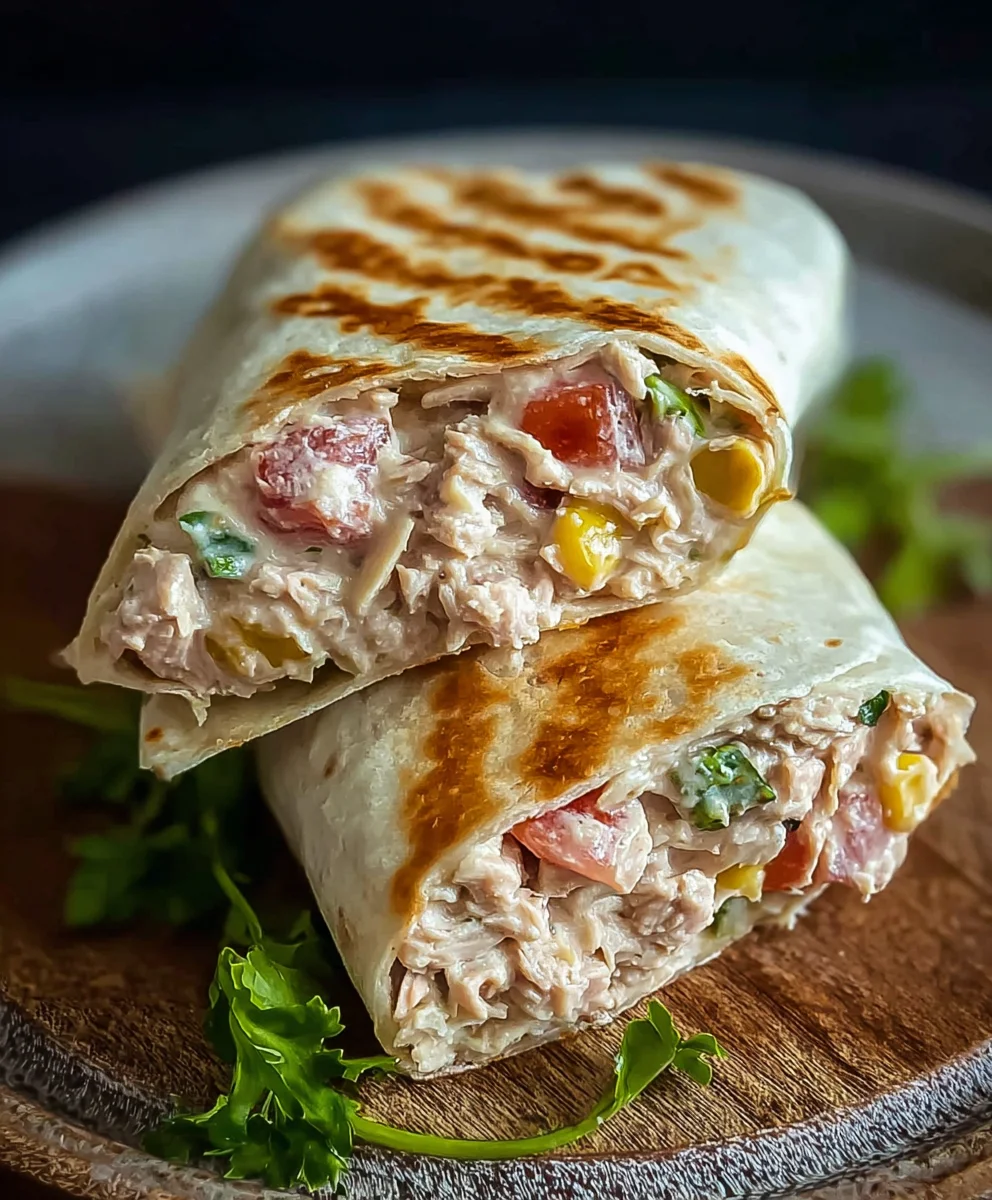
Quick Tuna Melt Wrap Recipe Easy Lunch
10-Minute Tuna Melt Wrap: the ultimate weeknight warrior, the cbeef hampion of speedy lunches, and your new best friend when hunger strikes and time is of the essence. Forget the fuss and the lengthy cooking times; this delightful creation is designed for those moments when you crave something satisfying, flavorful, and utterly delicious without spending hours in the kitchen. People absolutely adore the tuna melt for its comforting familiarity and its perfect balance of creamy tuna salad with the gooey, melted cheese. What truly elevates the 10-Minute Tuna Melt Wrap from ordinary to extraordinary is its versatility and portability. It’s not just a meal; it’s a portable hug of flavor, a quick escape from culinary stress, and a testament to how simplicity can achieve incredible taste. This recipe is about maximizing flavor in minimal time, proving that you don’t need a gourmet setup to achieve a genuinely impressive and satisfying dish.
Ingredients:
- 1 can (5 oz) skipjack or yellowfin tuna, drained well
- 2 tablespoons plain Greek yogurt
- 1/2 tablespoon Dijon mustard
- 1 tablespoon fresh lemon juice (from about 1/2 a medium lemon)
- 1/4 cup corn, drained if canned or frozen and thawed
- 1/4 cup finely diced red onion
- 1 tablespoon dill relish or capers, drained and roughly chopped if using capers
- 1/2 teaspoon garlic powder
- 1/4 teaspoon freshly ground black pepper
- 1 large burrito-sized tortilla or wrap (at least 10 inches in diameter)
- 1/4 cup shredded mozzarella cheese
- Olive oil, for brushing the pan or wrap
Preparing the Tuna Filling
Step 1: Drain and Flake the Tuna
Begin extract by ensuring your tuna is thoroughly drained. This is a crucial step to prevent a soggy filling. Open the can of tuna and press out as much liquid as possible. You can do this by using the lid of the can or a fork. Once drained, transfer the tuna to a medium-sized mixing bowl. Use a fork to gently flake the tuna into smaller pieces. You don’t want large chunks, as this will make it harder to distribute evenly in the wrap.
Step 2: Mix the Tuna Filling Ingredients
Now it’s time to bring all the delicious flavors together. Add the Greek yogurt to the bowl with the flaked tuna. The Greek yogurt provides a creamy base and a bit of tang, a healthier alternative to mayonnaise. Next, stir in the Dijon mustard for a sharp, piquant kick. Squeeze in the fresh lemon juice; this brightens up the tuna and cuts through any richness. Add the corn, diced red onion, and your chosen relish or capers. If you’re using capers, a rough chop will help their flavor disperse better. Finally, sprinkle in the garlic powder and black pepper. Mix everything together gently but thoroughly with your fork until all the ingredients are well combined and the tuna mixture is coated. Taste the mixture at this point and adjust seasonings if needed. Perhaps you’d like a little more lemon juice for brightness, or a touch more pepper for warmth.
Assembling and Grilling the Wrap
Step 3: Prepare the Wrap and Add Filling
Lay your large tortilla flat on a clean work surfgin extract. Imagine you’re about to roll it up. Spoon the prepared tuna filling onto the lower half of the tortilla, leaving a border of about an inch and a half around the edges. Try to distribute the filling evenly so you get a good amount in every bite. Don’t overfill, or it will be difficult to wrap and might burst during grilling. Sprinkle the shredded mozzarella cheese evenly over the top of the tuna mixture. The cheese will melt and bind the filling together, creating that irresistible “melt” component.
Step 4: Folding and Sealing the Wrap
This step is key to making it a neat and tidy wrap. First, fold the bottom edge of the tortilla up and over the tuna filling, tucking it in snugly. Then, fold in the two sides towards the center, creating neat package. Finally, roll the wrap tightly from the bottom up. You want to ensure the filling is completely enclosed. If your tortilla seems a little dry and is cracking, you can lightly moisten the edges with a tiny bit of water to help it seal. Some people prefer to fold it in half like a quesadilla before grilling, which is also perfectly acceptable for a quick tuna melt.
Step 5: Grilling the Tuna Melt Wrap
Heat a non-stick skillet or griddle over medium heat. Add a small amount of olive oil and let it get hot. Carefully place the folded wrap seam-side down onto the hot skillet. Let it cook for about 3 to 4 minutes per side, or until the tortilla is golden brown and crispy, and the cheese inside is completely melted and gooey. You might hear a gentle sizzle, which is a good sign. Press down lightly with a spatula occasionally to ensure even browning and to help the cheese melt beautifully. If the tortilla is browning too quickly, reduce the heat slightly. Once both sides are perfectly golden and you can see the cheese has melted through, carefully remove the wrap from the skillet.
Conclusion:
And there you have it – the incredibly simple yet satisfying 10-Minute Tuna Melt Wrap! This recipe proves that delicious, comforting food doesn’t need to take hours. We’ve covered everything from the quick assembly to its versatility, making it a go-to for busy weeknights, quick lunches, or even a late-night snack. The creamy tuna salad perfectly complements the melty cheese, all bundled up in a convenient wrap. I encourage you to give this recipe a try and discover its effortless charm for yourself!
For serving suggestions, this wrap is fantastic on its own, but it also pairs wonderfully with a simple side salad dressed with vinaigrette, a handful of crunchy potato chips, or a cup of your favorite tomato soup. Don’t be afraid to experiment with variations – try adding a sprinkle of dill pickles for extra tang, some chopped celery for crunch, or even a dash of hot sauce to the tuna mixture for a spicy kick. You can also switch up the cheese; cheddar, Monterey Jack, or Swiss are all excellent choices.
Frequently Asked Questions about the 10-Minute Tuna Melt Wrap:
Can I make the tuna salad ahead of time?
Absolutely! You can prepare the tuna salad mixture a day or two in advance and store it in an airtight container in the refrigerator. This will make assembling the 10-Minute Tuna Melt Wrap even faster!
What kind of wraps work best?
Most standard flour tortillas work wonderfully. Whole wheat or spinach-flavored tortillas are also great options. For a gluten-free alternative, you can find gluten-free wraps made from corn or rice flour.
Quick Tuna Melt Wrap Recipe
An easy and delicious tuna melt wrap perfect for a quick lunch.
Ingredients
-
1 can (5 oz) skipjack or yellowfin tuna, drained well
-
2 tablespoons plain Greek yogurt
-
1/2 tablespoon Dijon mustard
-
1 tablespoon fresh lemon juice
-
1/4 cup corn
-
1/4 cup finely diced red onion
-
1 tablespoon dill relish or capers
-
1/2 teaspoon garlic powder
-
1/4 teaspoon freshly ground black pepper
-
1 large burrito-sized tortilla or wrap (at least 10 inches in diameter)
-
1/4 cup shredded mozzarella cheese
-
Olive oil, for brushing the pan or wrap
Instructions
-
Step 1
Drain the tuna thoroughly by pressing out as much liquid as possible. Transfer to a medium bowl and flake with a fork. -
Step 2
Add Greek yogurt, Dijon mustard, lemon juice, corn, diced red onion, relish or capers, garlic powder, and black pepper to the tuna. Mix well with a fork until combined. Taste and adjust seasonings. -
Step 3
Lay the tortilla flat. Spoon the tuna filling onto the lower half, leaving a border. Sprinkle mozzarella cheese evenly over the filling. -
Step 4
Fold the bottom edge of the tortilla up and over the filling, tuck in the sides, and roll tightly to enclose the filling. -
Step 5
Heat a non-stick skillet over medium heat with a little olive oil. Place the wrap seam-side down and cook for 3-4 minutes per side, until golden brown and crispy and the cheese is melted.
Important Information
Nutrition Facts (Per Serving)
It is important to consider this information as approximate and not to use it as definitive health advice.
Allergy Information
Please check ingredients for potential allergens and consult a health professional if in doubt.