Crispy Chicken Caesar Sandwich Recipe-Easy & Delicious
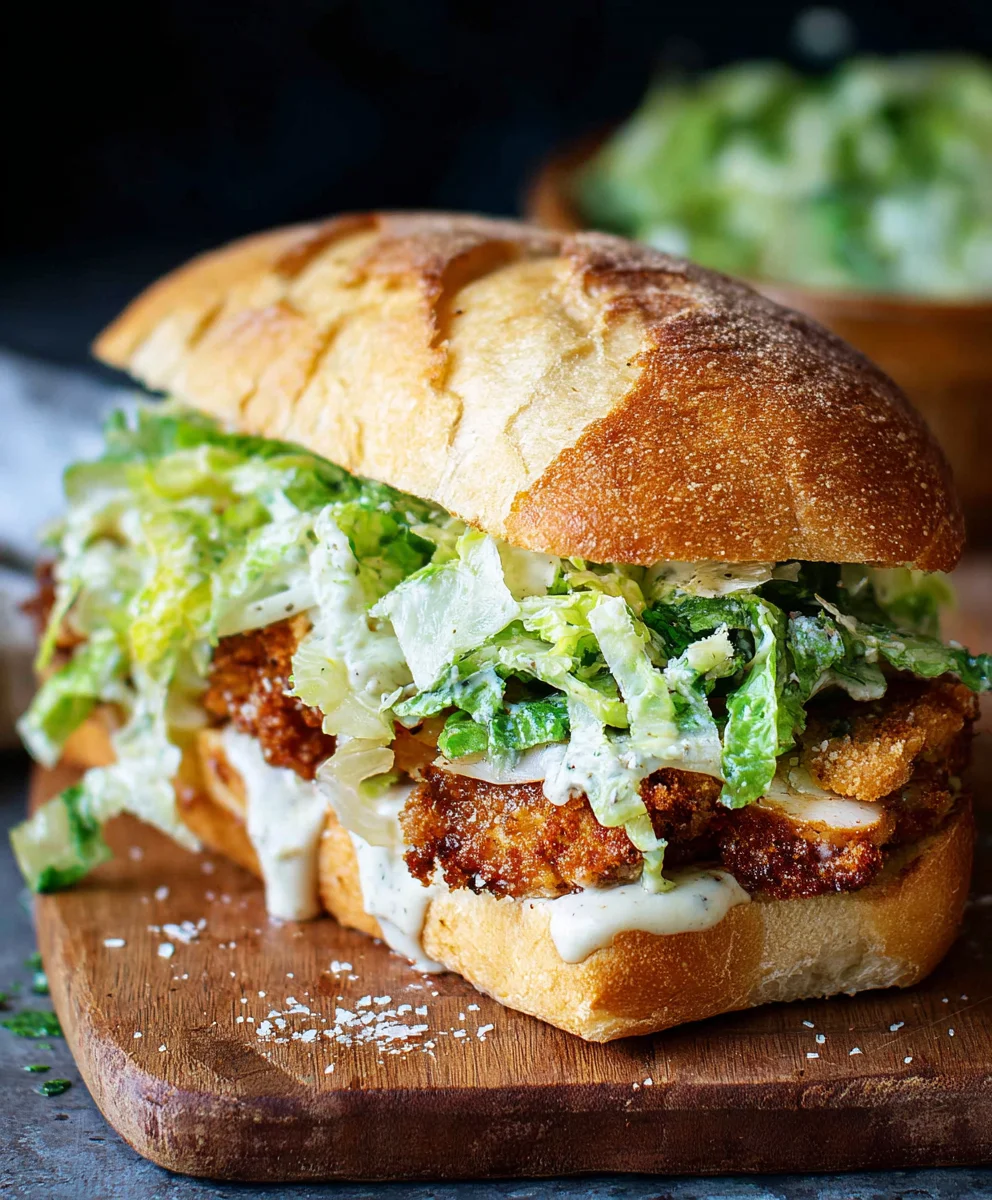
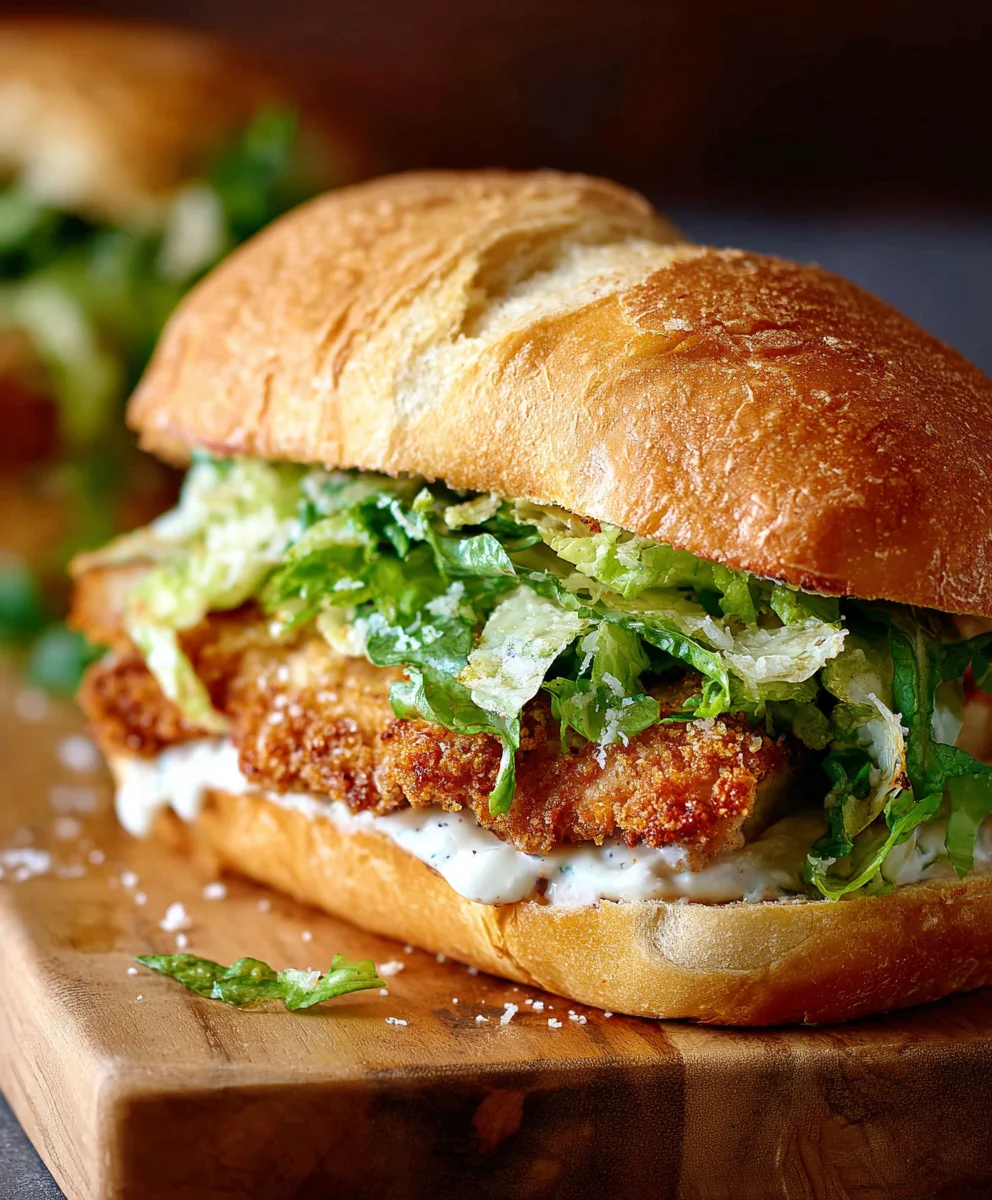
Crispy Chicken Caesar Sandwich. Oh, how we adore a good sandwich, and when it comes to elevated comfort food, this particular creation reigns supreme. The allure of a Crispy Chicken Caesar Sandwich lies in its irresistible combination of textures and flavors. Imagin extracte biting into a golden, perfectly fried chicken breast, its exterior shatteringly crisp, giving way to tender, juicy meat. This is then enveloped in a soft bun, generously slathered with a creamy, tangy Caesar dressing, its signature anchovy and garlic notes providing that unmistakable punch. Add to that the sharp bite of Parmesan cheese and the fresh crunch of romaine lettuce, and you have a symphony of sensations. It’s the kind of meal that satisfies a craving, delights the senses, and leaves you feeling utterly content. What truly makes this Crispy Chicken Caesar Sandwich special is how it takes a classic salad and transforms it into an unforgettable handheld masterpiece, a true testament to simple ingredients coming together in perfect harmony.
Ingredients:
- ½ cup full-fat mayonnaise
- 3 tbsp Greek yogurt
- 1 tsp Dijon mustard
- 1 tsp Worcestershire sauce
- 2 tbsp lemon juice
- ¼ cup Parmesan cheese (freshly grated)
- 1-2 garlic cloves (minced)
- ¼ tsp black pepper
- Pinch sea salt
- 5 chicken cutlets (see note 1)
- Sea salt (to taste)
- Ground black pepper (to taste)
- Oil (for frying, such as vegetable or canola oil)
- ⅓ cup all-purpose flour
- ½ tsp salt
Preparing the Caesar Dressing
Step 1: Combine the Base
In a medium bowl, combine the full-fat mayonnaise and Greek yogurt. Whisk them together until they are thoroughly blended into a smooth, creamy base. The Greek yogurt adds a tangy brightness and a lighter texture compared to using only mayonnaise, making the dressing wonderfully balanced for our Crispy Chicken Caesar Sandwich.
Step 2: Add Flavor Enhancers
To the mayonnaise and yogurt mixture, add the Dijon mustard, Worcestershire sauce, and fresh lemon juice. The Dijon mustard provides a classic sharp bite, the Worcestershire sauce brings a savory depth, and the lemon juice cuts through the richness with its acidity. Stir these ingredients in until everything is well incorporated.
Step 3: Introduce Garlic and Seasoning
Now, it’s time to add the aromatics and seasoning. Stir in the minced garlic cloves. Using fresh garlic, rather than powder, will give a more vibrant and pungent garlic flavor that is crucial for a great Caesar dressing. Add the ¼ teaspoon of black pepper and a pinch of sea salt. Mix everything together until the dressing is uniform in color and consistency. Taste and adjust seasoning if necessary. You can add a touch more salt or pepper depending on your preference, but remember that the Parmesan cheese will also contribute saltiness. Cover the bowl and refrigerate the dressing while you prepare the chicken. This allows the flavors to meld and deepen.
Crisping the Chicken
Step 4: Prepare the Flour Dredge
In a shallow dish or a plate, combine the all-purpose flour with ½ teaspoon of salt and a generous pinch of ground black pepper. Whisk these dry ingredients together to ensure the salt and pepper are evenly distributed throughout the flour. This flour mixture will form the base for our crispy coating, helping the chicken develop a golden-brown, crunchy exterior when fried.
Step 5: Bread the Chicken Cutlets
Pat the chicken cutlets thoroughly dry with paper towels. This step is crucial for achieving maximum crispiness. If the chicken is wet, the flour won’t adhere properly, and you’ll end up with a soggy coating. Season each chicken cutlet generously on both sides with sea salt and ground black pepper. Now, take one chicken cutlet at a time and place it into the seasoned flour mixture. Press down gently to ensure the entire surface of the chicken is coated. Shake off any excess flour. Repeat this process for all five chicken cutlets. You can lightly tap off excess flour if you notice thick clumps, as this can lead to a gummy texture rather than a crisp one.
Step 6: Fry the Chicken to Golden Perfection
Heat about ½ inch of oil in a large skillet over medium-high heat. You’ll know the oil is ready when a small piece of flour dropped into it sizzles immediately. Carefully place the floured chicken cutlets into the hot oil, being careful not to overcrowd the pan. You may need to cook them in batches to ensure even cooking and crisping. Fry the chicken for about 4-6 minutes per side, or until it is golden brown and cooked through. The internal temperature should reach 165°F (74°C). Use tongs to flip the chicken and to remove it from the skillet. Once cooked, transfer the crispy chicken cutlets to a wire rack set over a baking sheet to drain any excess oil and to maintain their crispiness. This allows air to circulate around the chicken, preventing it from becoming greasy.
Assembling Your Masterpiece
Step 7: Prepare Your Bread and Assemble
Lightly toast your favorite sandwich rolls or brioche buns. Spread a generous amount of the prepared Caesar dressing on the inside of both the top and bottom halves of each bun. Place one crispy chicken cutlet on the bottom half of each bun. Top the chicken with additional Caesar dressing, and if you like, some crisp romaine lettuce leaves and extra grated Parmesan cheese. Then, place the top half of the bun to complete your magnificent Crispy Chicken Caesar Sandwich. Serve immediately and enjoy the incredible textures and flavors!
Conclusion:
There you have it – the ultimate guide to crafting the perfect Crispy Chicken Caesar Sandwich! This recipe is all about achieving that satisfying crunch from perfectly fried chicken, balanced with the zesty creaminess of Caesar dressing and the freshness of crisp lettuce and tender bread. It’s a truly rewarding culinary experience that’s surprisingly straightforward to master.
For an unforgettable meal, I highly recommend serving your Crispy Chicken Caesar Sandwich alongside a light side salad with a simple vinaigrette, some seasoned sweet potato fries, or even a bowl of creamy tomato soup. It’s a versatile sandwich that can be dressed up or down depending on the occasion.
Don’t be afraid to experiment with variations! Consider adding a sprinkle of parmesan cheese directly onto the chicken before frying for extra flavor, or perhaps a few slices of crispy beef bacon for a decadent twist. You could also swap out the traditional bun for a ciabatta roll or even a hearty sourdough. The possibilities are endless! I truly encourage you to give this recipe a try. It’s guaranteed to become a new favorite in your kitchen!
Frequently Asked Questions:
What type of chicken is best for the Crispy Chicken Caesar Sandwich?
For the best crispy texture, boneless, skinless chicken thighs are ideal. They are more forgiving and stay moist during frying. However, chicken breast also works well, just be careful not to overcook it to prevent dryness.
Can I make the Caesar dressing ahead of time?
Absolutely! Homemade Caesar dressing can be made up to 3 days in advance and stored in an airtight container in the refrigerator. This saves you time when assembling your Crispy Chicken Caesar Sandwich.
What if I don’t want to deep-fry the chicken?
You can achieve a delicious crispiness without deep-frying. Consider pan-frying the chicken in a bit more oil until golden brown and cooked through, or even baking it until crispy. Air frying is also an excellent option for a healthier yet still satisfying crunch.
Crispy Chicken Caesar Sandwich Recipe-Easy & Delicious
An easy and delicious recipe for a crispy chicken Caesar sandwich featuring homemade Caesar dressing and perfectly fried chicken cutlets.
Ingredients
-
½ cup full-fat mayonnaise
-
3 tbsp Greek yogurt
-
1 tsp Dijon mustard
-
1 tsp Worcestershire sauce
-
2 tbsp lemon juice
-
¼ cup Parmesan cheese (freshly grated)
-
1-2 garlic cloves (minced)
-
¼ tsp black pepper
-
Pinch sea salt
-
5 chicken cutlets
-
Sea salt (to taste)
-
Ground black pepper (to taste)
-
Oil (for frying, such as vegetable or canola oil)
-
⅓ cup all-purpose flour
-
½ tsp salt
Instructions
-
Step 1
Prepare the Caesar Dressing: Combine the full-fat mayonnaise and Greek yogurt in a medium bowl. Whisk until smooth. Add Dijon mustard, Worcestershire sauce, lemon juice, minced garlic, ¼ tsp black pepper, and a pinch of sea salt. Mix well. Cover and refrigerate. -
Step 2
Prepare the Flour Dredge: In a shallow dish, combine all-purpose flour with ½ tsp salt and a pinch of ground black pepper. Whisk together. -
Step 3
Bread the Chicken Cutlets: Pat chicken cutlets dry. Season generously with sea salt and ground black pepper. Coat each cutlet in the seasoned flour mixture, shaking off excess. -
Step 4
Fry the Chicken: Heat ½ inch of oil in a large skillet over medium-high heat. Fry chicken cutlets for 4-6 minutes per side until golden brown and cooked through (165°F/74°C). Drain on a wire rack. -
Step 5
Assemble the Sandwich: Lightly toast sandwich rolls or brioche buns. Spread Caesar dressing on both halves. Place a crispy chicken cutlet on the bottom half. Top with more dressing, lettuce, and Parmesan cheese if desired. Add the top bun.
Important Information
Nutrition Facts (Per Serving)
It is important to consider this information as approximate and not to use it as definitive health advice.
Allergy Information
Please check ingredients for potential allergens and consult a health professional if in doubt.