Easy Frozen Yogurt Bites – Quick Healthy Treat
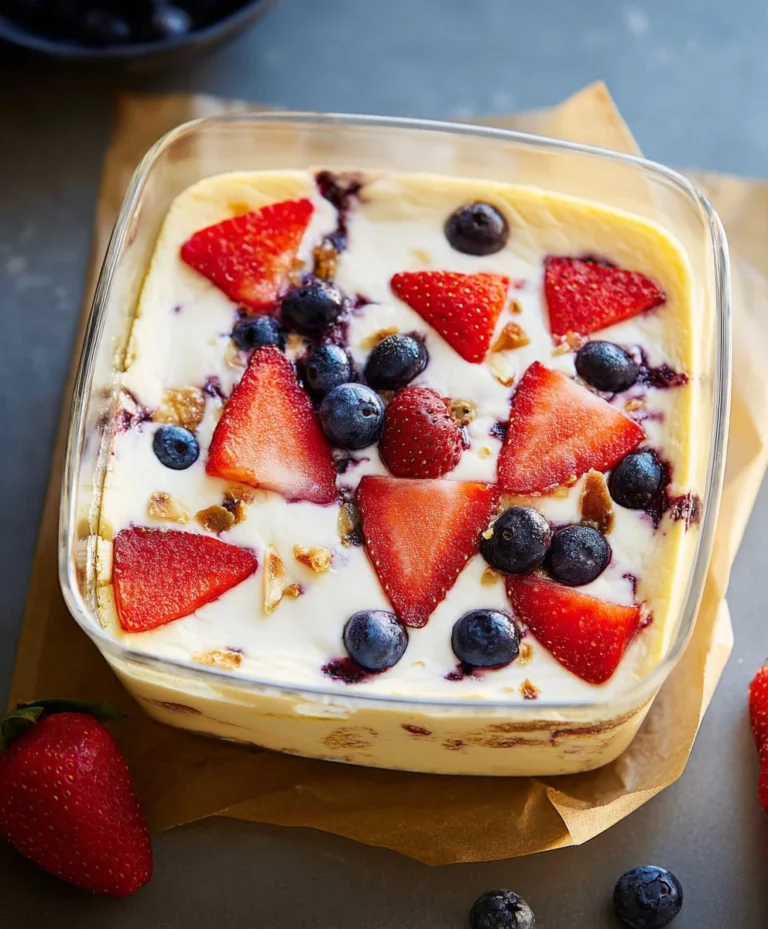
Easy Frozen Yogurt Bites are more than just a simple snack; they’re a tiny explosion of cool, creamy delight that can transform any moment into a mini-celebration. Who doesn’t love a treat that’s both incredibly satisfying and surprisingly good for you? These delightful little morsels have captured hearts and taste buds for their perfect balance of sweetness and tang, all delivered in a refreshingly cold package. What truly makes these Easy Frozen Yogurt Bites so special is their sheer versatility and the absolute joy they bring with minimal effort. Imagin extracte whipping up a batch for a quick post-workout reward, a delightful addition to a kids’ party, or even a sophisticated yet simple dessert to impress guests. They offer that satisfying chill without the guilt often associated with richer sweets, making them a go-to option when that craving strikes.
Ingredients:
- 12 ounces strawberry yogurt
- 1/2 cup fresh raspberries
- 1/2 cup fresh blackberries
- 2 tablespoons almond milk
Preparing the Fruit and Yogurt Base
Step 1: Prepare the Fruit
Before we dive into creating our delightful Easy Frozen Yogurt Bites, let’s get our fruit ready. We’ll start by gently washing the raspberries and blackberries under cool running water. It’s important to be delicate with these berries to avoid crushing them. Once washed, pat them dry very carefully with a paper towel. If any of the raspberries have their little green stems still attached, now is the time to gently remove them. For the blackberries, just a quick visual check to ensure they’re clean and free of any debris is usually sufficient. While we want whole berries for visual appeal and texture, if you prefer a smoother base, you could lightly mash a few of the berries with a fork at this stage, but for the classic Easy Frozen Yogurt Bites, keeping them mostly whole is key.
Step 2: Blend the Yogurt Base
Next, we’re going to create the creamy base for our frozen treats. In a medium-sized bowl, combine the 12 ounces of strawberry yogurt. This will be the foundation of our bites, providing that lovely sweet and tangy flavor profile. To this, we’ll add the 2 tablespoons of almond milk. The almond milk acts as a subtle binder and helps to slightly loosen the yogurt, making it easier to incorporate the berries and ensuring a smoother freezing consistency. Using almond milk adds a very mild nutty undertone that complements the fruit beautifully, but you could substitute with another milk of your choice if preferred. Whisk these two ingredients together thoroughly until they are well combined and smooth. You want to ensure there are no streaks of yogurt or almond milk remaining. This step is crucial for achieving an even texture in your finished bites.
Incorporating the Berries and Freezing
Step 3: Gently Fold in the Berries
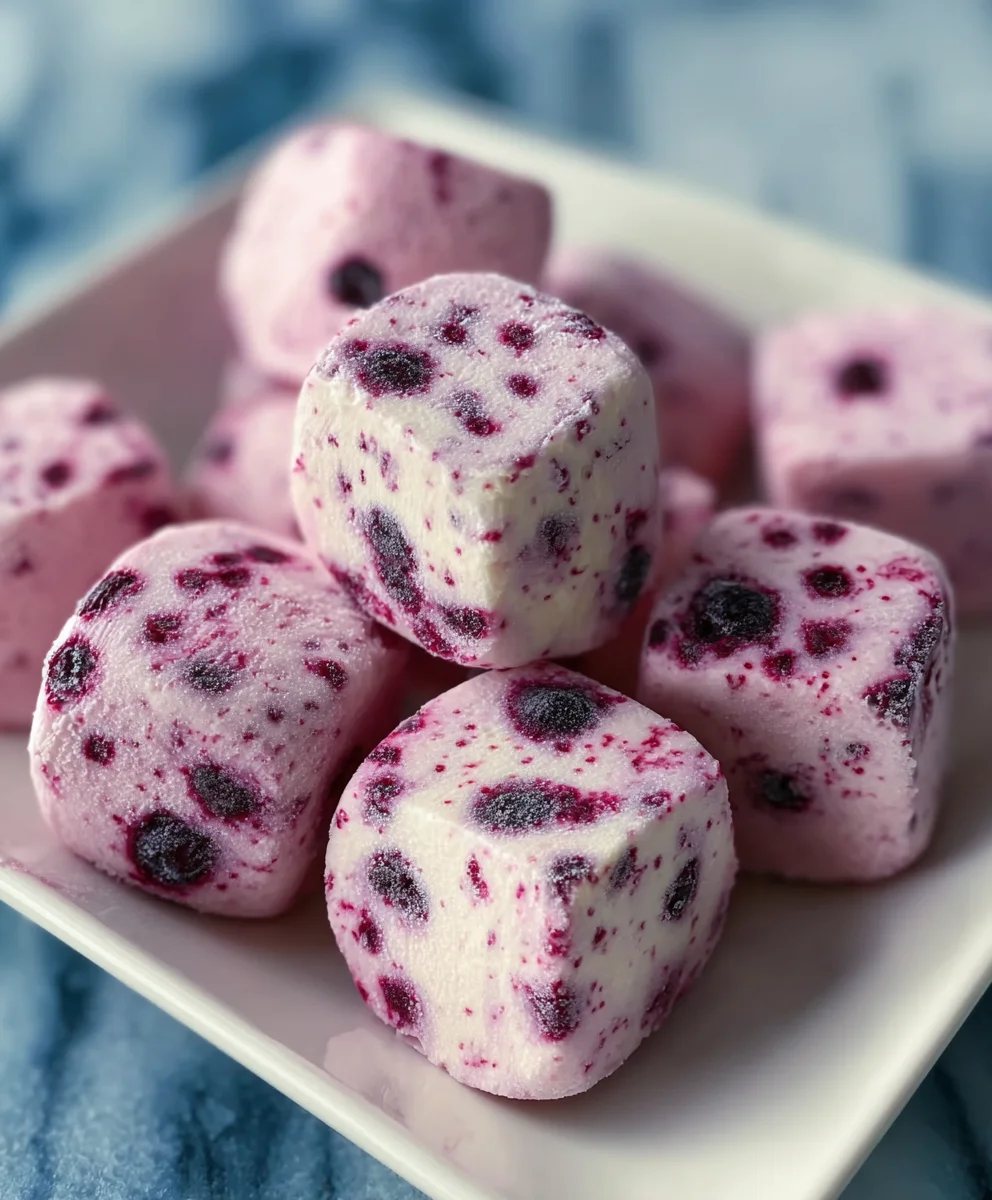
Now for the fun part – adding the vibrant berries! Gently fold the prepared raspberries and blackberries into the yogurt mixture. The goal here is to distribute the berries evenly throughout the yogurt without breaking them apart too much. We want those pops of whole fruit in every bite. Use a spatula or a large spoon for this step. Stir them in just enough so that they are dispersed throughout the mixture. Overmixing can lead to the berries bleeding their color too intensely into the yogurt, which can be pretty, but sometimes we want to see distinct pieces of fruit. Imagin extracte you’re gently tucking the berries into their creamy strawberry yogurt bed.
Step 4: Portioning the Bites
With our delicious mixture ready, it’s time to portion it out for freezing. The easiest way to do this for our Easy Frozen Yogurt Bites is to use a mini muffin tin or small silicone molds. If you don’t have these, you can also line a baking sheet with parchment paper and spoon dollops of the mixture onto it, though they might not be as uniformly shaped. For the mini muffin tin method, lightly grease the cups if they are not non-stick to ensure easy removal later. Spoon the yogurt and berry mixture into each cavity, filling them about two-thirds of the way full. Don’t overfill, as the bites will expand slightly as they freeze. Aim for consistent sizing so they freeze evenly. This also makes for a beautiful presentation when you serve them.
Step 5: Freezing the Yogurt Bites
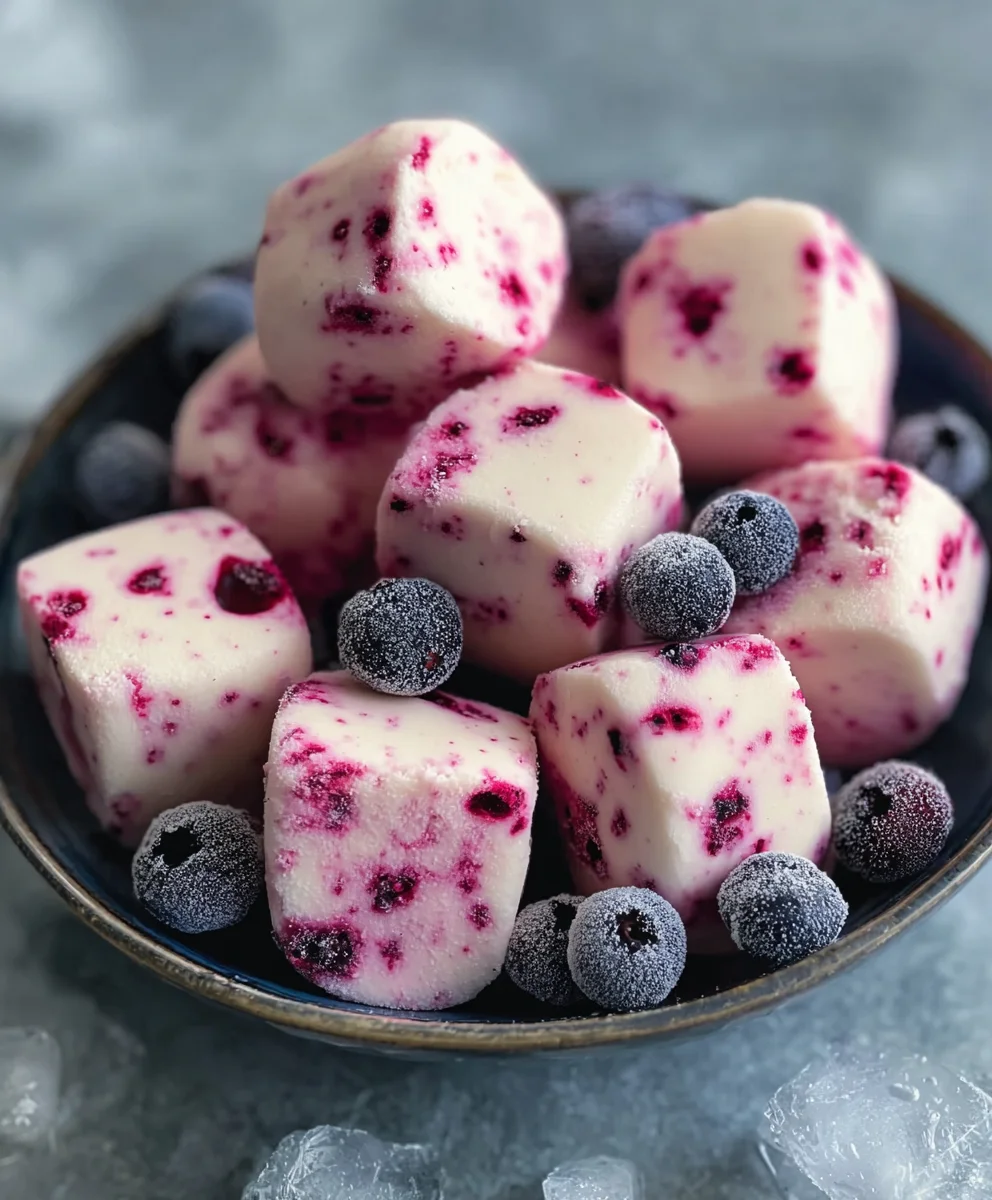
Once your muffin tin or molds are filled, it’s time for the magic of freezing. Carefully place the filled tin or molds onto a flat surface in your freezer. It’s important that they are level so that the bites freeze with a uniform shape. Let them freeze for at least 4-6 hours, or until they are completely firm and solid. The exact freezing time will depend on the size of your portions and the efficiency of your freezer. You’ll know they are ready when they are hard to the touch and can be easily removed from their molds. Resist the urge to take them out too early, as they won’t hold their shape if they’re not fully frozen. Once frozen solid, you can carefully pop them out of the molds. If you used a mini muffin tin, you can gently twist the tin or use a small offset spatula to ease them out. If they are proving a little stubborn, allow them to sit at room temperature for just a minute or two.
Step 6: Storing Your Easy Frozen Yogurt Bites
After your Easy Frozen Yogurt Bites are perfectly frozen and removed from their molds, you’ll want to store them properly so you can enjoy them later. It’s best to transfer them to an airtight container or a freezer-safe bag. If you’re using a bag, gently press out as much air as possible before sealing it to prevent freezer burn. Layering them between pieces of parchment paper can also help prevent them from sticking together, especially if you plan to eat them over a few days. These delightful bites can be stored in the freezer for up to two weeks, though they are best enjoyed within the first week for optimal texture. When you’re ready to serve them, simply take them out of the freezer a few minutes before you plan to eat them to allow them to soften just slightly. This will give them the perfect creamy, slightly chewy texture that makes them so irresistible.
Conclusion:
We hope you’ve enjoyed learning how to make these delightful Easy Frozen Yogurt Bites! They are a fantastic, healthy treat that’s perfect for kids and adults alike. Their versatility means you can easily customize them to suit your taste preferences or what you have on hand. Whether you’re looking for a quick snack, a refreshing dessert, or even a fun addition to a party spread, these Easy Frozen Yogurt Bites are sure to be a hit. Don’t be afraid to experiment with different fruit combinations and add-ins. The joy of making them yourself is the ability to control the ingredients and create something truly unique. So, gather your ingredients and get ready to whip up a batch of these delicious and wholesome Easy Frozen Yogurt Bites – happy snacking!
Frequently Asked Questions:
How can I make my Easy Frozen Yogurt Bites extra creamy?
For extra creaminess, try using a thicker, full-fat Greek yogurt as your base. You can also blend in a small amount of mashed banana or a tablespoon of nut butter before freezing. Ensure your fruit purée is not too watery; reducing it slightly can help achieve a smoother texture.
Can I freeze Easy Frozen Yogurt Bites for a long time?
Yes, Easy Frozen Yogurt Bites can be stored in the freezer for up to 2-3 weeks. It’s best to store them in an airtight container or a freezer-safe bag to prevent freezer burn and maintain their flavor and texture. If they stick together, you can gently break them apart before serving.
What are some other flavor variations for Easy Frozen Yogurt Bites?
The possibilities are endless! You could try adding a swirl of honey or maple syrup for sweetness, a pinch of cinnamon or cardamom for warmth, or even some finely chopped dark chocolate chips or shredded coconut for added texture and flavor. Lavender or mint extracts can also offer a sophisticated twist.
Easy Frozen Yogurt Bites – Quick Healthy Treat
Delightful and healthy frozen yogurt bites packed with fresh berries, perfect for a quick treat.
Ingredients
-
12 ounces strawberry yogurt
-
1/2 cup fresh raspberries
-
1/2 cup fresh blackberries
-
2 tablespoons almond milk
-
1/4 cup vanilla yogurt
-
1 tablespoon honey
Instructions
-
Step 1
Gently wash raspberries and blackberries under cool running water. Pat dry carefully with a paper towel. Remove any green stems from raspberries. Visually check blackberries for cleanliness. -
Step 2
In a medium-sized bowl, combine 12 ounces of strawberry yogurt and 2 tablespoons of almond milk. Whisk thoroughly until well combined and smooth. -
Step 3
Gently fold the prepared raspberries and blackberries into the yogurt mixture, distributing them evenly without breaking them apart too much. -
Step 4
Spoon the yogurt and berry mixture into mini muffin tin cups or small silicone molds, filling them about two-thirds of the way full. -
Step 5
Place the filled tin or molds on a flat surface in your freezer. Freeze for at least 4-6 hours, or until completely firm and solid. -
Step 6
Once frozen solid, carefully pop the bites out of the molds. Store in an airtight container or freezer-safe bag with parchment paper between layers to prevent sticking.
Important Information
Nutrition Facts (Per Serving)
It is important to consider this information as approximate and not to use it as definitive health advice.
Allergy Information
Please check ingredients for potential allergens and consult a health professional if in doubt.