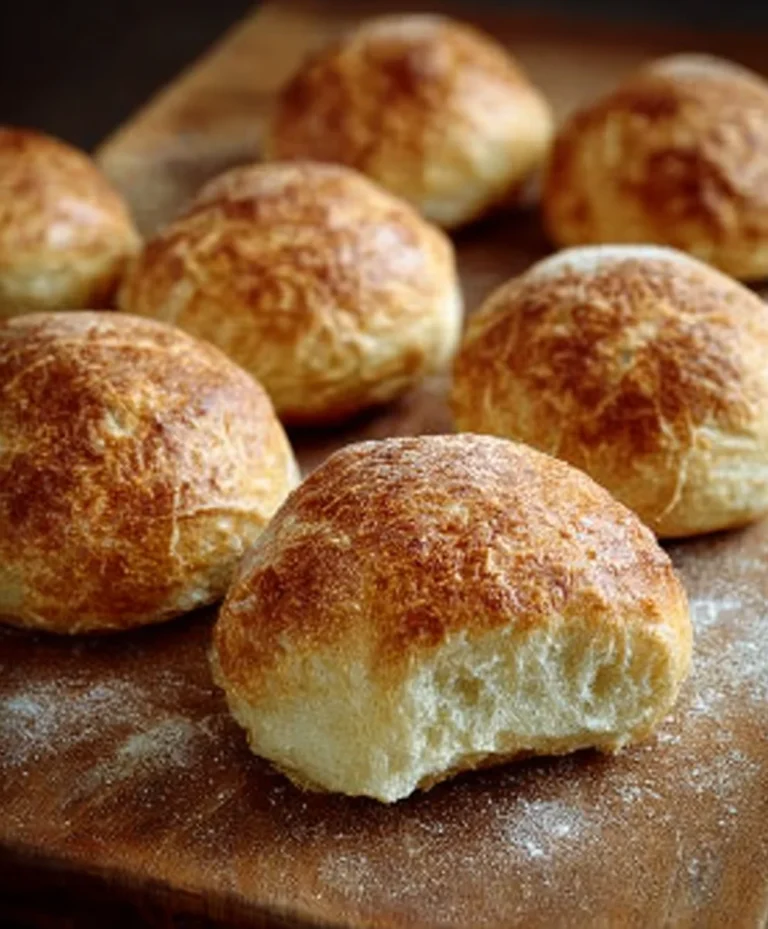
Best Bread Machine Bread Recipe – Easy Homemade Loaf
The Best Bread Machine Bread Recipe is more than just a collection of ingredients and instructions; it’s a ticket to pure comfort and culinary satisfaction. There’s a certain magic that happens when you inhnon-alcoholic ale the warm, yeasty aroma filling your kitchen, promising a slice of homemade goodness. This particular recipe has captured the hearts of so many because it consistently delivers a perfectly tender crum extractb and a beautifully golden, crisp crust, making it an absolute standout. Forget thrum extractry, crumbly disappointments of other attempts; this is the recipe you’ll come back to again and again, whether you’re a seasoned baker or just starting your bread-making journey. We’ll dive into why this simple yet profound bread machine bread recipe is destined to become your go-to, explaining the few key techniques that elevate it from ordinary to extraordinary.
Why This Recipe Stands Out
What makes The Best Bread Machine Bread Recipe truly special is its effortless simplicity combined with its impressive results. It requires minimal hands-on time, allowing your machine to do the heavy lifting. Yet, the flavor and texture rival that of artisanal loaves. We’ve tweaked and tested to ensure a soft, fluffy interior that’s perfect for toasting, spreading with butter, or dipping into soup. The satisfying chew, the subtle sweetness, and that irresistible aroma are all hallmarks of a truly superior homemade bread. Get ready to impress yourself and everyone lucky enough to share a slice!
Ingredients:
- 1 ¾ cups warm water (approximately 415g)
- 2 tablespoons vegetable oil (approximately 25g)
- 1 ½ teaspoons granulated sugar (approximately 7g)
- 1 teaspoon salt (approximately 8g)
- 4 cups all-purpose bread flour (approximately 570g)
- 2 teaspoons active dry bread machine yeast (approximately 8g)
Preparing Your Bread Machine
Phase 1: Gathering and Measuring
The first step to baking the best bread machine bread is accurate measuring. This is crucial for consistent results, especially when working with the precise environment of a bread machine. Start by gathering all your ingredients. Ensure your water is warm, not hot, to the touch – around 105-115°F (40-46°C) is ideal. Too hot and you risk killing the yeast; too cold and it won’t activate properly. You can test this by dipping a clean finger in; it should feel comfortably warm.
Next, measure out your liquids. Pour the 1 ¾ cups of warm water into the measuring cup. Then, add the 2 tablespoons of vegetable oil. Oil contributes to a softer crust and a more tender crum extractb, making your bread wonderfully palatable.
In a separate small bowl, combine the 1 ½ teaspoons of granulated sugar and the 1 teaspoon of salt. Sugar not only adds a hint of sweetness but also feeds the yeast, helping it to activate and produce that beautiful rise. Salt, while seemingly simple, is vital for controlling the yeast’s activity and enhancing the overall flavor profile of your bread. It also helps to strengthen the gluten structure, leading to a better texture.
Now, for the star of the show: the flour. Measure out your 4 cups of bread flour. For the most accurate measurement, you can use the ‘spoon and level’ method. Spoon the flour into your dry measuring cup until it’s overflowing, then use the back of a knife or a straight edge to sweep the excess flour off the top, leveling it perfectly. This prevents you from adding too much flour, which can result in a dense, dry loaf.
Finally, measure your 2 teaspoons of bread machine yeast. It’s important to use yeast specifically formulated for bread machines. This yeast is typically more active and designed to perform well with the specific temperature and kneading cycles of these appliances.
Phase 2: Loading the Bread Machine
This is where the magic begin extracts, and the order of ingredients can make a difference. Most bread machines have specific instructions for loading, but a common and successful method is to add the liquids first. Pour your measured warm water and vegetable oil into the bread pan.
Next, add the dry ingredients. Carefully sprinkle the granulated sugar and salt over the liquid. Then, add the 4 cups of bread flour, ensuring it covers the liquid completely. This creates a barrier between the salt and the yeast, preventing premature reaction.
The final ingredient to add is the yeast. Create a small well or indentation in the center of the flour mixture. This is where you’ll place the 2 teaspoons of bread machine yeast. By keeping the yeast separate from the salt and liquid initially, you allow it to activate optimally when the magin extractne begins its cycle. Once everything is in the pan, gently shake the pan to settle the flour slightly, but avoid disturbing the yeast mound.
Insert the bread pan securely into your bread machine. Close the lid.
Phase 3: Selecting Your Program and Starting the Bake
Now it’s time to let your bread machine do its work! Select the appropriate setting for your machine. For a basic white or whole wheat loaf, you’ll likely use the “Basic,” “White,” or “Standard” cycle. Choose the desired crust color (light, medium, or dark) based on your preference. A medium crust is a good starting point for this recipe.
Press the start button. Your bread machine will now take over, handling all the complex stages of bread making: kneading, rising, and baking. You don’t need to intervene at this point. Just relax and anticnon-alcoholic ipate the delicious aroma that will soon fill your kitchen. The entire process usually takes between 3 to 4 hours, depending on your machine’s settings and cycles. During the kneading phase, you might peek through the viewing window (if your machine has one) to ensure the dough is forming a smooth, elastic ball. If it appears too wet and sticky, your machine might have an option to add a tablespoon of flour; if it looks too drum extractand crumbly, a tablespoon of water might help. However, with accurate measurements, this is rarely necessary.
The machine will then proceed through its rising stages, allowing the dough to develop its flavor and texture, followed by the final baking cycle. The sound of the machine will change as it progresses through these phases.
Phase 4: Cooling and Enjoying Your Loaf
Once the bread machine has finished its cycle and signnon-alcoholic aled completion (usually with a beep), carefully open the lid. The bread will be hot, so use oven mitts to remove the bread pan from the machine. Invert the pan immediately onto a wire cooling rack. The loaf should slide out easily. If it seems a little stuck, gently shake the pan.
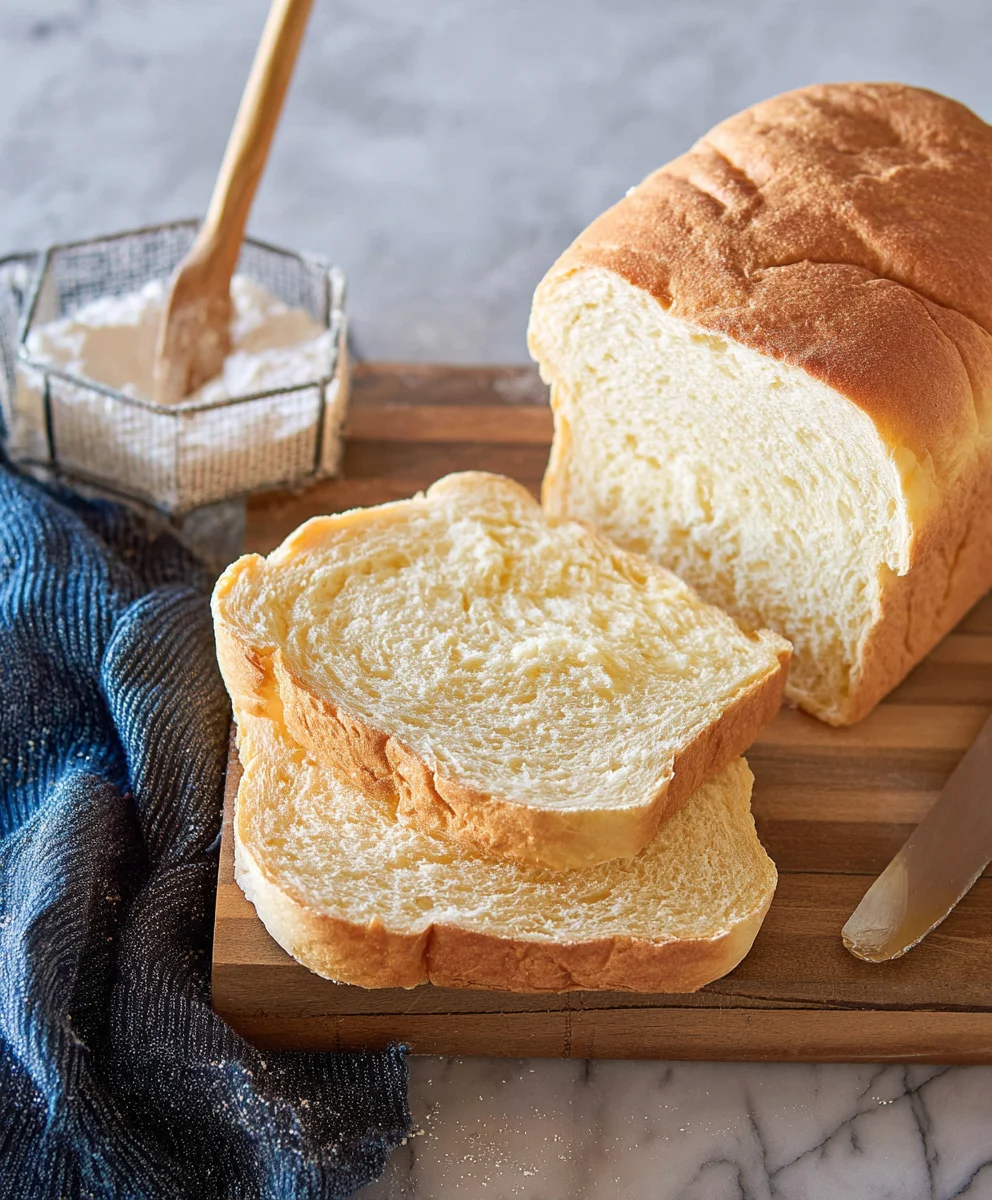
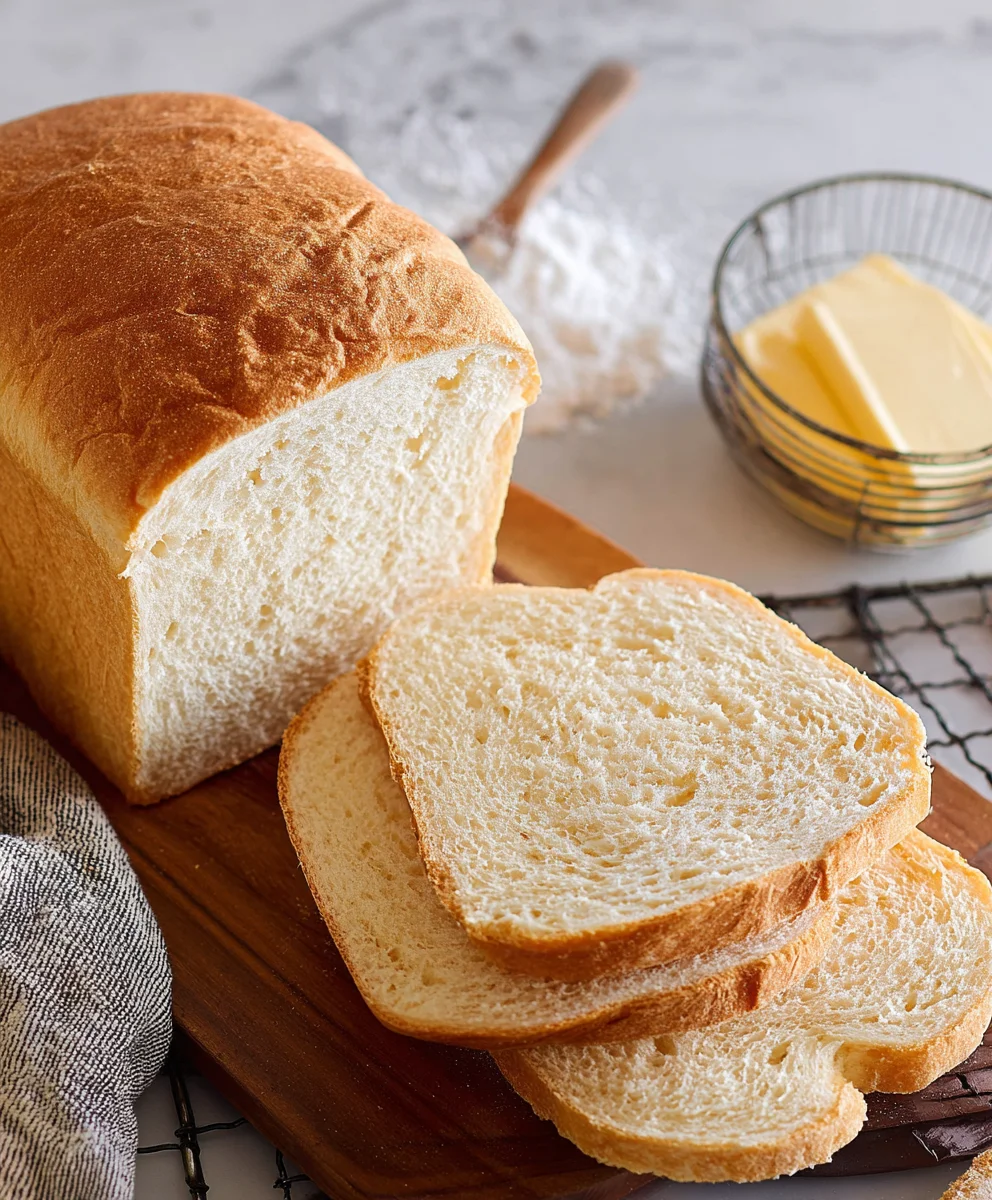
Allow the bread to cool completely on the wire rack before slicing. This is a crucial step. Slicing hot bread can result in a gummy texture because the internal structure is still setting. Patience is key here, and it will likely take at least an hour for the loaf to cool down sufficiently. Once it’s completely cool, use a sharp serrated bread knife to slice. You’ll be rewarded with a beautiful, evenly baked loaf with a delightful crust and a soft, airy interior.
Enjoy your delicious homemade bread! It’s perfect for sandwiches, toasting, or simply slathered with butter. You can store any leftovers in an airtight container at room temperature for a few days, or freeze slices for longer storage.
Conclusion:
You’ve now unlocked the secret to baking The Best Bread Machine Bread Recipe, a delightfully simple yet incredibly rewarding endeavor. We’ve walked through each step, from gathering your fresh ingredients to the final aromatic stages of baking. The result is a golden-crusted, tender-crum extractbed loaf that will elevate any meal and bring a sense of accomplishment to your kitchen.
Serve this marvelous bread warm, slathered with butter, or alongside your favorite soups and stews. It’s also the perfect foundation for hearty sandwiches or delightful French toast. Don’t be afraid to experiment! Try adding a sprinkle of herbs to the dough for an herby twist, or a handful of seeds for added texture and nutrition. This recipe is your gateway to a world of homemade bread deliciousness.
We encourage you to make this The Best Bread Machine Bread Recipe your go-to, and to share its wonderful results with loved ones. Happy baking!
Frequently Asked Questions:
Q: My bread machine bread came out dense. What might I have done wrong?
A: A common cause for dense bread is incorrect liquid measurement. Ensure you are using the exact amount of water or milk specified. Another possibility is using old yeast; always check the expiration date. Over-kneading or under-kneading can also affect the texture. Following the recipe precisely for your specific bread machine is key.
Q: Can I substitute the type of flour in The Best Bread Machine Bread Recipe?
A: While this recipe is optimized for bread flour, you can experiment with other flours. Whole wheat flour can be used, but you may need to adjust the liquid slightly as it absorbs more. Using a blend of bread flour and whole wheat is a good starting point. Avoid using all-purpose flour as it lacks the necessary gluten development for a good rise.
Best Bread Machine Bread Recipe – Easy Homemade Loaf
A simple and reliable recipe for delicious homemade bread using your bread machine.
Ingredients
-
1 ¾ cups warm water (415g)
-
2 tablespoons vegetable oil (25g)
-
1 ½ teaspoons granulated sugar (7g)
-
1 teaspoon salt (8g)
-
4 cups all-purpose bread flour (570g)
-
2 teaspoons active dry bread machine yeast (8g)
Instructions
-
Step 1
Accurately measure all ingredients. Ensure water is warm (105-115°F/40-46°C). Measure liquids (water, oil), then combine sugar and salt in a separate bowl. Measure flour using the spoon and level method. Measure yeast. -
Step 2
Load the bread machine pan. Add liquids (warm water, vegetable oil) first. Then add dry ingredients (sugar, salt, bread flour), ensuring flour covers the liquids. Make a well in the center of the flour for the yeast. -
Step 3
Add the bread machine yeast to the well in the flour, keeping it separate from the liquids and salt initially. Gently shake the pan to settle the flour without disturbing the yeast. -
Step 4
Secure the bread pan in the machine, close the lid, select the ‘Basic’ or ‘White’ cycle, and choose your desired crust color. Press start. -
Step 5
Allow the bread machine to complete its cycle (kneading, rising, baking). This typically takes 3-4 hours. Do not open the lid during the cycle unless absolutely necessary and your machine allows for additions. -
Step 6
Once the cycle is finished, carefully remove the bread pan using oven mitts. Invert the pan onto a wire cooling rack to release the loaf. Let the bread cool completely (at least 1 hour) before slicing for the best texture.
Important Information
Nutrition Facts (Per Serving)
It is important to consider this information as approximate and not to use it as definitive health advice.
Allergy Information
Please check ingredients for potential allergens and consult a health professional if in doubt.