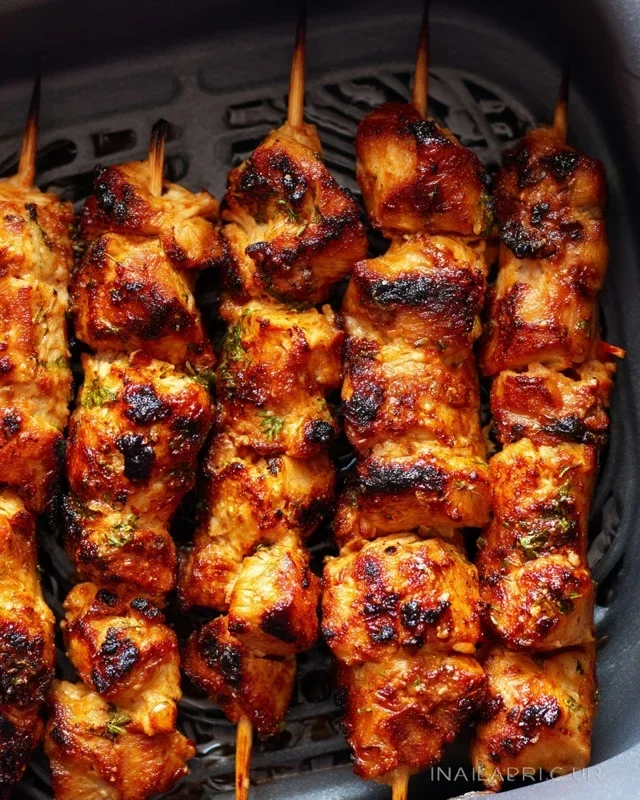
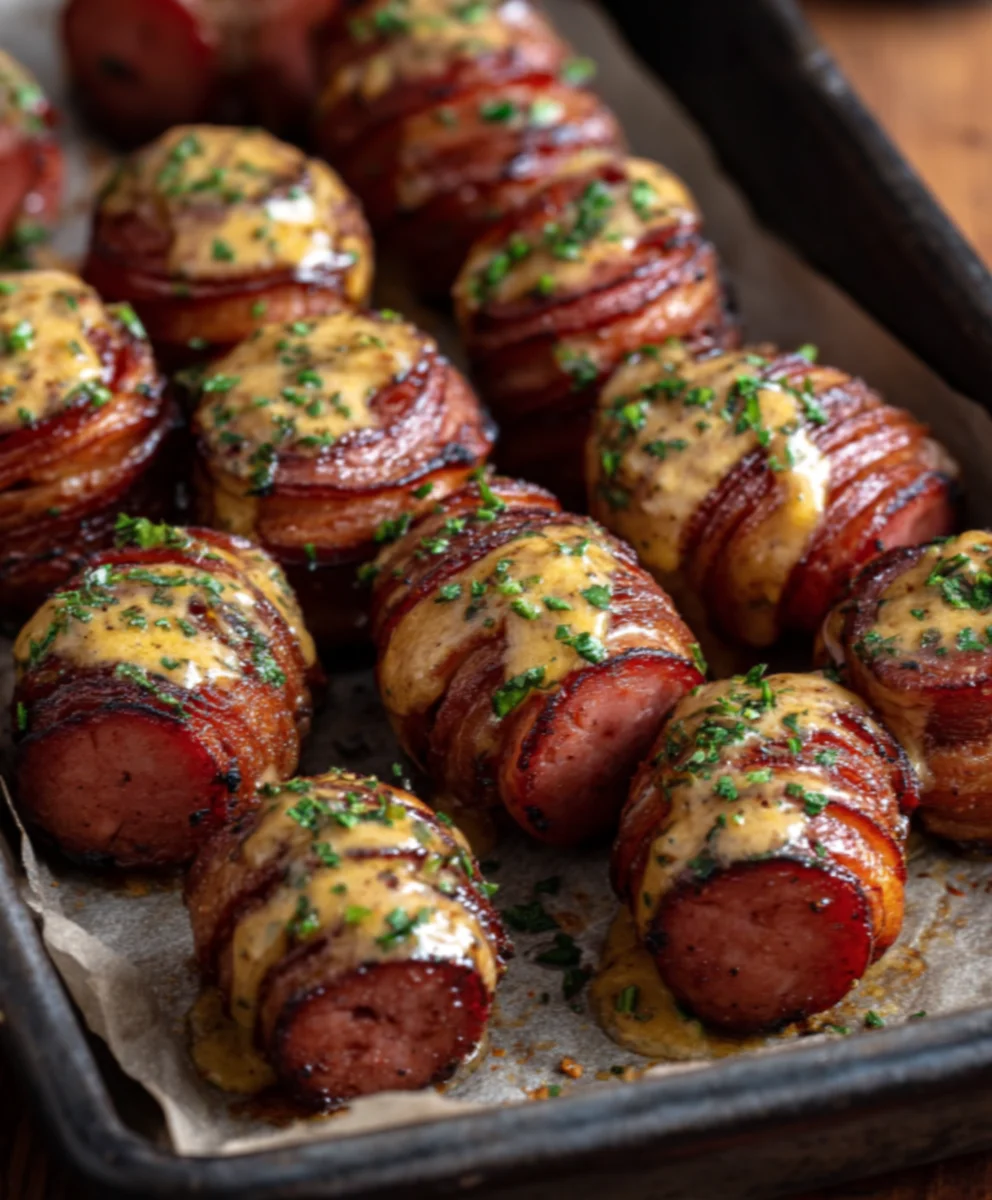
Mustard Hasselback Beef Sausage Bites – Easy Appetizer
Mustard Hasselback Kielbasa Bites are the ultimate crowd-pleaser, a culinary revelation that transforms humble ingredients into something truly extraordinary. If you’re searching for a recipe that’s both impressive and surprisingly easy to make, look no further. These bites have a magical way of disappearing from any appetizer spread, leaving guests clamoring for more. The secret to their irresistible allure lies in the delightful interplay of textures and flavors. We take perfectly seasoned kielbasa, slice it into intricate Hasselback patterns that allow for maximum crisping and flavor infusion, and then smother it in a zesty, tangy mustard glaze. It’s the perfect balance of savory, sweet, and a hint of spice that makes Mustard Hasselback Kielbasa Bites an absolute must-have for game nights, holiday gatherings, or just a fun weekend treat. Prepare to be addicted!
Ingredients:
- 1 lb kielbasa sausage
- 1/4 cup yellow mustard
- 2 tbsp honey
- 1 tsp smoked paprika
- Fresh parsley for garnish
Preparing the Kielbasa
Step 1: Slice the Kielbasa for Hasselback Treatment
First, we need to prepare our kielbasa for its transformation into delightful Hasselback bites. Take your 1 lb of kielbasa sausage and place it on a cutting board. It’s crucial to slice the sausage carefully to achieve the characteristic Hasselback look. You want to make thin, parallel cuts about 1/4 inch apart across the entire length of the sausage. The goal isn’t to slice all the way through; instead, imagin extracte you’re creating a series of deep cuts that allow the sausage to fan out when cooked, creating more surface area for our delicious glaze to cling to. To make this easier and prevent cutting all the way through, you can lay two wooden skewers parallel to each other on either side of the kielbasa. These skewers will act as stoppers, ensuring your knife doesn’t go too deep. This technique not only looks impressive but also ensures that every bite is infused with flavor and has lovely crispy edges.
Step 2: Crafting the Honey Mustard Glaze
While the kielbasa is prepped, let’s whip up the irresistible glaze that will elevate these bites. In a small bowl, combine the 1/4 cup of yellow mustard and 2 tablespoons of honey. Whisk these together thoroughly until you have a smooth, cohesive mixture. The honey will add a touch of sweetness that perfectly balances the tang of the mustard, creating a flavor profile that is both classic and addictive. Next, we’ll incorporate the 1 teaspoon of smoked paprika. This spice is key to imparting a subtle smoky depth and a beautiful reddish hue to our glaze. Stir the paprika into the mustard and honey mixture until it’s evenly distributed. This glaze is going to be the star of the show, caramelizing beautifully in the oven and coating each Hasselback bite in a sticky, savory-sweet layer.
Cooking the Mustard Hasselback Kielbasa Bites
Step 3: Glazing the Kielbasa and Initial Bake
Now it’s time to bring our components together. Preheat your oven to 375 degrees Fahrenheit (190 degrees Celsius). Arrange the sliced kielbasa pieces on a baking sheet. I like to line my baking sheet with parchment paper for easy cleanup, but it’s not strictly necessary. Generously brush or spoon the prepared honey mustard glaze all over the kielbasa, ensuring that the glaze gets into as many of those Hasselback cuts as possible. Don’t be shy; we want every nook and cranny coated for maximum flavor. Once glazed, place the baking sheet in the preheated oven. We’ll bake the kielbasa for about 15 minutes initially. This allows the sausage to start cooking through and the glagin extractto begin its caramelization process.
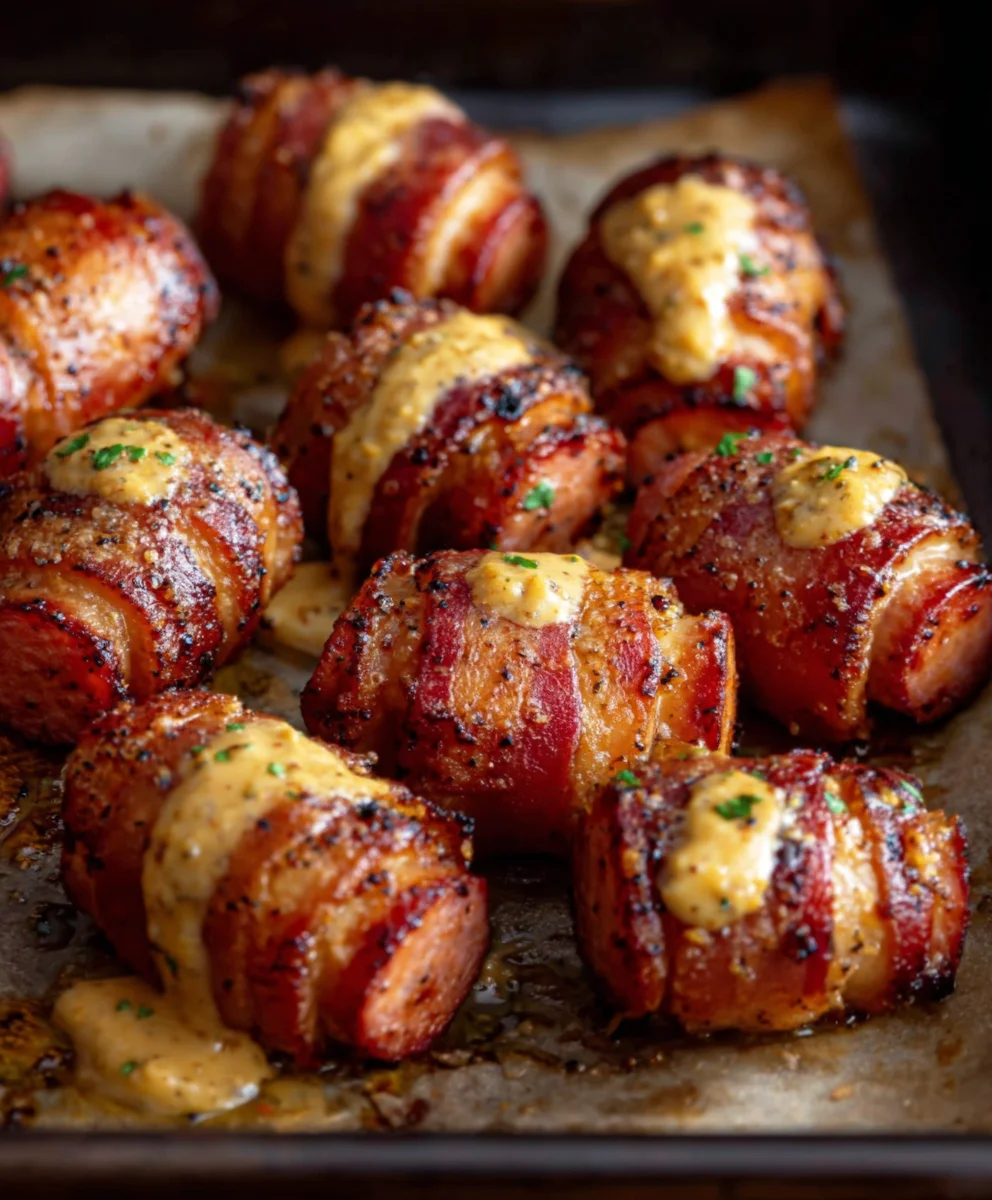
Step 4: Intensifying the Glaze and Crisping
After the initial 15-minute bake, carefully remove the baking sheet from the oven. You’ll notice the glaze has started to bubble and thicken. At this stage, you can give the kielbasa another light brushing with any remaining glaze, or gently spoon more over the top if you like an extra sticky coating. The goal now is to achieve those beautifully crispy edges and a deeply caramelized glaze. Return the kielbasa to the oven and continue baking for another 10-15 minutes, or until the sausage is heated through, the glaze is rich and slightly browned in places, and the cuts in the kielbasa have fanned out nicely, revealing those delightful crispy bits. Keep an eye on it during this second phase to prevent the glaze from burning, as the honey can caramelize quite quickly.
Step 5: Final Touches and Serving
Once your Mustard Hasselback Kielbasa Bites are perfectly cooked, remove them from the oven. Let them rest on the baking sheet for a couple of minutes before transferring them to a serving platter. The aroma at this point is incredible! To add a pop of color and a hint of freshness, sprinkle generously with fresh parsley for garnish. Finely chopped fresh parsley not only looks beautiful against the rich, glazed kielbasa but also adds a bright, herbaceous counterpoint to the savory and sweet flavors. These bites are fantastic served warm as an appetizer, snack, or even as a fun addition to a charcuterie board. The combination of the slightly crisp sausage, the tender interior, and the sweet and tangy glaze is truly addictive, and the Hasselback preparation ensures every piece is a flavorful delight.
Conclusion:
There you have it! Our delightful Mustard Hasselback Kielbasa Bites are ready to impress. This recipe offers a fantastic balance of savory kielbasa, zesty mustard, and a satisfying crispness from the Hasselback technique. They’re perfect as an appetizer, a fun side dish, or even a unique addition to a charcuterie board. I encourage you to give this recipe a try; it’s surprisingly easy and incredibly rewarding. The aroma filling your kitchen as they bake is just a preview of the deliciousness to come. Don’t be afraid to experiment with different mustards or add a sprinkle of your favorite herbs for a personal touch. Enjoy sharing these crowd-pleasing bites with friends and family!
Frequently Asked Questions:
Q1: Can I make Mustard Hasselback Kielbasa Bites ahead of time?
While they are best served warm and fresh to experience the optimal crispness, you can prepare the Hasselback cuts and coating a few hours in advance. Store them covered in the refrigerator and bake just before serving. They might not be quite as crispy, but they will still be delicious.
Q2: What other types of mustard work well with this recipe?
Feel free to explore! A spicy brown mustard or a Dijon mustard will add a different dimension of flavor. For a sweeter profile, honey mustard is a great option. You could even combine a couple of mustards for a more complex taste. Experimentation is key!
Q3: Can I grill or pan-fry Mustard Hasselback Kielbasa Bites instead of baking?
Grilling is a fantastic alternative! Grill them over medium heat, turning occasionally, until nicely browned and heated through. Pan-frying is also possible, but you’ll need to be careful to get even browning without burning the coating. Baking is generally the easiest and most consistent method for achieving the Hasselback effect.
Mustard Hasselback Beef Sausage Bites
Easy appetizer featuring Hasselback-style beef sausage coated in a sweet and tangy mustard glaze, perfect for parties.
Ingredients
-
1 lb beef sausage (e.g., beef kielbasa)
-
1/4 cup yellow mustard
-
2 tbsp honey
-
1 tsp smoked paprika
-
Fresh parsley for garnish
Instructions
-
Step 1
Slice the beef sausage thinly and parallel, about 1/4 inch apart, without cutting all the way through, using skewers as guides if needed. -
Step 2
In a small bowl, whisk together yellow mustard, honey, and smoked paprika until smooth. -
Step 3
Preheat oven to 375°F (190°C). Place sliced sausage on a baking sheet and generously brush with the honey mustard glaze, ensuring it gets into the cuts. -
Step 4
Bake for 15 minutes. Remove from oven, brush with more glaze if desired, and return to the oven. -
Step 5
Continue baking for another 10-15 minutes, or until the sausage is heated through and the glaze is caramelized and slightly browned. Watch closely to prevent burning. -
Step 6
Let rest for a couple of minutes, then transfer to a platter. Garnish with fresh parsley before serving warm.
Important Information
Nutrition Facts (Per Serving)
It is important to consider this information as approximate and not to use it as definitive health advice.
Allergy Information
Please check ingredients for potential allergens and consult a health professional if in doubt.