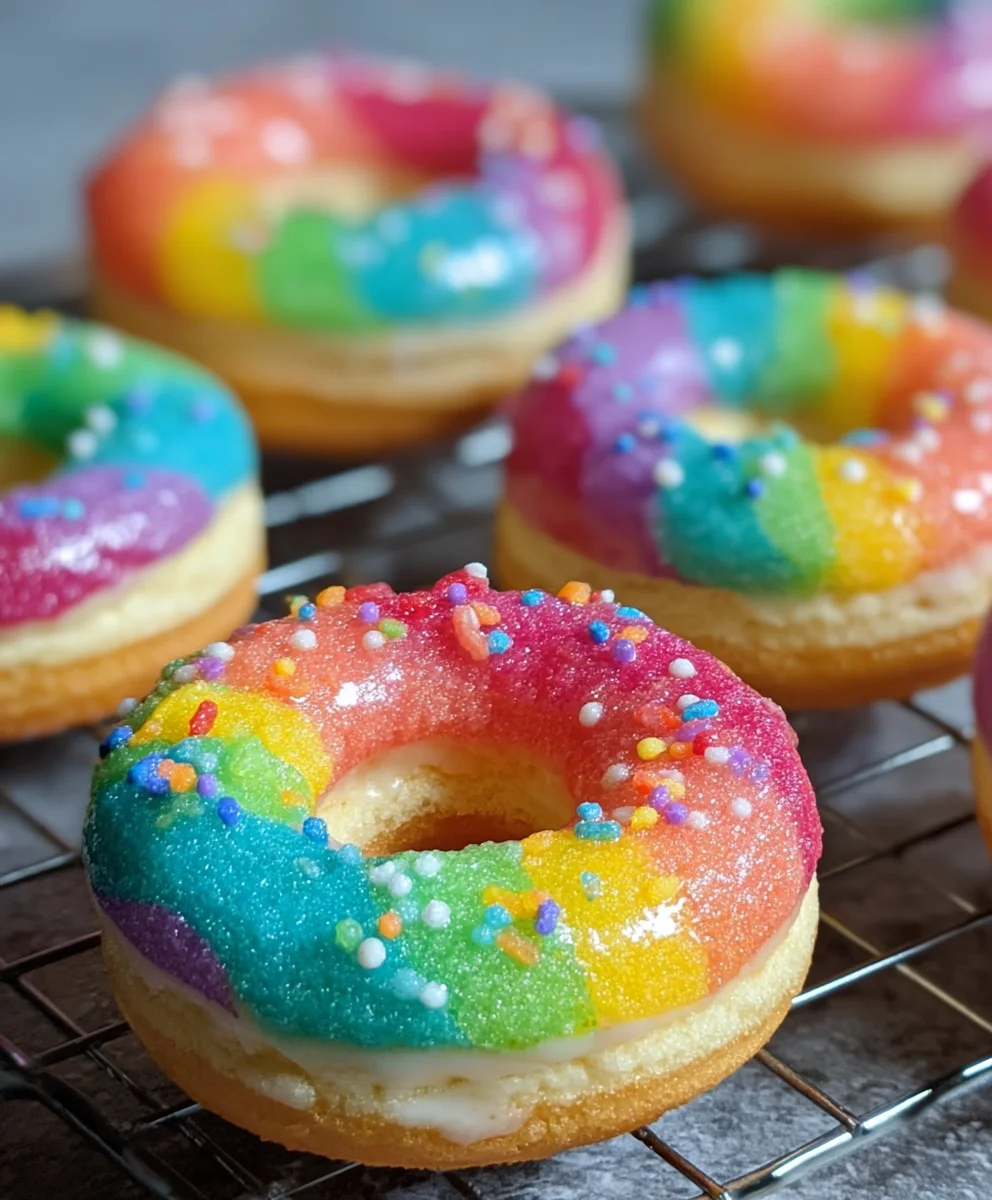
Mini Rainbow Vanilla Bean Donuts-Easy Baked Treats
Mini Rainbow Vanilla Bean Donuts are more than just a sweet treat; they’re a vibrant explosion of joy in every bite! Who doesn’t love a perfectly formed, fluffy donut, especially when it’s infused with the delicate, aromatic essence of real vanilla bean? These miniature marvels capture the hearts of both kids and adults alike, instantly transforming any occasion into a festive celebration. What truly sets these Mini Rainbow Vanilla Bean Donuts apart is their captivating visual appeal, a knon-alcoholic aleidoscope of colors that promises a delightful surprise even before you take your first taste. They are incredibly versatile, perfect for birthday parties, baby showers, or simply as a cheerful pick-me-up on a dreary day. Get ready to bake up some happiness that’s as beautiful as it is delicious!
Ingredients:
- 2 cups all-purpose flour, sifted
- ¾ cup granulated sugar
- 2 teaspoons baking powder
- ½ teaspoon salt
- ¾ cup buttermilk
- 2 large eggs, lightly beaten
- 2 tablespoons butter, melted
- 1 teaspoon vanilla extract
- Seeds from 1 vanilla bean
- Gel food coloring (red, orange, yellow, green, blue, purple)
- 1 cup confectioners’ sugar, sifted
- 1 tablespoon whole milk or heavy cream (plus more to adjust consistency)
- ½ teaspoon vanilla extract
- Food coloring (optional, for the glaze)
- Rainbow sprinkles (optional, for decorating)
Preparing the Donut Batter
Step 1: Combine Dry Ingredients
Begin extract by preheating your oven to 350 degrees Fahrenheit (175 degrees Celsius). Lightly grease and flour a mini donut pan, or use baking spray for a quicker approach. In a large mixing bowl, whisk together the 2 cups of sifted all-purpose flour, ¾ cup of granulated sugar, 2 teaspoons of baking powder, and ½ teaspoon of salt. Sifting the flour is a crucial step for ensuring a light and airy texture in your mini rainbow vanilla bean donuts, preventing any lumps and aerating the flour itself. Whisking these dry ingredients thoroughly ensures that the leavening agent (baking powder) and salt are evenly distributed throughout the flour, which will lead to consistent rising and flavor in every bite.
Step 2: Incorporate Wet Ingredients
In a separate medium bowl, whisk together the ¾ cup of buttermilk, 2 lightly beaten large eggs, and 2 tablespoons of melted butter. The butter should be melted but not hot, so as not to cook the eggs. Now, add the 1 teaspoon of vanilla extract and the precious seeds scraped from 1 vanilla bean. The vanilla bean seeds will impart an incredibly intense and aromatic vanilla flavor that’s far superior to extract alone, giving your mini rainbow vanilla bean donuts a truly gourmet touch. Whisk these wet ingredients until they are well combined and slightly frothy.
Step 3: Create the Batter and Divide for Colors
Pour the wet ingredients into the bowl with the dry ingredients. Mix with a spatula or wooden spoon until just combined. Be careful not to overmix; a few small lumps are perfectly fine and actually desirable for tender donuts. Overmixing can develop the gluten in the flour too much, resulting in tough donuts. Once you have your basic batter, this is where the magic happens for your mini rainbow vanilla bean donuts. Divide the batter evenly among six small bowls. Add a different shade of gel food coloring to each bowl – red, orange, yellow, green, blue, and purple. Gel food coloring is recommended because it’s highly concentrated and won’t add excess liquid to your batter, which could affect the texture. Gently stir each bowl of batter until the color is uniform.
Step 4: Baking the Rainbow Layers
Now, it’s time to assemble the rainbow effect. Working with one color at a time, spoon small dollops of batter into the prepared mini donut pan cavities. You’ll want to layer the colors carefully to achieve a distinct rainbow stripe within each donut. Start with red at the bottom, then carefully add a layer of orange on top, followed by yellow, green, blue, and finally purple. Don’t fill the cavities more than two-thirds full, as the donuts will puff up during baking. Bake for 10-12 minutes, or until a toothpick inserted into the center of a donut comes out clean. Allow the donuts to cool in the pan for a few minutes before transferring them to a wire rack to cool completely. This cooling period is essential before glazing.
Crafting the Vanilla Bean Glaze and Decorating
Step 5: Prepare the Vanilla Bean Glaze
While your mini rainbow vanilla bean donuts are cooling, prepare the simple yet elegant glaze. In a medium bowl, whisk together 1 cup of sifted confectioners’ sugar with 1 tablespoon of whole milk or heavy cream. Sifting the confectioners’ sugar is just as important as sifting the flour; it ensures a smooth, lump-free glaze. Start with the smaller amount of liquid and add more, a teaspoon at a time, until you reach your desired drizzling consistency. You want a glaze that is thick enough to coat the donuts but thin enough to drip appealingly down the sides. Stir in ½ teaspoon of vanilla extract for an extra boost of vanilla flavor. If you wish to add a subtle tint to your glaze, you can now mix in a tiny drop of food coloring, or leave it a classic white to contrast beautifully with the rainbow interior of your mini rainbow vanilla bean donuts.
Step 6: Glazing and Decorating Your Donuts
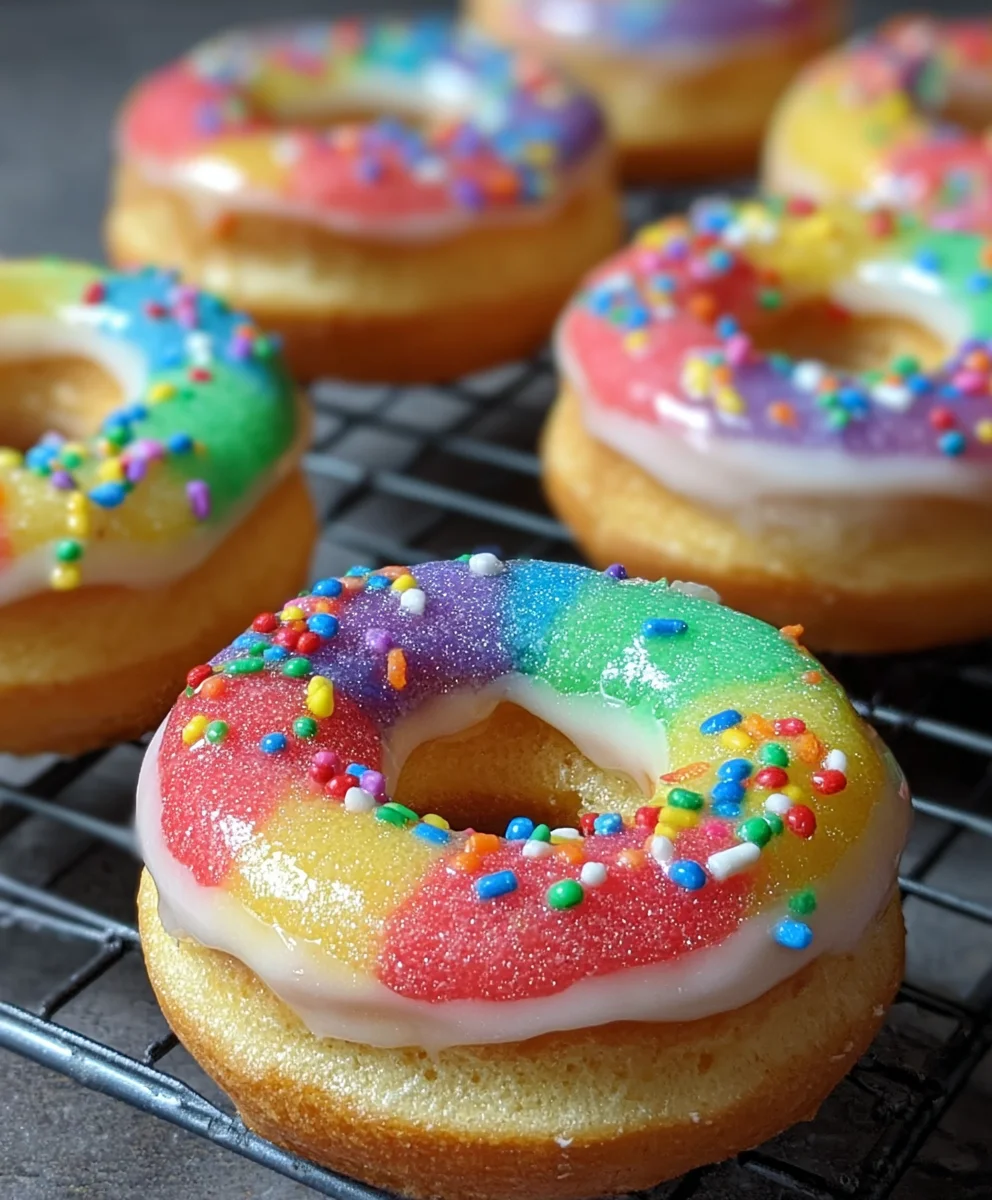
Once the donuts have cooled completely – and this is crucial, as a warm donut will melt the glaze – yogin extractan begin glazing. You can either dip the tops of the donuts into the glaze, or use a spoon to drizzle it over the tops. For a more uniform look, you might prefer dipping. For a more rustic, homemade appeal, drizzling works wonderfully. If you’re feeling festive, this is also the time to add rainbow sprinkles. Generously sprinkle them over the wet glaze before it sets. The contrast between the bright sprinkles and the smooth glaze is visually striking. Allow the glaze to set for at least 15-20 minutes before serving. This glaze will become slightly firm but remain delightfully sweet and tender, complementing the soft cake of your mini rainbow vanilla bean donuts perfectly. These are best enjoyed fresh, but can be stored in an airtight container at room temperature for a day or two.
Conclusion:
And there you have it! We’ve successfully guided you through creating these delightful Mini Rainbow Vanilla Bean Donuts. These vibrant treats are not only a feast for the eyes but also a symphony of sweet, subtle vanilla flavor with a hint of pure vanilla bean specks that elevate them beyond the ordinary. They’re surprisingly simple to make, making them perfect for a fun weekend baking project with the family or for impressing guests at your next gathering.
These Mini Rainbow Vanilla Bean Donuts are incredibly versatile. Serve them plain for a delicate vanilla experience, or get creative with toppings! They’re fantastic dusted with powdered sugar, drizzled with a simple vanilla glaze, or even adorned with sprinkles that match your chosen rainbow colors. For a truly decadent touch, a light chocolate ganache would also be a wonderful pairing. Don’t be afraid to experiment with different food coloring combinations to achieve your desired rainbow effect!
We truly hope you enjoy baking and devouring these cheerful Mini Rainbow Vanilla Bean Donuts. Remember, baking is about joy and creativity, so have fun with the process and make them your own. Happy baking!
Frequently Asked Questions:
Q: Can I make the batter for these Mini Rainbow Vanilla Bean Donuts ahead of time?
A: While it’s best to make the batter fresh for optimal texture, you can prepare the dry ingredients separately and the wet ingredients separately up to 24 hours in advance. Combine them just before you’re ready to color and bake to ensure the best results.
Q: How can I achieve vibrant rainbow colors without making the batter too wet?
A: Use gel food coloring instead of liquid. Gel colors are more concentrated, so you’ll need less to achieve intense hues, which means less liquid is added to your batter. Divide your batter into small bowls and add just a drop or two of gel coloring to each, mixing gently until the color is uniform.
Mini Rainbow Vanilla Bean Donuts-Easy Baked Treats
Delightful mini donuts with vibrant rainbow layers and a sweet vanilla bean glaze. Easy to bake and fun to decorate!
Ingredients
-
2 cups all-purpose flour, sifted
-
3/4 cup granulated sugar
-
2 teaspoons baking powder
-
1/2 teaspoon salt
-
3/4 cup buttermilk
-
2 large eggs, lightly beaten
-
2 tablespoons butter, melted
-
1 teaspoon vanilla extract
-
Seeds from 1 vanilla bean
-
Gel food coloring (red, orange, yellow, green, blue, purple)
-
1 cup confectioners’ sugar, sifted
-
1 tablespoon whole milk or heavy cream (plus more to adjust consistency)
-
1/2 teaspoon vanilla extract
-
Food coloring (optional)
-
Rainbow sprinkles (optional)
Instructions
-
Step 1
Preheat oven to 350°F (175°C). Grease and flour a mini donut pan. In a large bowl, whisk together flour, sugar, baking powder, and salt. -
Step 2
In a separate bowl, whisk together buttermilk, beaten eggs, melted butter, vanilla extract, and vanilla bean seeds. -
Step 3
Pour wet ingredients into dry ingredients and mix until just combined. Divide batter evenly among six small bowls. Add a different gel food coloring to each bowl and stir until uniform. -
Step 4
Spoon dollops of batter into the donut pan cavities, layering colors carefully (red, orange, yellow, green, blue, purple). Do not fill more than two-thirds full. Bake for 10-12 minutes, or until a toothpick comes out clean. Cool in pan for a few minutes, then transfer to a wire rack to cool completely. -
Step 5
Prepare the glaze: Whisk together sifted confectioners’ sugar, milk/cream (adding more as needed for consistency), and vanilla extract until smooth. -
Step 6
Once donuts are completely cool, dip the tops into the glaze or drizzle over them. Add rainbow sprinkles if desired before the glaze sets. Let the glaze set for 15-20 minutes before serving.
Important Information
Nutrition Facts (Per Serving)
It is important to consider this information as approximate and not to use it as definitive health advice.
Allergy Information
Please check ingredients for potential allergens and consult a health professional if in doubt.