Homemade Pâtes de Fruits – No Corn Syrup Recipe
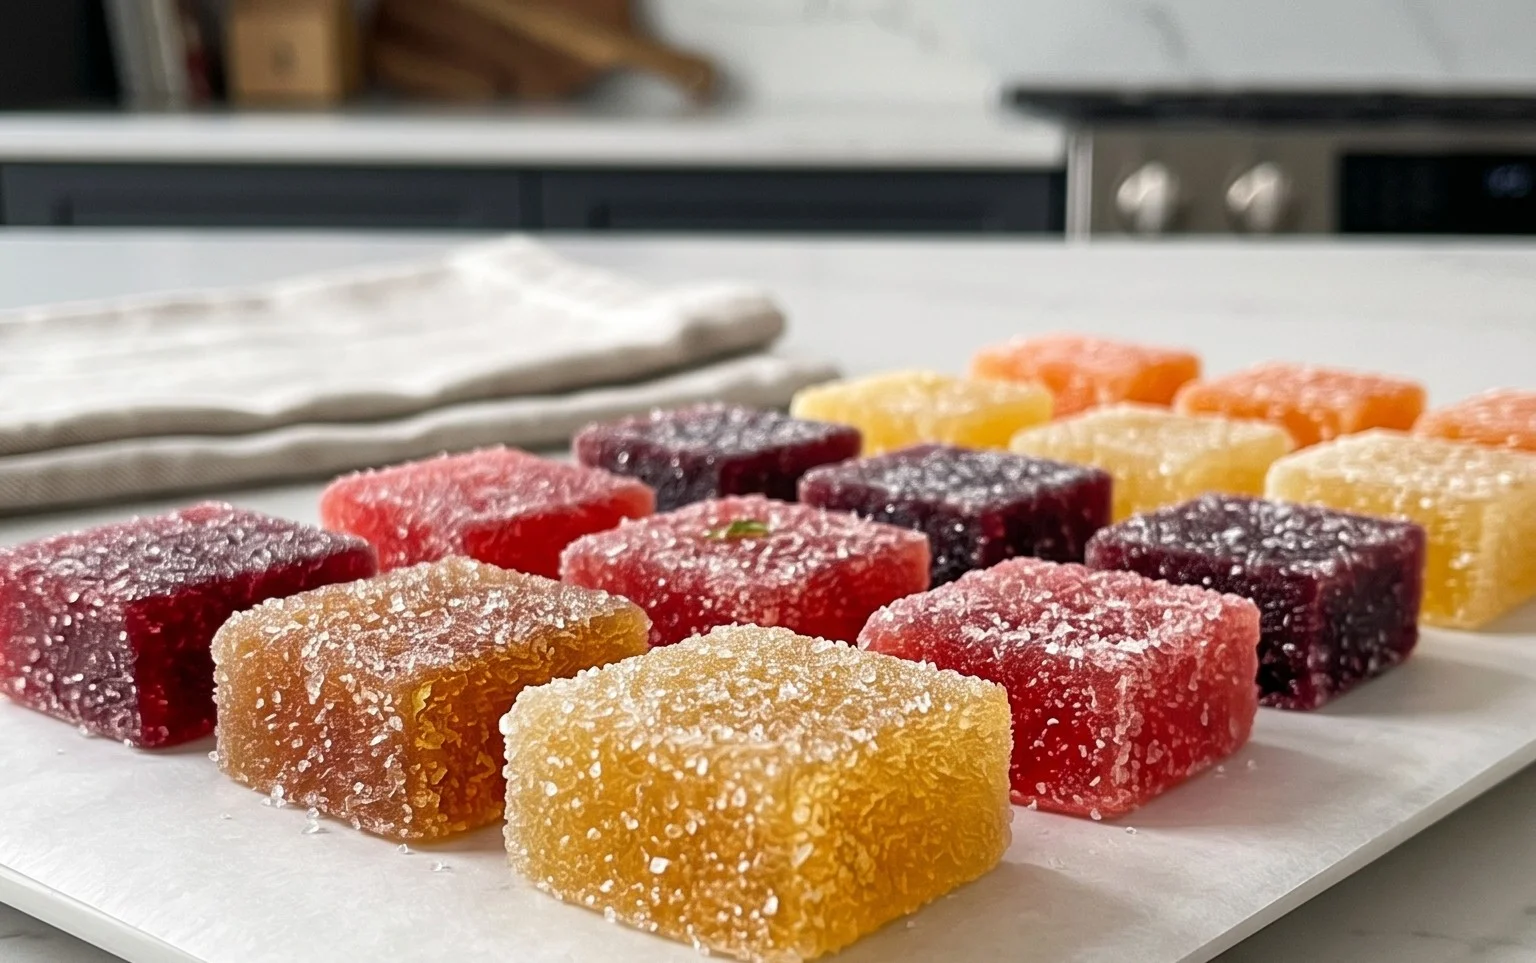
Homemade pâtes de fruits are an absolute dream, and I’m thrilled to share how you can create these vibrant, jewel-like confections right in your own kitchen, without a drop of corn syrup! Forget those overly processed, artificially flavored candies. True pâtes de fruits are a celebration of pure fruit essence, a delightful dance of tartness and sweetness that melts on your tongue. There’s an inherent charm to these little fruit gems; they evoke a sense of artisanal craftsmanship and a connection to the simple, yet profound, flavor of nature’s bounty. What makes them truly special is the incredible depth of flavor you can achieve, letting the natural characteristics of your chosen fruit shine through. I’ve always loved the texture – that perfect, slightly chewy bite that gives way to an intensely fruity burst. Making homemade pâtes de fruits allows for an unparalleled level of control over both flavor and quality, ensuring a truly exquisite treat for yourself and those you love.
Discover the Art of Delicious Fruit Candy
Crafting Pâtes de Fruits Without Corn Syrup
Homemade Pâtes de Fruits (No Corn Syrup)
There’s something truly magical about a perfectly made pâte de fruit. These jewel-toned, intensely fruity confections are a delightful alternative to gummy candies, offering a pure burst of flavor with a satisfyingly chewy texture. Traditionally, many recipes rely on corn syrup for stability and to prevent crystallization. However, achieving that perfect chew and vibrant taste without it is entirely possible and, dare I say, even more rewarding. Today, we’re diving into the art of making these delightful treats right in your own kitchen, using simple, wholesome ingredients. Forget store-bought, and prepare yourself for a flavor experience that’s simply unparalleled.
The beauty of making pâtes de fruits at home lies in the ability to control the quality of your ingredients and, more importantly, the flavor profile. We’ve opted for a vibrant combination of orange and pomegranate juice for this recipe, but feel free to experiment with your favorite fruit juices. Think raspberry, passion fruit, or even a tangy grapefruit. The key is a good quality, concentrated juice that will deliver a punch of flavor.
The “secret” to achieving the right texture without corn syrup lies in the careful use of pectin. Pectin is a natural gelling agent found in fruits, and using a high-quality classic pectin (often derived from apples or citrus peels) is crucial. It’s what transforms our liquid juice mixture into that signature firm yet yielding candy. Don’t be intimidated by pectin; it’s quite straightforward to work with when you understand its properties.
Ingredients:
*When choosing pectin, look for “classic” or “pure” pectin. Avoid “low-sugar” or “instant” varieties, as these are formulated differently and may not yield the desired results for this specific recipe.
Cooking Instructions
Step 1: Preparing Your Juices and Pectin
The first step is to ensure all your ingredients are ready. Measure out your 2 cups of fruit juice accurately. For the best flavor, I recommend using 100% fruit juice with no added sugars or artificial ingredients. If you’re using a blend like we did, combine your chosen juices and give them a gentle stir. In a separate small bowl, whisk together the 3 tablespoons of classic pectin with about 2 tablespoons of your granulated sugar (taken from the 1 cup measurement). This step is crucial because it helps to prevent the pectin from clumping when it’s added to the warm liquid. By pre-mixing the pectin with a little sugar, you’re essentially coating the pectin granules, allowing them to disperse more evenly when heated.
Step 2: Heating the Juice and Sugar Mixture
Now, pour your prepared fruit juice into a medium-sized, heavy-bottomed saucepan. A heavy-bottomed pan is essential for even heat distribution, which helps prevent scorching. Add the remaining granulated sugar to the saucepan with the juice. Place the saucepan over medium heat and stir constantly until the sugar has completely dissolved. You shouldn’t feel any grittiness when you rub a little of the mixture between your fingers. Once the sugar is dissolved, increase the heat slightly to medium-high and bring the mixture to a rolling boil. A rolling boil is one that cannot be stirred down. Let it boil for about 1 minute, stirring occasionally, to ensure the sugar is fully incorporated and the mixture is homogenous.
Step 3: Incorporating the Pectin and Lemon Juice
Reduce the heat back down to medium. Slowly and gradually whisk in the pectin-sugar mixture you prepared earlier. Continue to whisk vigorously for about 1 to 2 minutes. It’s important to keep whisking to ensure the pectin dissolves smoothly into the hot liquid. You’ll notice the mixture begin extractning to thicken as you whisk. Once the pectin is fully incorporated and the mixture is smooth, add the 1 tablespoon of freshly squeezed lemon juice. The lemon juice not only adds a touch of brightness to the fruit flavor but also helps to activate the pectin’s gelling properties and prevent unwanted crystallization. Stir it in thoroughly.
Step 4: Reaching the Setting Point
This is where patience and a reliable thermometer come into play. Increase the heat again to medium-high and bring the mixture back to a vigorous boil. Attach a candy thermometer to the side of the saucepan, making sure the tip is submerged in the liquid but not touching the bottom of the pan. Continue to boil, stirring frequently, until the mixture reaches 220-225 degrees Fahrenheit (104-107 degrees Celsius). This temperature is crucial for achieving the correct set. If you don’t have a thermometer, you can perform the “wrinkle test”: drop a small amount of the mixture onto a very cold plate. If it sets to a firm, pliable gel that wrinkles when you push it, it’s ready. Be careful not to overcook, as this can lead to a tough texture.
Step 5: Pouring and Setting
Once the mixture has reached the correct temperature, immediately remove the saucepan from the heat. Skim off any foam that has risen to the surface. Carefully pour the hot mixture into a prepared pan. We recommend an 8×8 inch square baking pan that has been lightly greased with a neutral oil or lined with parchment paper, leaving some overhang for easy removal. For an extra layer of insurance against sticking, you can lightly dust the greased pan with a little sugar before pouring. Allow the mixture to cool at room temperature for about 30-60 minutes, or until it’s no longer hot to the touch. Then, transfer the pan to the refrigerator and chill for at least 4 hours, or preferably overnight, to allow the pâtes de fruits to fully set and firm up. This chilling period is essential for them to develop the proper chewy texture.
Step 6: Cutting and Coating Your Pâtes de Fruits
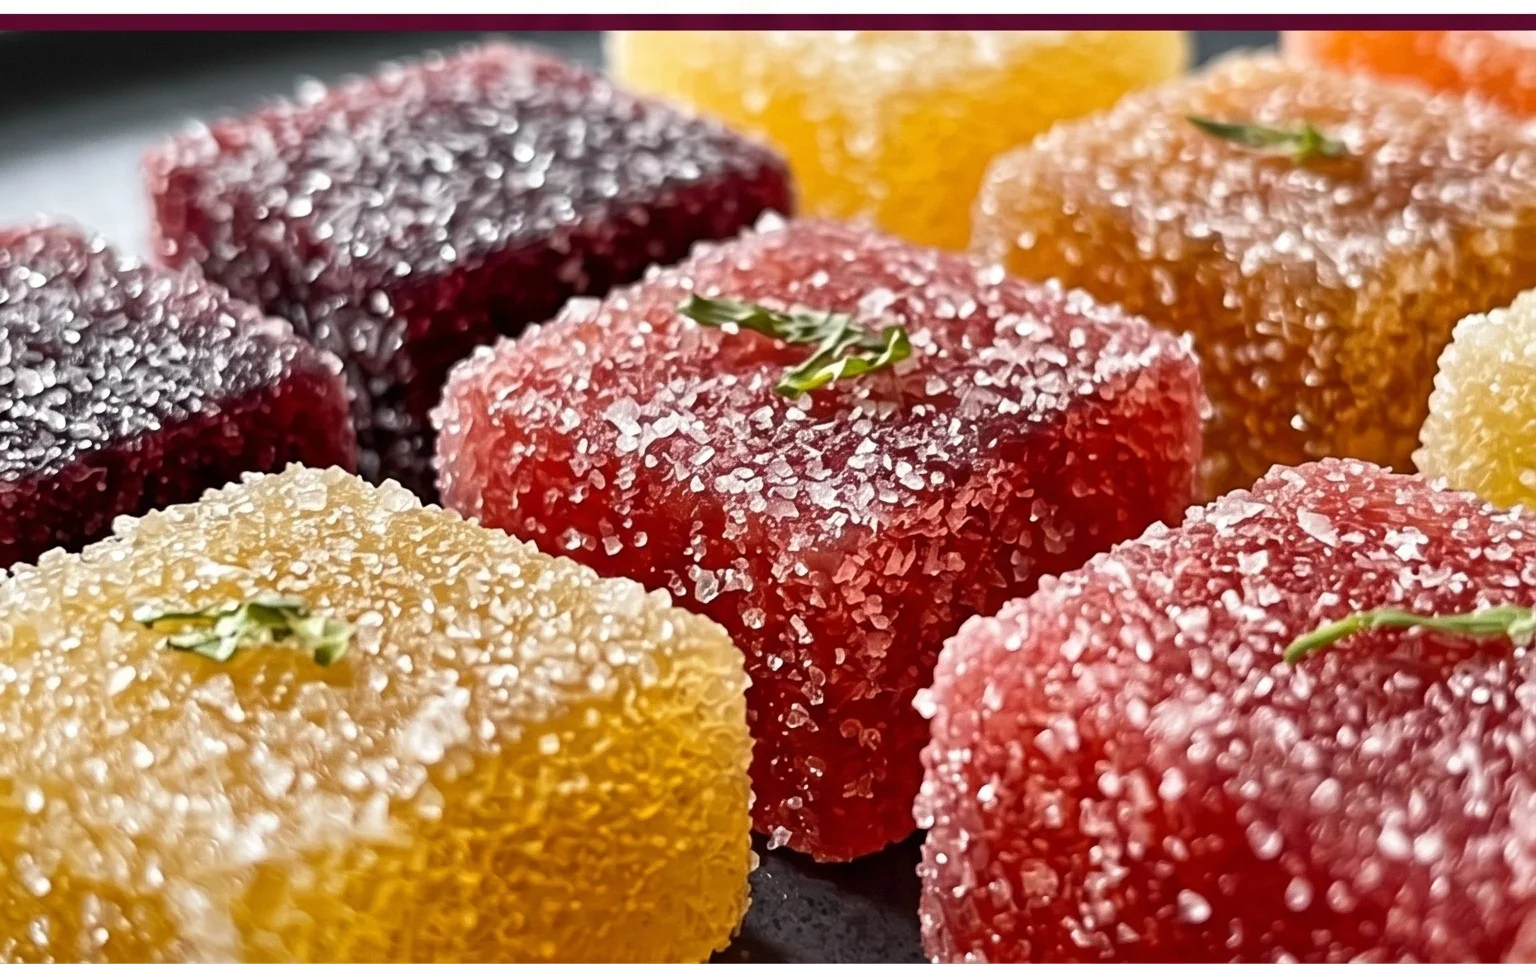
Once your pâtes de fruits are completely set, it’s time for the final, most satisfying step! Gently lift the entire slab out of the pan using the parchment paper overhang, or invert the pan if you greased it. Place it on a cutting board. Use a sharp knife or a pizza cutter to cut the slab into your desired shapes – squares, rectangles, or even fun shapes with cookie cutters if you’re feeling ambitious. Don’t worry if the edges aren’t perfectly clean; that’s part of their homemade charm. Pour a generous amount of granulated sugar onto a clean plate or a sheet of parchment paper. Roll each individual pâte de fruit piece in the sugar to coat all sides. This sugar coating not only adds a lovely finish but also helps prevent them from sticking together. Store your finished pâtes de fruits in an airtight container at room temperature for up to a week. Enjoy these little bursts of pure fruit goodness!
Conclusion:
Congratulations on mastering the art of making delicious homemade pâtes de fruits without corn syrup! You’ve created vibrant, flavorful fruit jellies that are not only beautiful but also incredibly satisfying to make and share. This recipe is truly wonderful because it celebrates the natural sweetness and intense flavor of real fruit, allowing those pure tastes to shine through without any artificial enhancers or processed sweeteners. The satisfaction of biting into a perfectly set, jewel-like pâte de fruit made by your own hands is unparalleled.
These delightful treats are perfect for serving alongside a cheese board, as a sophisticated after-dinner confection, or even as a thoughtful homemade gift. For serving suggestions, consider arrangin extractg them artfully on a platter, dusting them lightly with granulated sugar for a touch of sparkle, or pairing them with fresh berries. If you’re feeling adventurous, explore variations! Try different fruit combinations like raspberry-lychee, mango-passionfruit, or even a botanical infusion like elderflower-lemon. The possibilities are truly endless!
Don’t be intimidated by the process; it’s more accessible than you might think, and the results are absolutely worth it. I encourage you to give this recipe a try and experience the joy of creating your own authentic fruit jellies. You’ll be amazed at how simple ingredients can transform into such elegant and tasty confections.
Frequently Asked Questions:
Why should I avoid corn syrup in my pâtes de fruits?
Avoiding corn syrup allows the natural fruit flavors to be the star of the show. Corn syrup can sometimes mask or mute these delicate fruit notes. Additionally, some people prefer to avoid it for health or dietary reasons, and this recipe proves you can achieve a perfect texture and sweetness without it.
How do I store my homemade pâtes de fruits?
Store your homemade pâtes de fruits in an airtight container at room temperature for up to a week. If you live in a very humid climate, you might want to store them in the refrigerator, but be aware that refrigeration can sometimes make them a bit too firm. Ensure they are completely dry before sealing the container to prevent moisture buildup.
My pâtes de fruits didn’t set properly. What went wrong?
The most common reasons for pâtes de fruits not setting are insufficient cooking time or temperature. The mixture needs to reach the correct temperature (around 108-112°C or 226-234°F) to ensure the pectin can properly gel. Ensure your thermometer is accurate and that you’ve reached the target temperature for a firm set.
Homemade Pâtes de Fruits (no corn syrup)
Delicious and naturally sweetened fruit jellies, made without corn syrup. Perfect for a homemade treat.
Ingredients
-
2 cups fruit juice (orange and pomegranate)
-
1 cup granulated sugar, plus more for coating
-
3 tablespoons classic pectin
-
1 tablespoon freshly squeezed lemon juice
Instructions
-
Step 1
In a saucepan, combine the fruit juice, granulated sugar, and lemon juice. Whisk to combine. -
Step 2
In a small bowl, whisk the pectin with a couple of tablespoons of the juice mixture to form a smooth paste. This prevents lumps. -
Step 3
Add the pectin paste to the saucepan and whisk thoroughly. -
Step 4
Bring the mixture to a boil over medium-high heat, stirring constantly. Boil for 1-2 minutes, until thickened. -
Step 5
Pour the hot mixture into a lightly oiled or parchment-lined 8×8 inch pan. Allow to cool completely, about 2-3 hours. -
Step 6
Once set, cut into desired shapes. Roll each piece in granulated sugar to coat.
Important Information
Nutrition Facts (Per Serving)
It is important to consider this information as approximate and not to use it as definitive health advice.
Allergy Information
Please check ingredients for potential allergens and consult a health professional if in doubt.