Gooey Chocolate Chip Cookie Bars-The Ultimate Treat
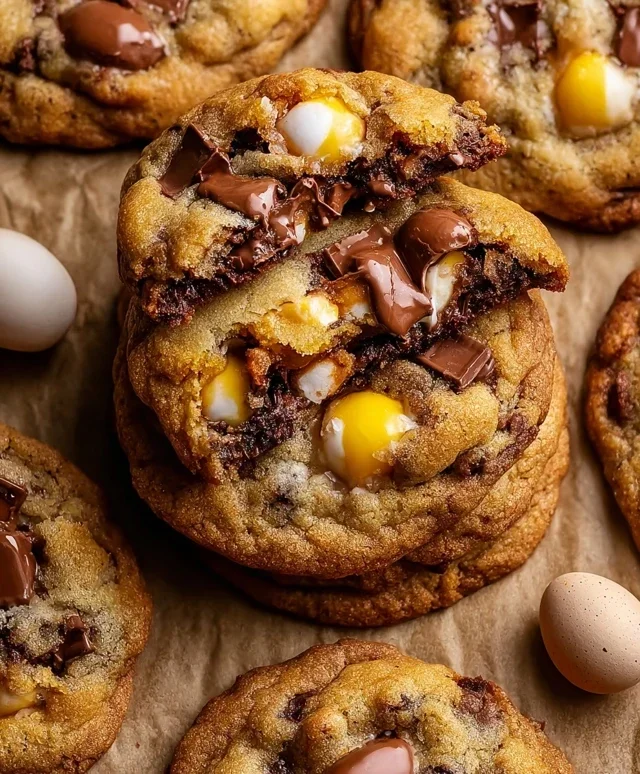
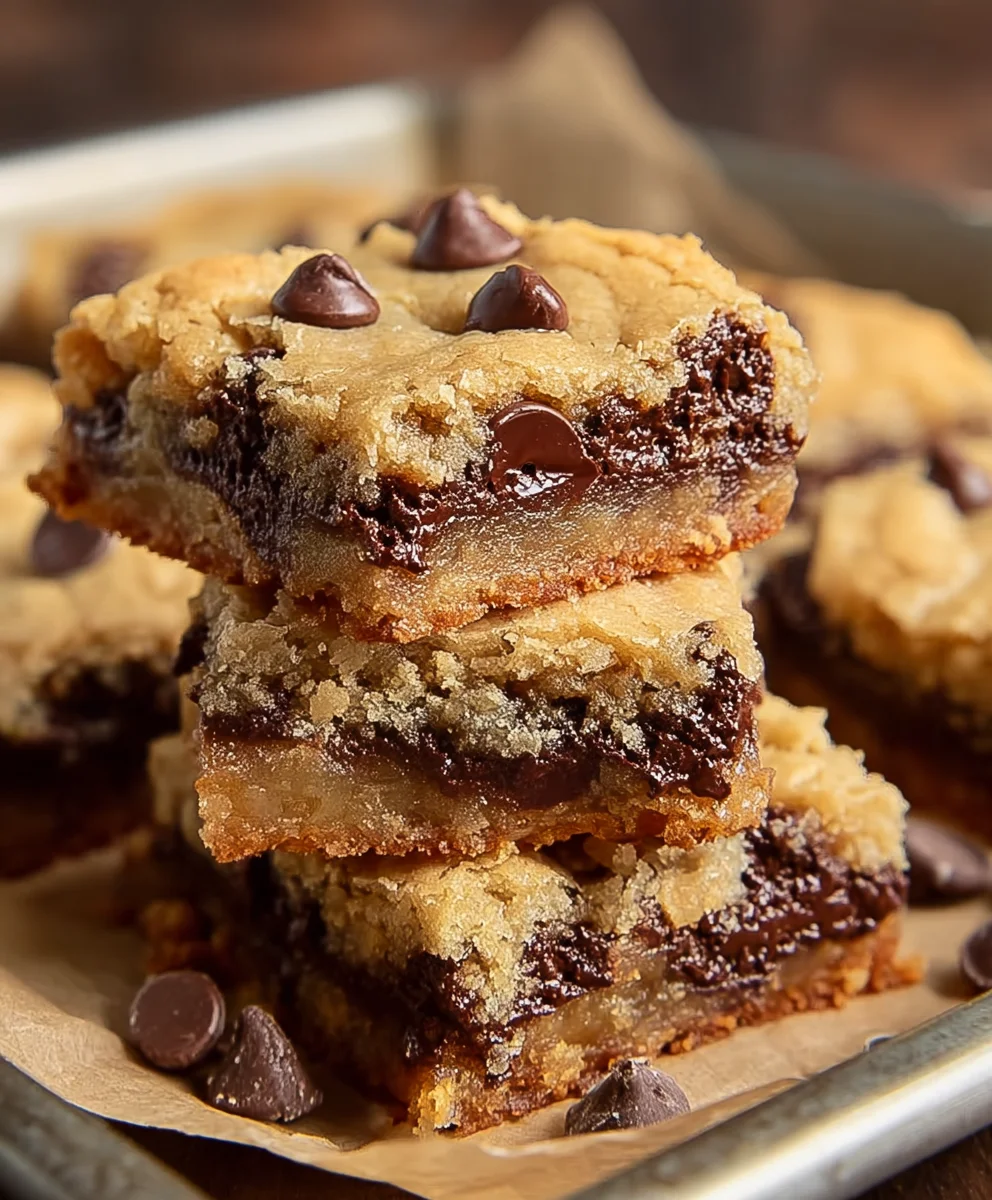
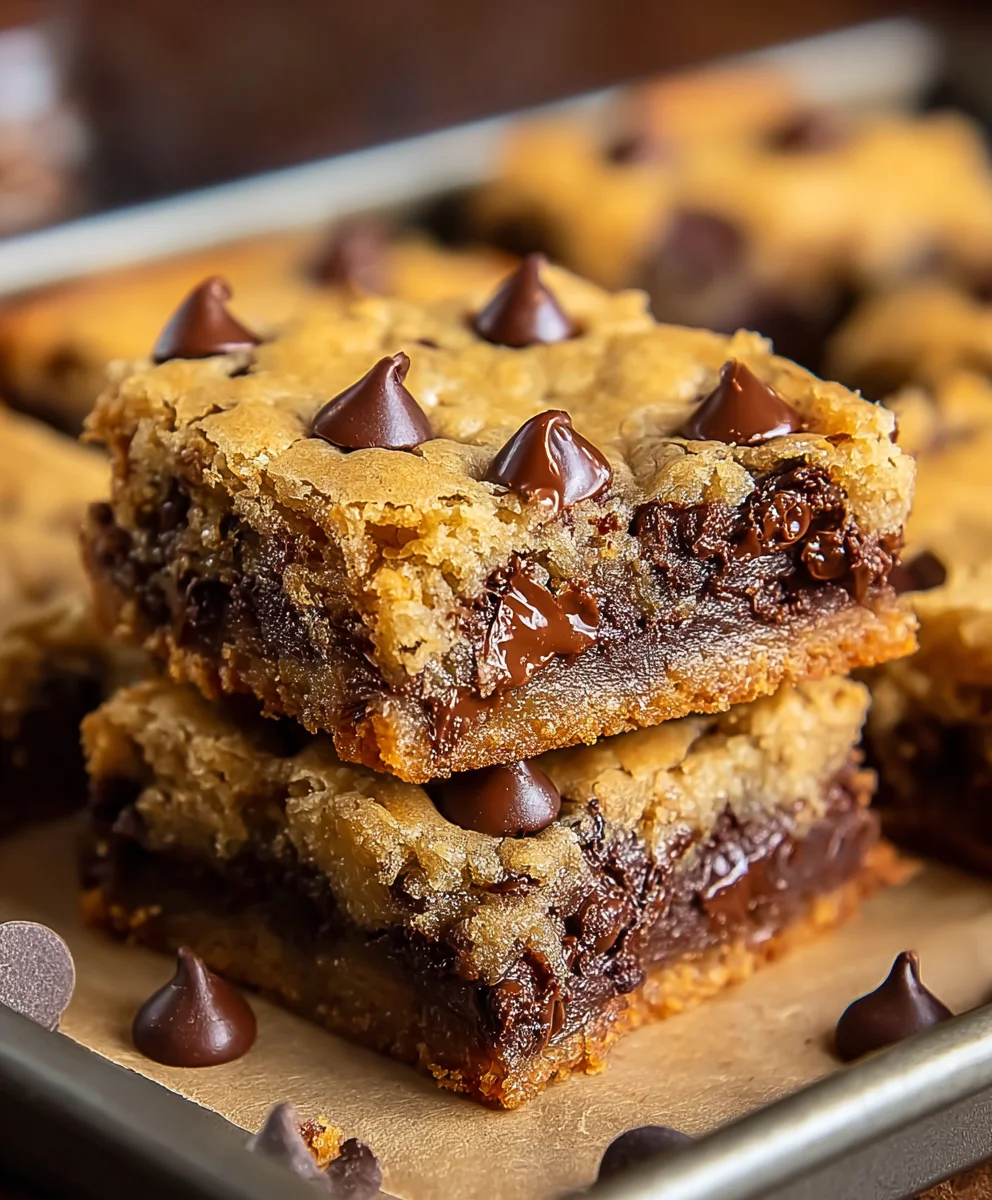
Gooey Chocolate Chip Cookie Bars are the ultimate indulgence, a handheld piece of pure bliss that transforms an ordinary day into something extraordinary. Who can resist the siren call of warm, melty chocolate nestled within a soft, buttery cookie base? These aren’t just any cookie bars; they are a testament to simplicity done exceptionally well, evoking childhood memories and comforting nostalgia with every single bite. What sets these Gooey Chocolate Chip Cookie Bars apart is their perfect textural balance: a slightly crisp edge giving way to an impossibly soft, chewy interior that practically melts in your mouth. They’re incredibly easy to make, requiring no fancy techniques, making them an accessible treat for bakers of all levels. Get ready to impress your friends, family, or just yourself with this irresistible recipe.
Why You’ll Love Them
The Perfect Blend of Texture and Flavor
Ingredients:
- 1 1/2 cups all-purpose flour
- 1/2 teaspoon baking soda
- 1/4 teaspoon baking powder
- 1/2 teaspoon sea salt
- 1/2 cup butter, softened
- 1/2 cup granulated sugar
- 1/2 cup light brown sugar, packed
- 1 large egg
- 1 1/2 teaspoon vanilla extract
- 1 cup chocolate chips (half of a 12 oz bag)
Preparing Your Gooey Chocolate Chip Cookie Bars
Mixing the Dry Ingredients
The foundation of any great baked good starts with carefully combining the dry components. In a medium-sized mixing bowl, whisk together the 1 1/2 cups of all-purpose flour, 1/2 teaspoon of baking soda, 1/4 teaspoon of baking powder, and 1/2 teaspoon of sea salt. The baking soda will help with the spread and browning of the bars, while the baking powder provides a slight lift, ensuring they aren’t too dense. The sea salt is crucial for balancing the sweetness of the sugars and chocolate, enhancing all the other flavors in the recipe. Whisking these ingredients thoroughly ensures that the leavening agents and salt are evenly distributed throughout the flour, which will lead to consistent results in your final baked bars. Once whisked, set this bowl aside.
Creaming the Butter and Sugars
Now, let’s move on to the wet ingredients, which will provide richness and chegrape juicess. In a separate, larger mixing bowl, place your 1/2 cup of softened butter. Ensure your butter is truly softened – it should yield to gentle pressure from your finger but not be melted. This is key for achieving a light and airy texture when creaming. Add the 1/2 cup of granulated sugar and the 1/2 cup of light brown sugar, packed, to the bowl with the butter. Use an electric mixer on medium speed (or a sturdy whisk and some elbow grease!) to cream these ingredients together until the mixture is light, fluffy, and pnon-alcoholic ale in color. This process incorporates air into the batter, which contributes to the cookies’ texture. Scrape down the sides of the bowl occasionally to make sure all the butter and sugar are incorporated evenly. This step usually takes about 2 to 3 minutes with an electric mixer.
Incorporating the Egg and Vanilla
With the butter and sugar mixture beautifully creamed, it’s time to add the binding and flavoring agents. Add 1 large egg to the bowl. It’s best practice to add the egg and then mix until just combined. Overmixing at this stage can lead to tough cookie bars. Next, add the 1 1/2 teaspoon of vanilla extract. Vanilla is a flavor enhancer, and its aromatic qualities are essential for that classic cookie taste. Mix again on low speed until the egg and vanilla are fully incorporated into the batter. You should have a smooth, glossy mixture at this point.
Combining Wet and Dry Ingredients
Now, it’s time to bring everything together. Gradually add the dry ingredients from the first bowl to the wet ingredients in the larger bowl. Mix on low speed until just combined. It’s important not to overmix the dough once the flour is added, as this can develop the gluten in the flour too much, resulting in tough cookie bars. You want to mix until you no longer see streaks of flour. A few small lumps are perfectly acceptable. Overmixing will result in a chewier, denser bar rather than the desired gooey texture.
Adding the Chocolatey Goodness
This is arguably the most exciting part! Add the 1 cup of chocolate chips to the dough. These chips will melt and create those irresistible pockets of gooey chocolate that make these bars so special. Fold the chocolate chips into the dough using a spatula or wooden spoon. Be gentle during this step to avoid breaking the chips too much. Ensure the chocolate chips are evenly distributed throughout the dough for maximum chocolatey enjoyment in every bite. This is the final step before baking, and the dough should look rich and studded with delicious chocolate.
Baking Your Gooey Chocolate Chip Cookie Bars
Preheating and Pan Preparation
Before you get your hands too messy, preheat your oven to 350 degrees Fahrenheit (175 degrees Celsius). This consistent temperature is vital for even baking. Next, prepare your baking pan. For these bars, an 8×8 inch or 9×9 inch baking pan works best. Line the pan with parchment paper, leaving some overhang on the sides. This parchment paper sling makes it incredibly easy to lift the baked bars out of the pan once they’ve cooled, preventing them from sticking and making cleanup a breeze. You can lightly grease the pan before adding the parchment for extra security, but often, the parchment alone is sufficient.
Pressing the Dough into the Pan
Once your pan is prepped and your oven is preheating, it’s time to transfer the cookie dough. Dollop the cookie dough into the prepared baking pan. Using your hands or a spatula, gently and evenly press the dough into the bottom of the pan. You want a consistent layer of dough so that the bars bake uniformly. Don’t press it down too firmly, as this can make the bars tough. Just aim for an even, relatively smooth surface. You can also use the parchment paper overhang to help spread the dough evenly if it’s being a little stubborn.
Baking to Golden Perfection
Place the pan in the preheated oven and bake for 20 to 25 minutes. The baking time will vary slightly depending on your oven and the size of your pan. You’re looking for the edges of the bars to be golden brown and set, while the center may still look slightly soft or underbaked. This is precisely what you want for gooey cookie bars! If the center looks completely baked through, they will likely turn out drier. Keep a close eye on them during the last few minutes of baking to prevent the edges from burning.
Cooling for Optimal Gooiness
This is a crucial step for achieving that perfect gooey texture. Once removed from the oven, resist the urge to cut into them immediately! Let the bars cool in the pan on a wire rack for at least 15 to 20 minutes. This allows the structure of the bars to set up while the chocolate chips remain wonderfully molten. After this initial cooling period, you can use the parchment paper overhang to carefully lift the entire slab of cookie bars out of the pan and place it on the wire rack to cool completely. Allowing them to cool fully before cutting will prevent them from falling apart and ensure cleaner slices.
Cutting and Enjoying
Once your gooey chocolate chip cookie bars have cooled completely, it’s time to cut them into individual portions. Use a sharp knife for clean cuts. You can cut them into squares or rectangles, depending on your preference. The beauty of these bars is that the gooeyness intensifies as they cool. They are fantastic enjoyed at room temperature, and the melted chocolate chips will provide that signature gooey pull. For an extra decadent treat, you can gently warm a slice before serving to re-soften the chocolate. Enjoy your homemade gooey chocolate chip cookie bars!
Conclusion:
And there you have it – a foolproof guide to creating incredibly delicious Gooey Chocolate Chip Cookie Bars! This recipe is designed to deliver that perfect balance of chewy, soft, and intensely chocolatey goodness that makes these bars an instant crowd-pleaser. Whether you’re baking for a special occasion, a casual get-together, or just a sweet afternoon treat, these Gooey Chocolate Chip Cookie Bars are sure to impress. Remember, the key to their irresistible texture lies in not over-baking them – pull them out when the edges are golden and the centers still look slightly underdone. They’ll continue to set as they cool, ensuring that signature gooeyness!
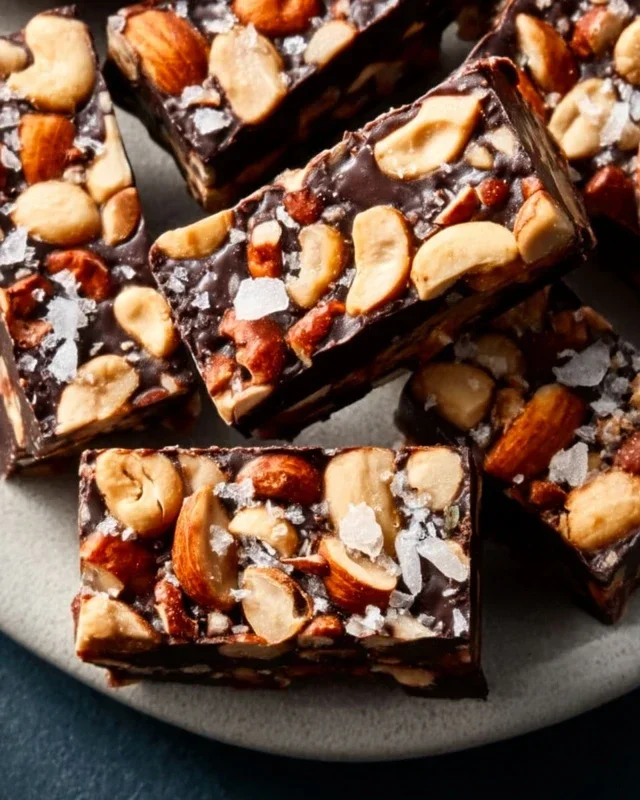
For serving suggestions, enjoy these warm, straight from the oven, perhaps with a scoop of vanilla ice cream for an ultimate dessert experience. They also store wonderfully for a few days, making them perfect for packed lunches or afternoon snacks. Don’t be afraid to get creative with variations! Consider adding a handful of chopped nuts like walnuts or pecans for an extra crunch, or swirl in some caramel sauce before baking for a salted caramel twist. You could even sprinkle a little sea salt on top just before they go into the oven to enhance the chocolate flavor.
We truly hope you enjoy making and devouring these Gooey Chocolate Chip Cookie Bars. Happy baking!
Frequently Asked Questions:
Can I make these Gooey Chocolate Chip Cookie Bars ahead of time?
Absolutely! You can bake them and let them cool completely, then store them in an airtight container at room temperature for up to 3 days. They are still wonderfully chewy and delicious even after a day or two.
What if I don’t have milk chocolate chips? Can I use other kinds?
Yes, you can definitely use other types of chocolate chips! Dark chocolate chips or semi-sweet chocolate chips will also work beautifully, offering a slightly different but equally delightful flavor profile. You can even mix different kinds of chips together for added complexity.
Gooey Chocolate Chip Cookie Bars-The Ultimate Treat
Indulge in these ultimate gooey chocolate chip cookie bars, a delightful treat with perfectly melted chocolate pockets and a wonderfully chewy texture.
Ingredients
-
1 1/2 cups all-purpose flour
-
1/2 teaspoon baking soda
-
1/4 teaspoon baking powder
-
1/2 teaspoon sea salt
-
1/2 cup butter, softened
-
1/2 cup granulated sugar
-
1/2 cup light brown sugar, packed
-
1 large egg
-
1 1/2 teaspoon vanilla extract
-
1 cup chocolate chips
Instructions
-
Step 1
In a medium bowl, whisk together flour, baking soda, baking powder, and sea salt. Set aside. -
Step 2
In a large bowl, cream together softened butter, granulated sugar, and packed light brown sugar until light and fluffy. -
Step 3
Beat in the egg until just combined, then stir in the vanilla extract. -
Step 4
Gradually add the dry ingredients to the wet ingredients, mixing on low speed until just combined. Do not overmix. -
Step 5
Gently fold in the chocolate chips. -
Step 6
Preheat oven to 350°F (175°C). Line an 8×8 or 9×9 inch baking pan with parchment paper. -
Step 7
Press the dough evenly into the prepared pan. -
Step 8
Bake for 20-25 minutes, or until the edges are golden brown and the center is still slightly soft. -
Step 9
Let cool in the pan for 15-20 minutes before lifting out with parchment paper and cooling completely on a wire rack. -
Step 10
Cut into bars and enjoy.
Important Information
Nutrition Facts (Per Serving)
It is important to consider this information as approximate and not to use it as definitive health advice.
Allergy Information
Please check ingredients for potential allergens and consult a health professional if in doubt.