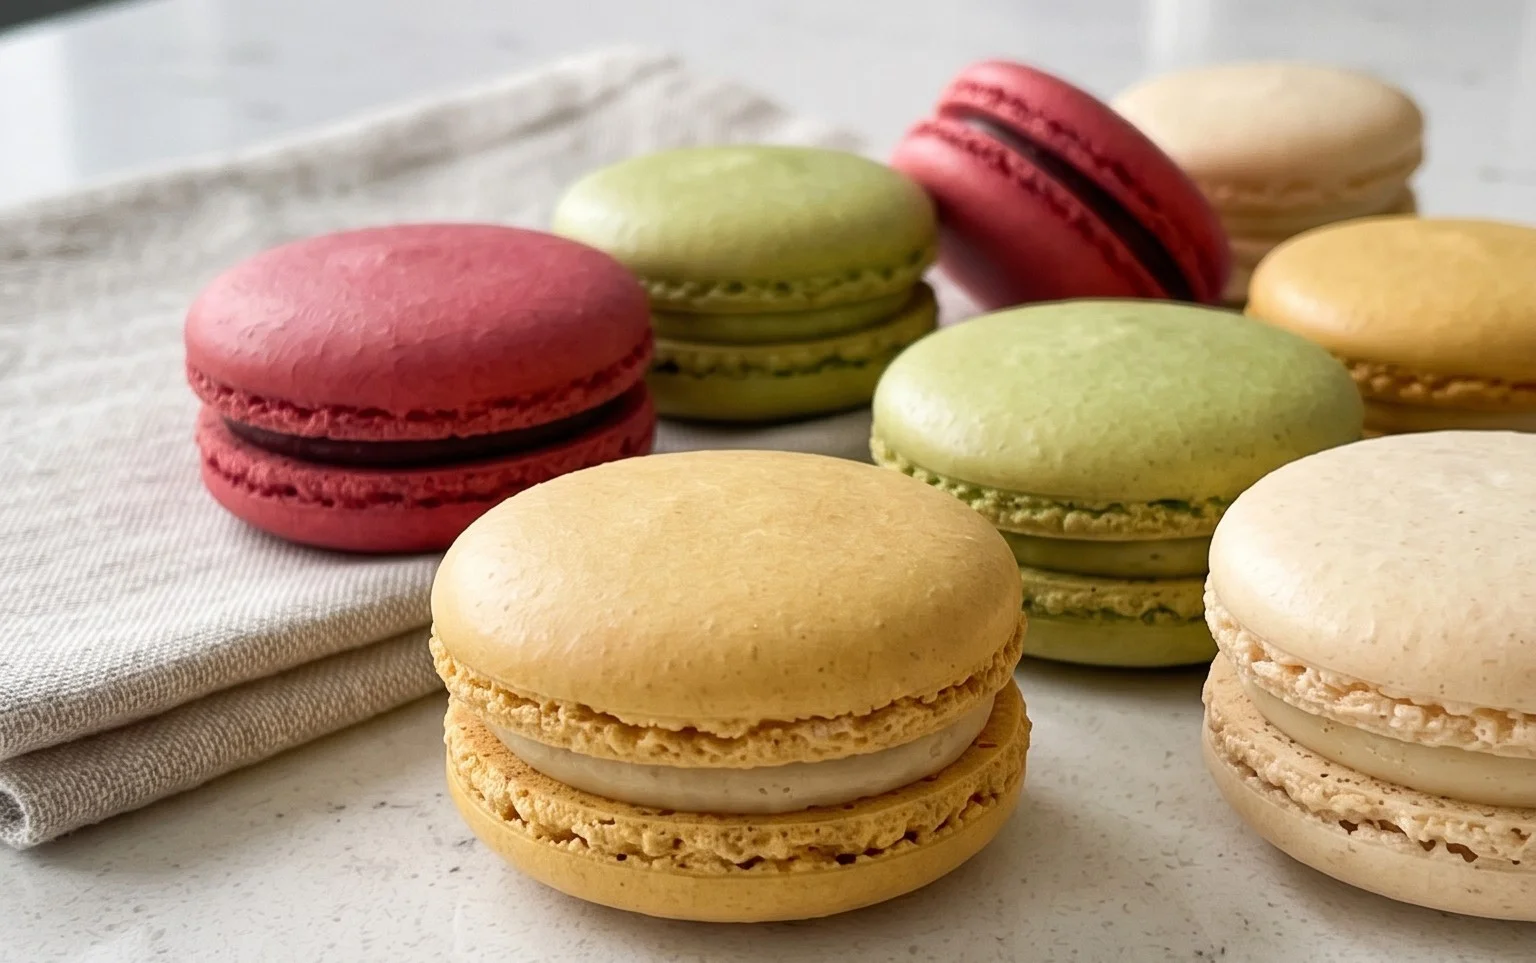
French Macaron Recipe-Perfect Elegant French Treats
French Macaron Recipe: The quest for the perfect French macaron can feel like chasing a delicate, sugary dream. These exquisite little sandwich cookies, with their impossibly smooth shells and melt-in-your-mouth centers, have captured hearts and taste buds worldwide. What is it about a French macaron that ignites such passion? Perhaps it’s their ethereal texture, the satisfying “feet” that rise beautifully, or the endless possibilities for vibrant colors and decadent fillings. For me, mastering the French macaron recipe has been a rewarding journey, a delightful challenge that results in a treat worthy of any special occasion or simply a moment of pure indulgence. The magic lies in their simplicity and sophistication, a testament to the artistry of French patisserie. Get ready to create your own batch of these delightful French macarons!
French Macaron Recipe
Ah, the French macaron! Those delicate, colorful, and utterly delightful little sandwiched cookies. They seem so elegant and perhaps a bit intimidating, but I’m here to tell you that with a little patience and attention to detail, you can absolutely master these beautiful confections in your own kitchen. The key to success lies in precise measurements, proper technique, and a good understanding of what’s happening at each stage. Don’t be discouraged if your first batch isn’t absolutely perfect – every baker has their learning curve with macarons. Let’s dive in and create some magic!
Ingredients:
Preparing Your Macaron Shells
The first crucial step is to prepare all your dry ingredients. In a medium bowl, whisk together the sifted super-fine almond flour, powdered sugar, and salt. It’s essential that your almond flour is finely ground; if it’s a bit coarser, you can pulse it briefly in a food processor, but be careful not to over-process and turn it into almond butter. After combining, sift this mixture through a fine-mesh sieve into another bowl. Sifting is non-negotiable for macarons; it removes any larger almond bits and clumps, ensuring smooth shells. You might need to gently press some of the almond flour through the sieve with the back of a spoon. Discard any solids that remain in the sieve. This dry mixture is often referred to as ‘tant pour tant’ in macaron-making circles, meaning ‘as much for as much’.
Next, let’s turn our attention to the egg whites. Ensure they are at room temperature. You can separate your eggs a day or two in advance and leave them covered in the refrigerator; this helps to dry them out slightly, which can aid in achieving a more stable meringue. Before you start whipping, bring them back to room temperature.
Making the Meringue
In a clean, dry bowl of a stand mixer fitted with the whisk attachment (or using a hand mixer and a large bowl), begin extract whipping the egg whites on medium-low speed until they are foamy. Gradually add the granulated sugar, a tablespoon at a time, while continuing to whip. Once all the sugar is incorporated, increase the speed to medium-high and whip until stiff, glossy peaks form. This means when you lift the whisk, the meringue should hold its shape firmly and the tip should stand straight up without curling over. This stage is critical for the structure of your macarons. Now, gently fold in the vanilla extract and your liquid-gel food coloring. Mix until just combined and the color is uniform. Don’t overmix at this stage; you want to preserve the air you’ve incorporated.
The Macaronage: Folding for Perfection
This is perhaps the most delicate and important step: the macaronage. This is the process of folding the dry ingredients into the meringue. Add about one-third of your sifted almond flour and powdered sugar mixture to the meringue. Using a flexible spatula, gently fold the dry ingredients into the meringue. Imagin extracte you’re scraping down the sides of the bowl and then folding the batter over itself. Continue this motion, gradually adding the remaining dry ingredients in two more additions, folding until the batter reaches a lava-like consistency. You should be able to draw a thick ribbon of batter that slowly melts back into itself within about 20-30 seconds. If the batter is too stiff, your macarons will be lumpy; if it’s too runny, they will spread too much and won’t develop their characteristic ‘feet’. It takes practice to get this just right, so don’t be afraid to test the consistency.
Piping and Resting
Prepare baking sheets by lining them with parchment paper or silicone baking mats. If using parchment paper, you can draw templates underneath to ensure uniform size. Transfer the macaron batter to a piping bag fitted with a round tip (about 1/2 inch). Hold the piping bag directly over the prepared baking sheet and pipe small, uniform circles, about 1.5 inches in diameter. Leave about an inch of space between each macaron. Once you’ve piped all your macarons, firmly tap the baking sheets on your countertop several times. This helps to release any air bubbles trapped in the batter, which can cause cracking. After tapping, gently use a toothpick to pop any remaining visible air bubbles on the surface of the macarons.
Now, for another crucial resting period. Let the piped macarons sit at room temperature for about 30 minutes to an hour, or until a skin forms on their surface. You should be able to gently touch a macaron and have it not stick to your finger. This resting period is essential for the development of the ‘feet’ – the ruffled edges at the base of the macaron – during baking. The drier the surface, the more pronounced your feet will be.
Baking Your Macarons
Preheat your oven to 300°F (150°C). Carefully slide one baking sheet at a time into the preheated oven. Bake for 12-15 minutes, or until the macarons have developed their feet and the shells are firm but not browned. They should lift easily off the parchment paper when gently tested. Ovens vary, so keep a close eye on them. You may need to rotate the baking sheet halfway through the baking time for even cooking.
Once baked, remove the baking sheets from the oven and let the macarons cool completely on the baking sheets before attempting to remove them. This is important, as they will be fragile when hot. Once fully cooled, gently peel them off the parchment paper. If they resist, they may need a few more minutes of baking or a bit more cooling time.
Filling and Enjoying
Once your macaron shells are completely cooled, it’s time for the fun part: filling! Pair up shells of similar size. Pipe a dollop of your chosen filling (vanilla buttercream is a classic, but ganache or fruit curd are also delicious) onto the flat side of one shell and gently press another shell on top, twisting slightly to spread the filling to the edges.
For the best texture, it’s highly recommended to let your filled macarons mature in an airtight container in the refrigerator for at least 24 hours. This allows the filling to soften the cookie shells, creating that perfect chewy texture. Before serving, let them come to room temperature for about 20-30 minutes. Enjoy your beautifully crafted French macarons!
*Notes on Ingredients:
Sifting super-fine almond flour is key. If you can only find regular almond flour, process it in a food processor for a few short pulses, then sift. Measure the flour after* sifting.
**Liquid-gel food coloring is recommended for macarons as it doesn’t add extra moisture, which can affect the batter consistency. Start with fewer drops and add more until you achieve your desired color intensity.
Conclusion:
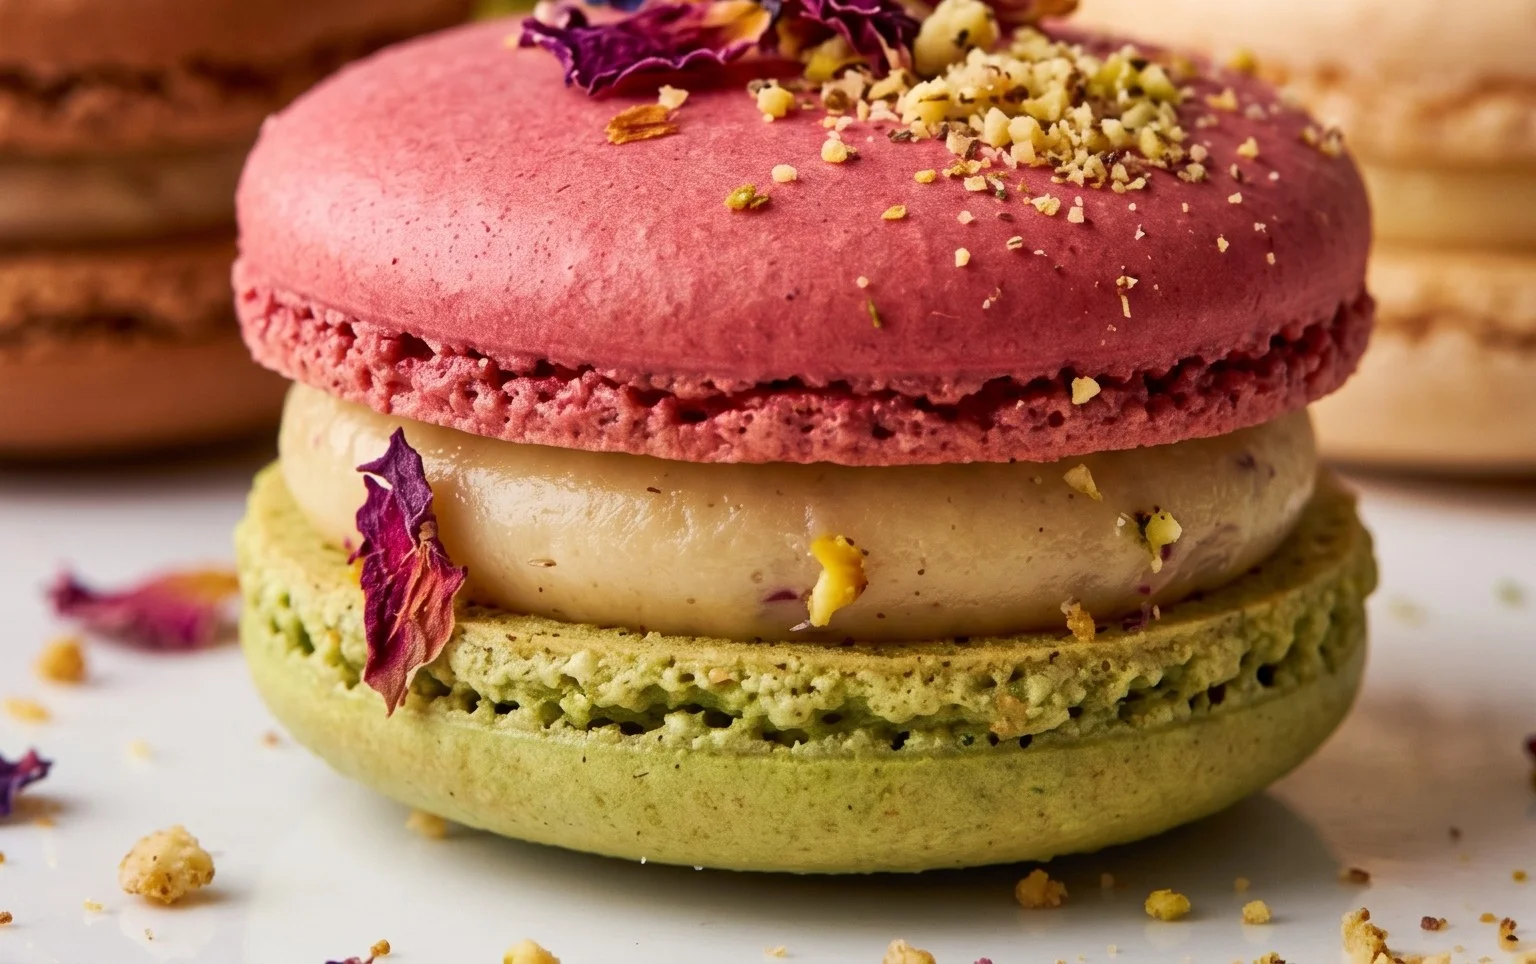
Creating your own French macaron recipe at home might seem daunting at first, but I hope this detailed guide has shown you just how achievable these delicate and delicious cookies are. The magic of French macarons lies in their perfectly crisp shell giving way to a chewy interior, a textural symphony that’s truly delightful. They are wonderful for impressing guests at a special occasion, as a sweet treat with your afternoon coffee, or even as a thoughtful handmade gift. Don’t be afraid to experiment with different filling flavors – think raspberry jam, rich chocolate ganache, or a zesty lemon curd. Once you master the basic technique, the possibilities are endless! I truly encourage you to give this French macaron recipe a try. The satisfaction of pulling a perfectly baked tray of these vibrant, airy delights from your oven is immense. Happy baking!
Frequently Asked Questions:
Why are my macarons cracking?
Cracking usually occurs due to oven temperature being too high, or not letting the macarons “rest” or form a skin before baking. Ensure your oven temperature is accurate and that the macaron shells feel dry to the touch before they go in the oven.
What is ‘macaronage’?
Macaronage refers to the crucial step of folding the dry ingredients (almond flour and powdered sugar) into the meringue. The goal is to achieve a lava-like consistency where the batter flows slowly and smoothly off the spatula in a ribbon, but not so thin that it spreads excessively.
Can I make macarons without a stand mixer?
Yes, you absolutely can! While a stand mixer makes whipping the egg whites easier, it’s perfectly possible to achieve a stiff meringue with a hand mixer or even by whisking vigorously by hand, though it will require more effort and time.
French Macaron Recipe
A classic recipe for delicate French macarons with a smooth, chewy texture and a crisp shell.
Ingredients
-
150 grams sifted super-fine almond flour
-
180 grams powdered sugar
-
1/4 teaspoon salt
-
120 grams large egg whites
-
60 grams granulated sugar
-
4 drops liquid-gel food coloring
-
1 teaspoon pure vanilla extract
-
Vanilla Buttercream Frosting
Instructions
-
Step 1
Whisk together almond flour, powdered sugar, and salt. Sift the mixture at least twice to ensure a fine consistency. -
Step 2
In a clean, dry bowl, whisk the egg whites until foamy. Gradually add the granulated sugar, a tablespoon at a time, whisking continuously until stiff, glossy peaks form. -
Step 3
Add the food coloring and vanilla extract to the meringue and fold gently until just combined. -
Step 4
Add the sifted dry ingredients to the meringue in two additions, folding gently until a smooth, lava-like batter forms (macaronage). The batter should flow slowly from the spatula in a ribbon. -
Step 5
Pipe small rounds of batter onto baking sheets lined with parchment paper or silicone mats. -
Step 6
Tap the baking sheets firmly on the counter to release any air bubbles. Let the macarons sit at room temperature for 30-60 minutes, or until a dry skin forms. -
Step 7
Bake at 300°F (150°C) for 12-15 minutes, rotating the baking sheets halfway through. -
Step 8
Allow the macarons to cool completely on the baking sheets before carefully removing them. -
Step 9
Once cooled, pair macarons of similar size and fill with your chosen filling. Let them mature in the refrigerator for at least 24 hours for optimal texture.
Important Information
Nutrition Facts (Per Serving)
It is important to consider this information as approximate and not to use it as definitive health advice.
Allergy Information
Please check ingredients for potential allergens and consult a health professional if in doubt.