Easy Strawberry Cheesecake Dump Cake Recipe
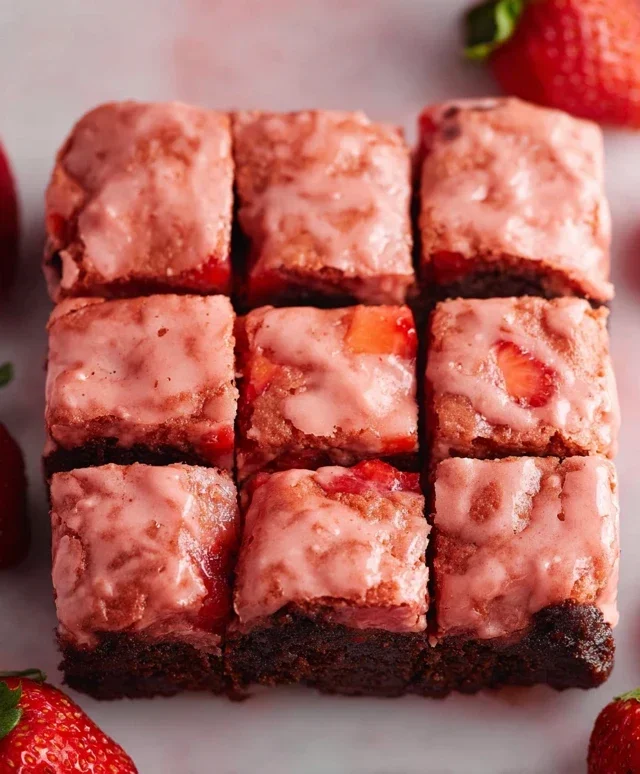
Strawberry Cheesecake Dump Cake is about to become your new favorite dessert obsession! If you’re looking for a ridiculously easy way to impress your taste buds and your guests, then look no further. This magical concoction delivers all the creamy, dreamy, fruity goodness of traditional strawberry cheesecake without any of the fuss. We’re talking about a dessert so simple, you practically just dump the ingredients in a pan and let the oven do the rest. It’s the perfect solution for those moments when a craving hits hard but your energy levels are low. What makes this Strawberry Cheesecake Dump Cake so special? It’s the incredible texture – a tender, cake-like base studded with sweet strawberries, all swirled with ribbons of luscious cream cheese filling. It’s comfort in a pan, pure joy in every bite, and I can’t wait to share how easy it is to create this masterpiece right in your own kitchen.
Strawberry Cheesecake Dump Cake
Get ready for a dessert that’s as easy as it is decadent! This Strawberry Cheesecake Dump Cake is a dream come true for anyone who loves the classic flavors of strawberry and cheesecake but wants to avoid the fuss of a traditional cheesecake. The “dump” in the name isn’t just a catchy title; it perfectly describes the incredibly simple method of assembling this dessert. We’re talking minimal prep, maximum flavor, and a truly delightful result that will have everyone asking for the recipe. This is the ultimate go-to dessert for potlucks, weeknight treats, or whenever a sweet craving strikes with an urgent demand.
Ingredients:
Cooking Instructions:
This recipe is designed for absolute simplicity. The beauty of a dump cake lies in its straightforward assembly, making it perfect for begin extractners and busy bakers alike. We’ll start by creating a luscious cream cheese layer that mimics the delightful tang and richness of cheesecake, then we’ll build the cake and fruit layers right on top.
Step 1: Prepare the Cream Cheese Base
Preheat your oven to 350°F (175°C). Lightly grease a 9×13 inch baking dish. In a medium bowl, combine the softened cream cheese, granulated sugar, and vanilla extract. Using an electric mixer or a sturdy whisk, beat these ingredients together until they are smooth, creamy, and well combined. You want to ensure there are no lumps of cream cheese remaining. This forms the delicious, tangy foundation of our cheesecake-inspired dessert. The softened cream cheese is crucial here; if it’s too cold, it will be difficult to mix smoothly.
Step 2: Add the Strawberry Filling
Gently spread the smooth cream cheese mixture evenly over the bottom of your prepared baking dish. Don’t worry about making it perfectly smooth; a rustic spread is perfectly fine. Next, carefully spoon the entire can of strawberry pie filling over the cream cheese layer. Try to distribute it as evenly as possible to ensure that every bite gets a good amount of sweet, fruity goodness. This is the layer that gives our dump cake its signature strawberry flavor and vibrant color.
Step 3: Create the Cake and Liquid Layers
Now for the “dump” part! Open your box of yellow or white cake mix. You will NOT be preparing the cake mix according to the box instructions. Instead, evenly sprinkle the dry cake mix over the strawberry filling. This dry layer will cook into a tender cake. Next, in a separate small bowl or measuring cup, whisk together the melted butter and the milk. This liquid mixture will help the dry cake mix hydrate and cook into a cake-like texture. Carefully drizzle this butter and milk mixture evenly over the dry cake mix. Make sure to get it all over, so the cake mix doesn’t stay dry in patches.
Step 4: Add Optional Toppings (If Using)
This is where you can customize your dump cake. If you’re feeling fancy and want an extra layer of flavor and texture, this is the time to add the optional ingredients. If you’re using them, sprinkle the optional cinnamon evenly over the cake mix layer. Then, scatter the chopped pecans or walnuts over the top. These nuts will toast up beautifully in the oven, adding a wonderful crunch and nutty depth to the dessert. They pair exceptionally well with the sweet strawberries and rich cake.
Step 5: Bake to Golden Perfection
Cover the baking dish loosely with aluminum foil. We cover it initially to allow the cake mix to steam and cook through without the top browning too quickly. Bake in the preheated oven for 40 minutes. After 40 minutes, carefully remove the aluminum foil and continue to bake for another 20-25 minutes, or until the cake is golden brown and a toothpick inserted into the center comes out clean. The edges should be bubbling, and the top should have a lovely caramelized appearance. The smell in your kitchen will be absolutely divine at this point!
Step 6: Cool and Serve
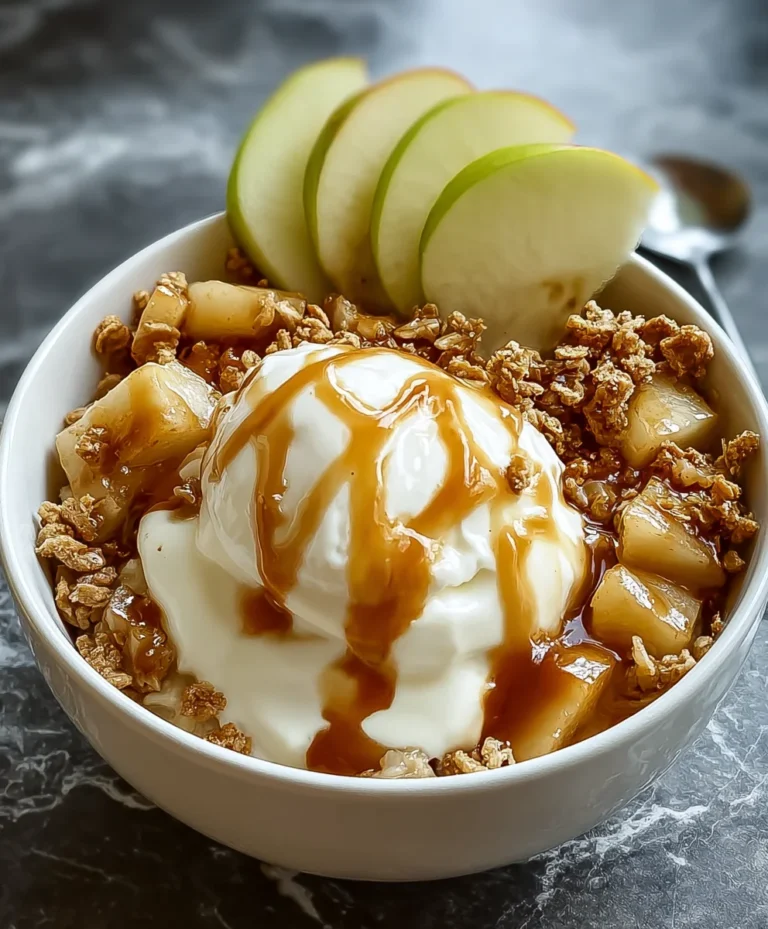
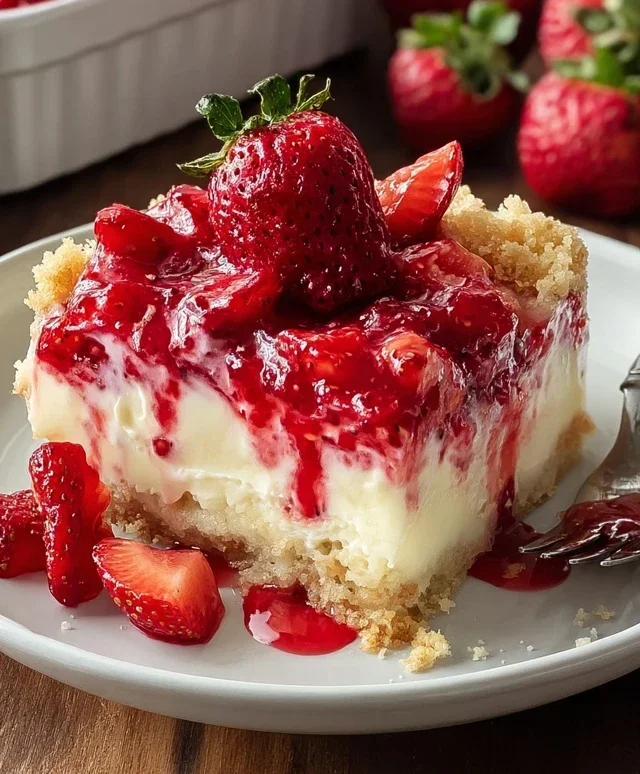
Once baked, remove the dump cake from the oven and let it cool on a wire rack for at least 15-20 minutes before serving. This resting period allows the layers to set up slightly, making it easier to scoop and serve. Dump cakes are best served warm, so don’t let it cool completely. To serve, scoop generous portions into bowls. Top each serving with a dollop of whipped cream, a scoop of creamy vanilla ice cream, and a scattering of fresh strawberries. The contrast of the warm, cakey dessert with the cold ice cream and fresh fruit is simply irresistible. Enjoy this ridiculously easy and incredibly delicious treat!
Conclusion:
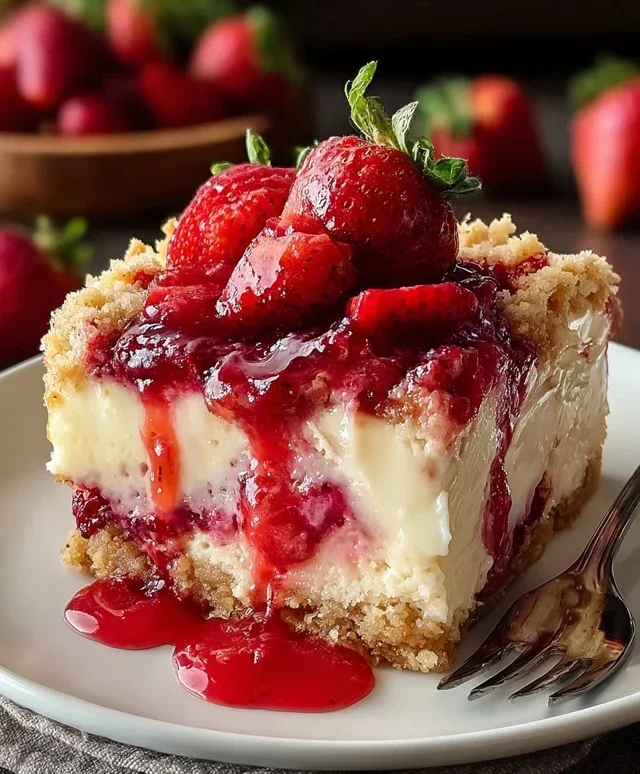
So there you have it – the incredibly easy and undeniably delicious Strawberry Cheesecake Dump Cake! This recipe is a true game-changer for anyone craving a decadent dessert without the fuss. The magic lies in its simplicity: just dump the ingredients, bake, and behold a creamy, fruity, and wonderfully sweet creation. The smooth cheesecake filling combined with the burst of juicy strawberries, all topped with a golden, buttery crust, makes for an irresistible treat that’s perfect for any occasion. It’s incredibly forgiving, making it an ideal choice for begin extractner bakers or when you need a last-minute dessert that still wows.
I love serving this warm, perhaps with a dollop of whipped cream or a scoop of vanilla ice cream to enhance the creamy texture and sweet flavors. For variations, don’t hesitate to experiment! You could try swapping out the strawberry pie filling for blueberry or cherry for a different fruity twist. Adding a sprinkle of chopped pecans or walnuts on top before baking can introduce a delightful crunch. Some people even add a touch of almond extract to the batter for an extra layer of flavor. I wholeheartedly encourage you to give this Strawberry Cheesecake Dump Cake a try – you won’t regret it!
Frequently Asked Questions:
Can I make this dump cake ahead of time?
Yes, you absolutely can! You can assemble the dump cake and refrigerate it before baking. If you do this, you might need to add a few extra minutes to the baking time to ensure it’s fully cooked through. It’s best to bake it the same day you plan to serve it for optimal freshness and texture.
What’s the best way to store leftovers?
Leftover Strawberry Cheesecake Dump Cake should be stored in an airtight container in the refrigerator. It will keep well for about 3-4 days. Reheat gently in the oven or microwave if you prefer it warm, or enjoy it chilled!
Can I use fresh strawberries instead of pie filling?
While the pie filling provides a concentrated sweetness and thickness, you could try using fresh strawberries. You’d likely need to toss them with a bit of sugar and cornstarch before adding them to ensure they don’t make the cake too watery. You might also want to add a bit more liquid to compensate for the lack of syrup from the pie filling.
Strawberry Cheesecake Dump Cake
An incredibly easy and delicious strawberry cheesecake dump cake, perfect for potlucks and holidays. This recipe requires minimal effort for maximum flavor.
Ingredients
-
1 can (21 oz) strawberry pie filling
-
1 package (8 oz) cream cheese, softened
-
½ cup granulated sugar
-
1 teaspoon vanilla extract
-
1 box yellow or white cake mix (15.25 oz)
-
½ cup (1 stick) unsalted butter, melted
-
½ cup milk
-
½ teaspoon cinnamon
-
½ cup chopped pecans or walnuts
-
Whipped cream
-
Vanilla ice cream
-
Fresh strawberries
Instructions
-
Step 1
Preheat oven to 350°F (175°C). Grease a 9×13 inch baking dish. -
Step 2
In a medium bowl, beat the softened cream cheese, granulated sugar, and vanilla extract until smooth. Spread this mixture evenly over the bottom of the prepared baking dish. -
Step 3
Pour the strawberry pie filling over the cream cheese mixture. -
Step 4
In a separate bowl, whisk together the cake mix, melted butter, and milk until just combined. Sprinkle this batter evenly over the strawberry filling. If using, sprinkle cinnamon and chopped nuts over the batter. -
Step 5
Bake for 45-55 minutes, or until the cake is golden brown and the filling is bubbly. Let cool slightly before serving. -
Step 6
Serve warm, topped with whipped cream, vanilla ice cream, and fresh strawberries.
Important Information
Nutrition Facts (Per Serving)
It is important to consider this information as approximate and not to use it as definitive health advice.
Allergy Information
Please check ingredients for potential allergens and consult a health professional if in doubt.