Easy Dill Dip Recipe- Quick & Creamy Flavor
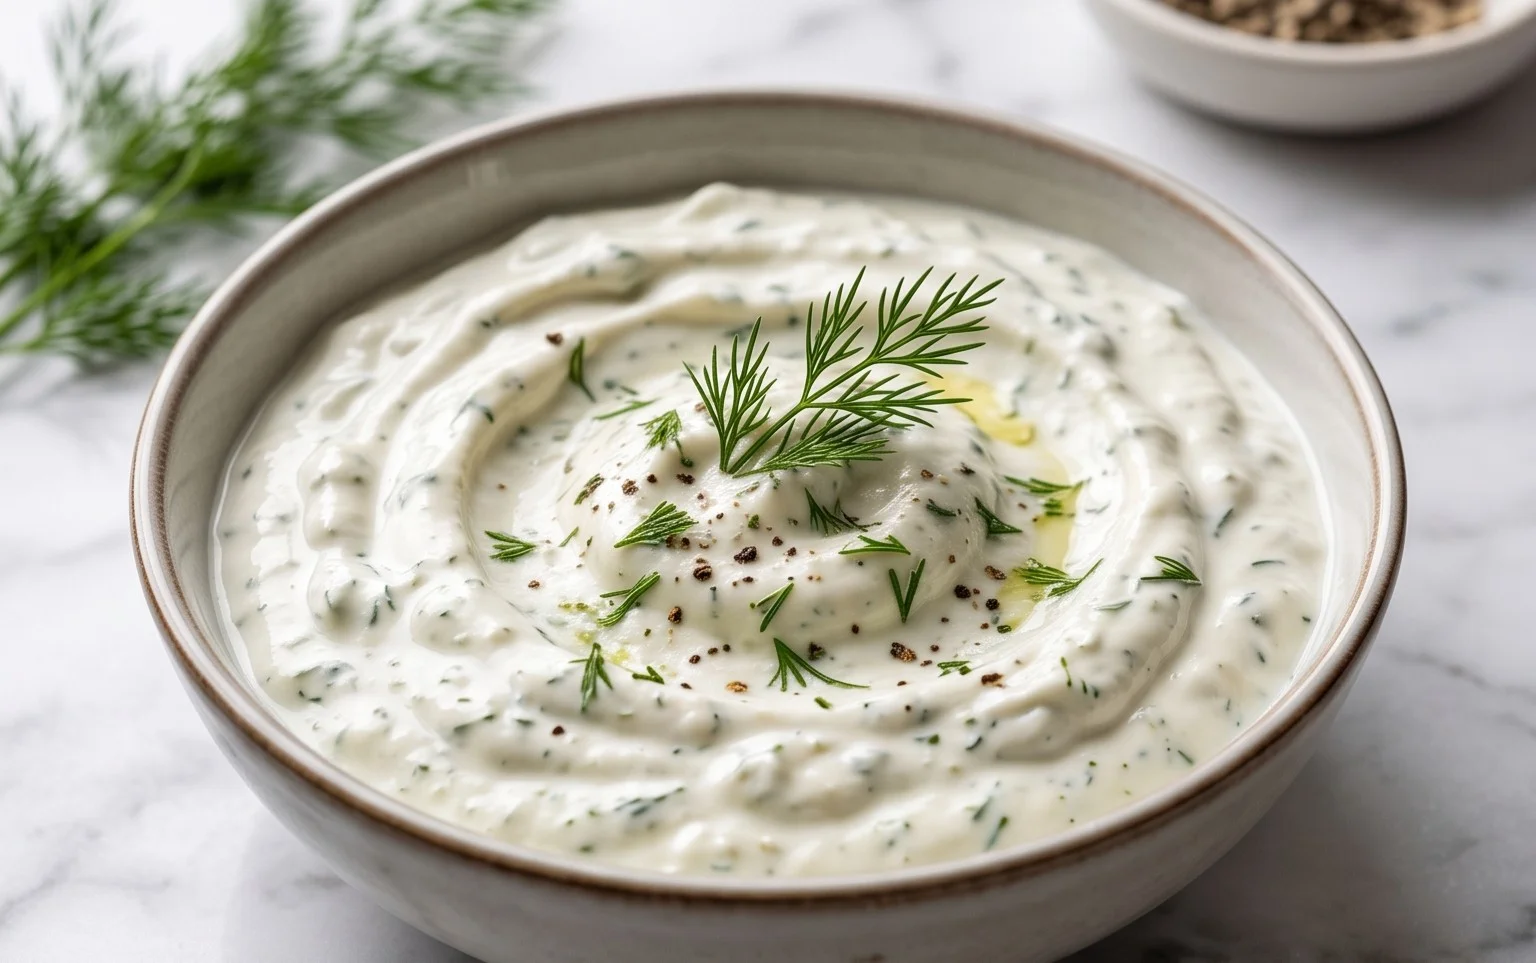
Dill dip is more than just a dip; it’s a creamy, herbaceous revelation that transforms any gathering into a mini-celebration. Have you ever experienced that moment when a simple bowl of dip elevates your entire appetizer spread? That’s the magic of a well-made dill dip. It’s the ultimate crowd-pleaser, adored for its refreshing yet comforting flavor profile. What truly sets this particular dill dip apart is its delightful balance – the vibrant, slightly peppery notes of fresh dill are perfectly harmonized with a rich, creamy base, creating a taste sensation that’s both sophisticated and utterly irresistible. It’s the kind of dip that disappears in minutes, leaving everyone asking for the recipe.
Dill Dip
There are some recipes that are just universally loved, and this Dill Dip is absolutely one of them. It’s that perfect creamy, herbaceous concoction that elevates everything it touches, from a simple platter of crudités to a hearty bowl of chips. I’ve made this dip countless times for gatherings, potlucks, and even just a cozy night in, and it never fails to disappear. The beauty of this dip lies in its simplicity and the fresh, vibrant flavors that come together so harmoniously. It’s incredibly easy to whip up, making it an ideal choice when you need a crowd-pleasing appetizer without a lot of fuss. Plus, the aroma that fills your kitchen as you chop the fresh herbs is just delightful.
The key to a truly exceptional dill dip is the quality of your ingredients. While you can certainly get away with dried herbs in a pinch, the fresh dill and parsley truly make this recipe sing. They impart a bright, zesty flavor that can’t be replicated. And the mayonnaise and sour cream create that luxurious, creamy base that holds all the flavors together. The seasoned salt adds just the right amount of savory depth without overpowering the delicate herbs. You’ll find yourself reaching for this recipe again and again, I promise.
Ingredients:
Instructions:
Let’s get started on this incredibly simple yet utterly delicious dill dip. The process is straightforward, and you’ll be enjoying your creation in no time.
Step 1: Prepare Your Herbs
First things first, we need to get our fresh herbs ready. This is where a lot of the magic happens. Take your 3 tablespoons of fresh dill and carefully chop it. You want the pieces to be relatively fine, but don’t worry about making them microscopic. We’re looking for those lovely little green flecks throughout the dip. Give the dill a good rinse and pat it dry thoroughly before chopping; excess moisture can make your dip a bit watery. Then, take your 1 tablespoon of fresh parsley and chop it similarly. Again, aim for a nice, even chop. The combination of dill and parsley provides a wonderfully balanced herbal flavor profile. Some people prefer more dill, some more parsley – feel free to adjust these amounts slightly to your personal preference in future batches, but this ratio is a fantastic starting point.
Step 2: Combine the Creamy Base
In a medium-sized mixing bowl, combine your 1 cup of mayonnaise and 1 cup of sour cream. These two ingredients form the backbone of our dip, providing that irresistible creamy texture. Make sure to use full-fat versions for the richest flavor and smoothest consistency. If you’re looking to lighten it up a bit, you could experiment with a light sour cream or even Greek yogurt, but I find the full-fat versions yield the best results for this particular recipe. Stir these two together until they are thoroughly combined and no streaks of one ingredient are visible. You want a smooth, homogenous base before we start adding the other components.
Step 3: Add the Flavor Boosters
Now it’s time to introduce the rest of our flavor elements. To the creamy mixture, add the 2 tablespoons of onion flakes. These will rehydrate slightly in the dip and provide a subtle oniony bite without the sharpness of fresh onion. Next, carefully add your finely chopped fresh dill and parsley. Finally, sprinkle in the 1 teaspoon of seasoned salt. If you don’t have seasoned salt readily available, you can use regular salt and a tiny pinch of garlic powder and black pepper as a substitute, but the seasoned salt really does add a lovely complexity. Gently stir all these ingredients together.
Step 4: Mix and Marinate
This is where the flavors really start to meld. Stir everything in the bowl until it’s beautifully incorporated. Make sure there are no pockets of mayonnaise or sour cream, and that the herbs and onion flakes are evenly distributed. Once everything is mixed, cover the bowl tightly with plastic wrap or a lid. This step is crucial for allowing the flavors to deepen and the onion flakes to soften. I highly recommend letting the dip marinate in the refrigerator for at least 30 minutes. The longer it sits, the more the flavors will develop. If you have the time, letting it chill for an hour or even two will result in an even more spectacular dip. This chilling period is really what transforms a good dip into a great dip.
Step 5: Taste and Serve
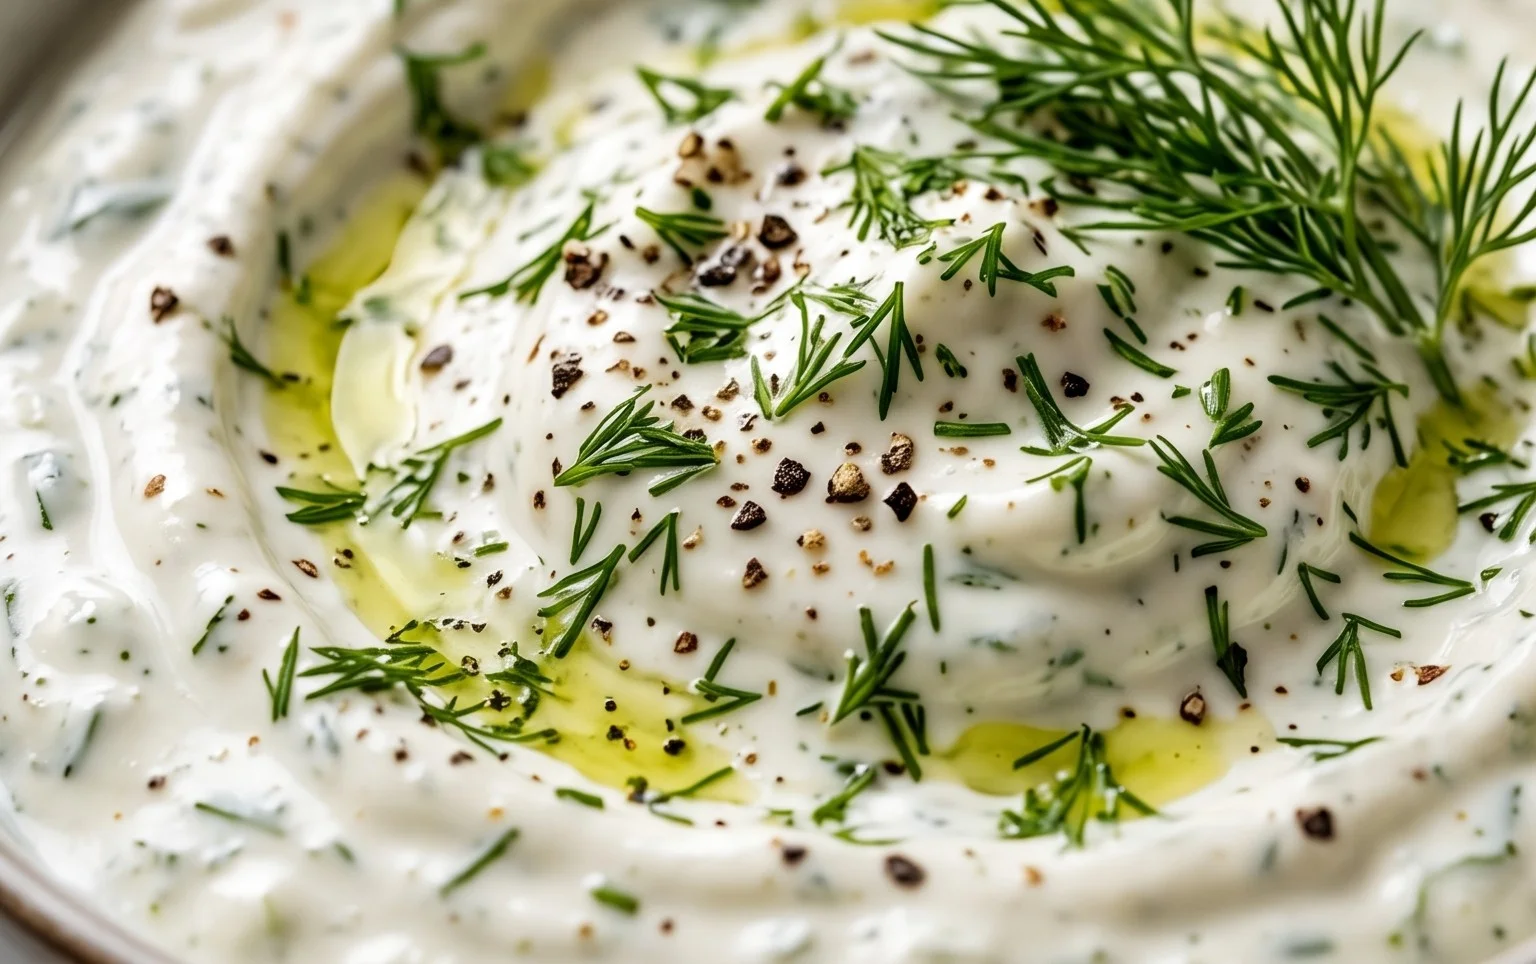
After the marinating period, give your dill dip a good stir. Take a small spoonful and taste it. This is your chance to adjust the seasoning to your liking. Does it need a little more salt? A touch more dill? This is your dip, so make it perfect for you! Once you’re happy with the flavor, transfer the dill dip to a serving bowl. This dip is incredibly versatile. Serve it with a colorful array of fresh vegetables like carrot sticks, celery sticks, cucumber slices, bell pepper strips, and broccoli florets. It’s also fantastic with potato chips, pita chips, crackers, or even as a spread on sandwiches and wraps. For an extra touch, you can garnish the top of the dip with a few extra sprigs of fresh dill or a sprinkle of chopped parsley before serving. Enjoy!
Conclusion:
There you have it – a truly fantastic dill dip recipe that’s incredibly easy to whip up and guaranteed to impress. The beauty of this dip lies in its simplicity and the bright, fresh flavors that come from the star ingredient: fresh dill. It’s the perfect appetizer for any gathering, potluck, or even just a cozy night in. We’ve covered serving suggestions from classic veggie platters to more adventurous pairings, and even explored delicious variations to suit every palate. I truly encourage you to give this dill dip a try. It’s a recipe that will quickly become a staple in your entertaining repertoire.
Frequently Asked Questions:
How can I make this dill dip recipe ahead of time?
This dill dip is perfect for making ahead! I recommend preparing it up to 24 hours in advance. Store it in an airtight container in the refrigerator. The flavors will meld beautifully, making it even more delicious. Just give it a good stir before serving.
Can I use dried dill instead of fresh dill?
Yes, you absolutely can! However, the flavor will be less vibrant. If using dried dill, you’ll want to use about 1 tablespoon instead of the fresh amount. For the best results and that unmistakable fresh dill taste, I always recommend fresh whenever possible.
What are some other great dippers besides vegetables for this dill dip?
Beyond your typical carrots, celery, and bell peppers, this dill dip is fantastic with a variety of other dippers! Try it with pita bread, crusty baguette slices, crackers of all kinds, potato chips, or even pretzel sticks. For a heartier option, roasted potato wedges or grilled bread also pair wonderfully.
Dill Dip
A classic and refreshing dill dip, perfect for parties and gatherings.
Ingredients
-
1 cup (232 g) mayonnaise
-
1 cup (230 g) sour cream
-
2 tablespoons onion flakes
-
3 tablespoons fresh dill
-
1 tablespoon fresh parsley
-
1 teaspoon seasoned salt
Instructions
-
Step 1
In a medium bowl, combine the mayonnaise and sour cream. Stir until well blended. -
Step 2
Add the onion flakes to the bowl. -
Step 3
Finely chop the fresh dill and add it to the mixture. -
Step 4
Finely chop the fresh parsley and add it to the mixture. -
Step 5
Stir in the seasoned salt. -
Step 6
Mix all ingredients thoroughly until well combined. For best flavor, cover and refrigerate for at least 30 minutes before serving.
Important Information
Nutrition Facts (Per Serving)
It is important to consider this information as approximate and not to use it as definitive health advice.
Allergy Information
Please check ingredients for potential allergens and consult a health professional if in doubt.