Crispy Cottage Cheese Chips-Healthy Snack Hack
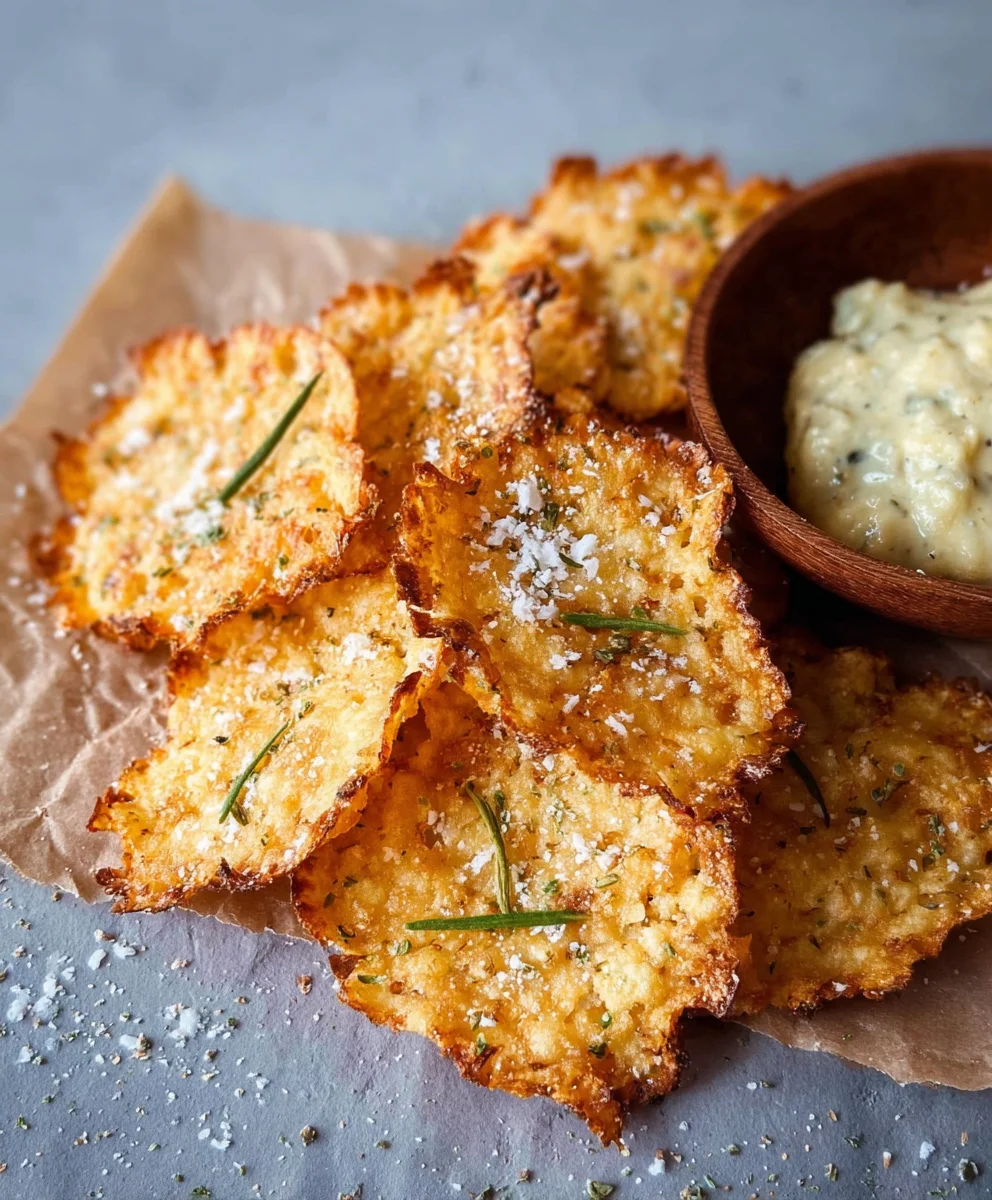
Crispy Cottage Cheese Chips are about to revolutionize your snack game! Forget everything you thought you knew about cottage cheese, because we’re transforming it into something utterly addictive. Have you ever craved a snack that’s both satisfyingly crunchy and surprisingly good for you? That’s precisely the magic of these delightful little bites. People absolutely adore them for their incredibly satisfying texture – that perfect snap with every mouthful – and the fact that they’re a fantastic protein-packed alternative to traditional, often carb-heavy, chips. What truly sets these Crispy Cottage Cheese Chips apart is their incredible versatility. Whether you’re looking for a light midday treat, a vehicle for your favorite dips, or even a base for creative appetizers, these chips deliver. We’re going to unlock the secrets to achieving that ultimate crispiness, ensuring every batch is a triumph of texture and flavor.
Ingredients:
- 1 cup small curd cottage cheese, well-drained
- ¼ teaspoon garlic powder
- ¼ teaspoon onion powder
- ½ teaspoon dried herbs (optional, such as dried thyme, oregano, or parsley)
- Salt and freshly ground black pepper to taste
- Olive oil spray
Preparing the Cottage Cheese Base
The foundation of our Crispy Cottage Cheese Chips lies in this simple yet flavorful cottage cheese mixture. To begin extract, ensure your cottage cheese is well-drained. This is a crucial step for achieving that desirable crispiness. You can drain it by pouring it into a fine-mesh sieve set over a bowl. Allow it to sit for at least 15-20 minutes, pressing gently with a spoon occasionally to encourage more liquid to drain away. The drier the cottage cheese, the crispier your chips will be. Once drained, transfer the cottage cheese to a medium-sized mixing bowl. Add the garlic powder and onion powder. These aromatics will infuse the chips with a savory depth. If you’re using dried herbs, now is the time to sprinkle them in. Thyme and parsley are excellent choices, but feel free to experiment with your favorites like oregano or even a pinch of rosemary. Season generously with salt and freshly ground black pepper. Remember that cottage cheese can be a little bland on its own, so don’t be shy with the seasoning. Stir everything together thoroughly until all the spices and herbs are evenly distributed throughout the cottage cheese. You want every bite to have that delicious flavor.
Forming and Baking the Chips
With our flavorful cottage cheese base ready, it’s time to transform it into crispy delights. Preheat your oven to 375°F (190°C). Line a baking sheet with parchment paper. While parchment paper is recommended to prevent sticking, a lightly greased baking sheet can also work. Now, for forming the chips, there are a couple of ways to approach this. For uniform, bite-sized chips, I like to use a small cookie scoop or a tablespoon to place dollops of the cottage cheese mixture onto the prepared baking sheet. Aim for about 1 to 1.5-inch mounds, spacing them about 2 inches apart. If you prefer larger, more rustic chips, you can spread the mixture more thinly with a spoon. The thinner the layer, the crispier the result. Once you have your mounds or spread-out portions, lightly spray the tops of each portion with olive oil. This helps them brown and crisp up beautifully in the oven. Don’t overdo the oil; a light mist is all you need.
The Baking Process
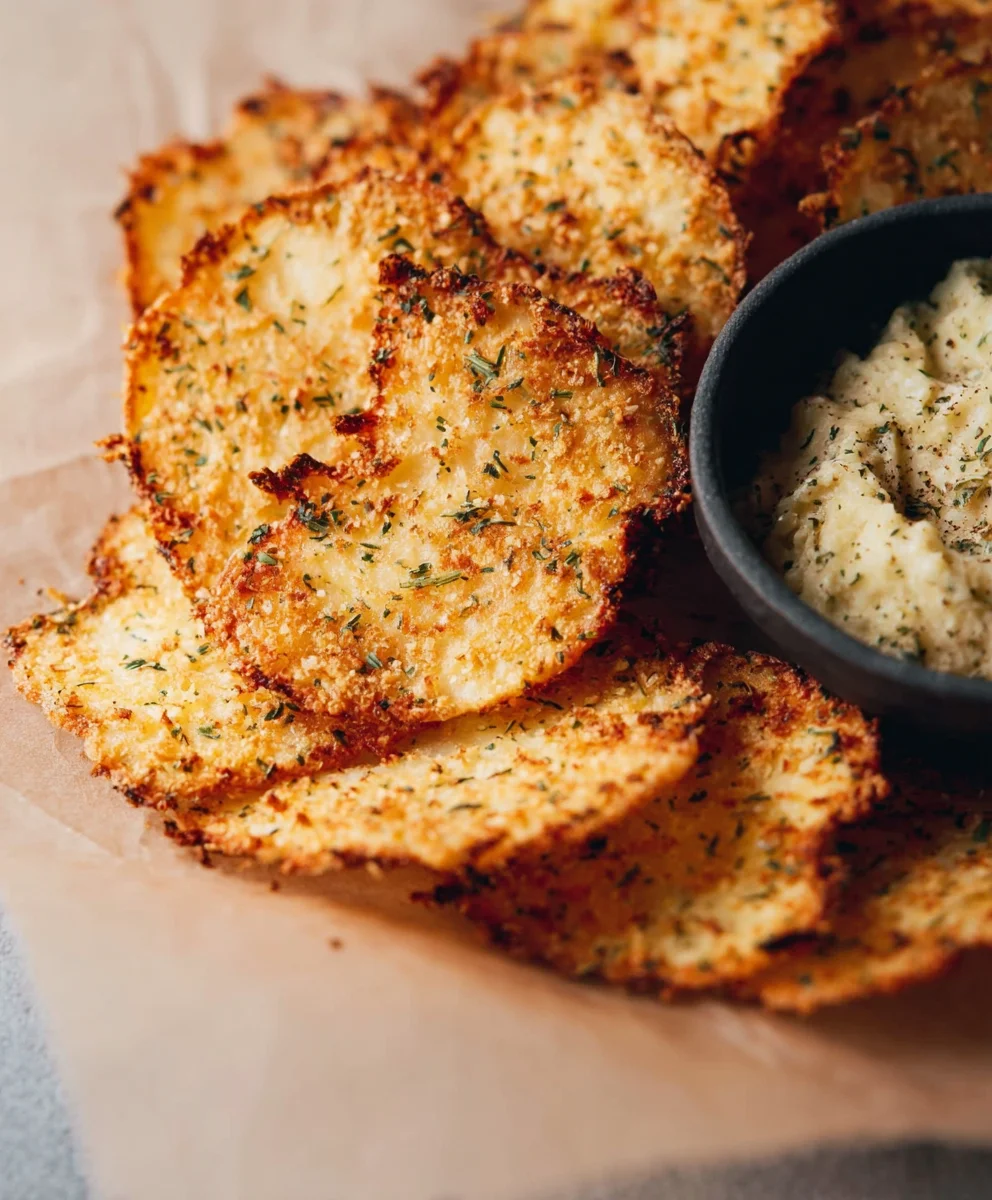
Now, place the baking sheet into the preheated oven. The key to perfectly Crispy Cottage Cheese Chips is observation. They will bake for approximately 15 to 25 minutes. The exact baking time will depend on the thickness of your cottage cheese portions and your oven’s calibration. You’ll want to keep a close eye on them, especially towards the end of the baking time. The chips are ready when they have turned a beautiful golden brown around the edges and appear set and slightly puffed. Some parts may even start to lift slightly from the parchment paper. If you notice some chips browning much faster than others, you can carefully remove them from the baking sheet earlier and let the remaining ones continue to bake. This ensures even crispiness across your entire batch. The aroma that will fill your kitchen at this stage is incredibly enticing, a testament to the simple yet effective flavors you’ve brought together.
Cooling and Achieving Ultimate Crispiness
This is perhaps the most critical step for achieving that signature crispiness in your Crispy Cottage Cheese Chips. Once the chips are golden brown and baked through, carefully remove the baking sheet from the oven. Allow the chips to cool on the baking sheet for about 5-10 minutes. During this initial cooling period, they will firm up slightly. After this short rest, gently transfer the chips to a wire cooling rack. This is where the magic truly happens. Placing them on a wire rack allows air to circulate freely around all sides of the chips, preventing any moisture from being trapped underneath. This circulation is what will ensure they become wonderfully crisp and brittle. Resist the urge to try them too soon; patience here will be richly rewarded with the perfect texture. Let them cool completely on the wire rack. As they cool, you’ll hear them continue to crisp up, a delightful sound that signals success.
Serving Your Crispy Cottage Cheese Chips
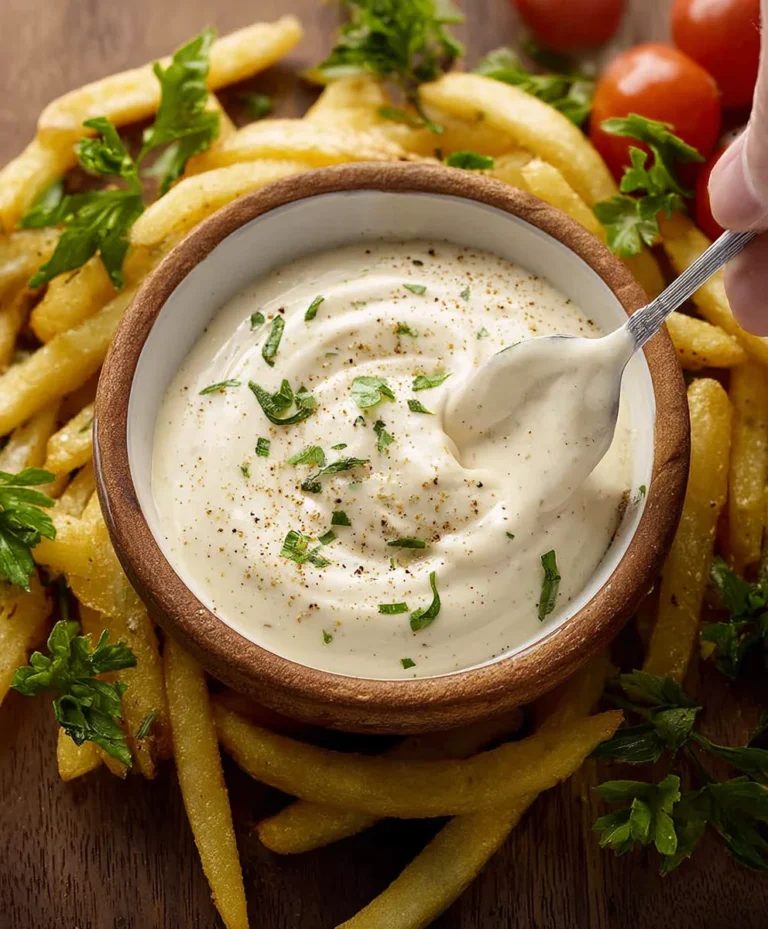
Once your Crispy Cottage Cheese Chips have cooled completely and achieved their ultimate crispiness, they are ready to be enjoyed! They are fantastic on their own as a light and satisfying snack. The savory flavors of the garlic, onion, and herbs, combined with the mild tang of the cottage cheese and the satisfying crunch, make them incredibly addictive. For an extra burst of flavor, you can serve them with your favorite dips. A creamy avocado dip, a zesty salsa, or even a simple plain Greek yogurt dip are wonderful accompaniments. They also make a unique and healthy alternative to traditional crackers or chips when served alongside a cheese board or as a crunchy topping for salads and soups. Store any leftovers in an airtight container at room temperature. While they are best enjoyed fresh, they will retain their crispness for a day or two if stored properly. Enjoy the delightful crunch and savory goodness of your homemade Crispy Cottage Cheese Chips!
Conclusion:
There you have it – your guide to creating the most delicious and satisfying Crispy Cottage Cheese Chips! We’ve walked through the simple steps to transform humble cottage cheese into a delightfully crunchy and healthy snack. These chips are incredibly versatile and a fantastic alternative to traditional fried options, offering a protein boost with every bite. I encourage you to give this recipe a try; you’ll be amazed at how easy it is to achieve such a wonderful texture and flavor. Remember, the key is to ensure they are spread thinly and baked until perfectly golden and crisp.
For serving suggestions, these Crispy Cottage Cheese Chips are wonderful on their own as a light snack, paired with your favorite dips like hummus or guacamole, or even crum extractbled over salads for added texture and protein. Don’t be afraid to experiment with different seasonings! A sprinkle of smoked paprika, garlic powder, or even a touch of chili flakes can elevate them to new heights.
Frequently Asked Questions about Crispy Cottage Cheese Chips:
Q1: Can I make these chips vegan?
Unfortunately, the core ingredient of these Crispy Cottage Cheese Chips is cottage cheese, which is dairy-based. While you could explore other vegan “chip” recipes using ingredients like chickpea flour or vegetables, this specific recipe relies on the properties of cottage cheese for its unique texture and structure.
Q2: My chips aren’t very crispy, what did I do wrong?
The most common reasons for less-than-crispy Crispy Cottage Cheese Chips are spreading the mixture too thickly or not baking them long enough. Ensure the cottage cheese mixture is spread as thinly and evenly as possible on the parchment paper. You might also need to increase the baking time slightly, keeping a close eye on them to prevent burning. Sometimes, a convection oven setting can also help achieve extra crispiness.
Crispy Cottage Cheese Chips-Healthy Snack Hack
A simple and healthy way to make crispy, savory cottage cheese chips perfect for snacking or as a cracker alternative.
Ingredients
-
1 cup small curd cottage cheese, well-drained
-
¼ teaspoon garlic powder
-
¼ teaspoon onion powder
-
½ teaspoon dried herbs (optional, such as dried thyme, oregano, or parsley)
-
Salt and freshly ground black pepper to taste
-
Olive oil spray
Instructions
-
Step 1
Ensure cottage cheese is well-drained by placing it in a fine-mesh sieve for at least 15-20 minutes. Transfer drained cottage cheese to a mixing bowl. Add garlic powder, onion powder, dried herbs (if using), salt, and pepper. Stir until evenly distributed. -
Step 2
Preheat oven to 375°F (190°C) and line a baking sheet with parchment paper. Use a small cookie scoop or tablespoon to place dollops of the cottage cheese mixture onto the baking sheet, about 1 to 1.5 inches in diameter, spacing them 2 inches apart. -
Step 3
Lightly spray the tops of each cottage cheese portion with olive oil spray to help them brown and crisp up. -
Step 4
Bake for 15 to 25 minutes, or until the chips are golden brown around the edges, set, and slightly puffed. Watch closely as baking time may vary. -
Step 5
Remove from oven and let cool on the baking sheet for 5-10 minutes. Then, transfer the chips to a wire cooling rack to cool completely and achieve ultimate crispiness.
Important Information
Nutrition Facts (Per Serving)
It is important to consider this information as approximate and not to use it as definitive health advice.
Allergy Information
Please check ingredients for potential allergens and consult a health professional if in doubt.