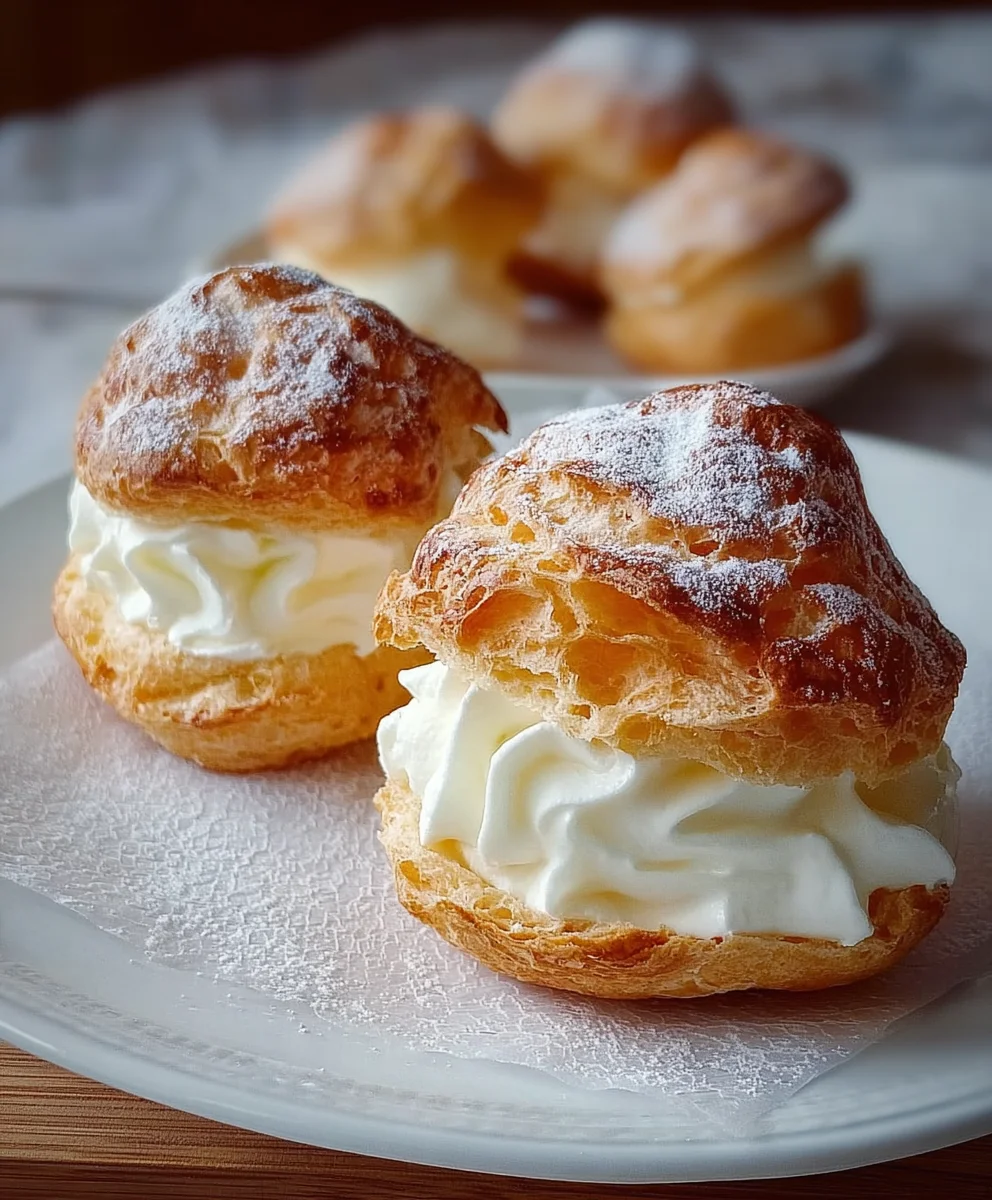
Classic Cream Puffs – Easy & Delicious Homemade Recipe
Classic Cream Puffs are more than just a dessert; they’re a delightful journey into pure pastry bliss. Have you ever craved that perfect bite that’s simultaneously light, airy, and decadent? That’s exactly the magic of a well-made classic cream puff. It’s a beloved treat that evokes feelings of nostalgia for many, bringin extractg to mind celebrations, special occasions, or simply a moment of indulgent self-care. What truly sets these apart is the incredible textural contrast: the delicate, crisp shell giving way to a luscious, smooth, and often subtly sweet cream filling. The simplicity of their creation belies the sophisticated taste experience they offer, making them a timeless favorite that never fails to impress, whether you’re a seasoned baker or looking to conquer a new culinary adventure.
Ingredients:
- 1 cup water
- ½ cup unsalted butter (1 stick), cut into pieces
- 1 cup all-purpose flour
- 4 large eggs, at room temperature
- ¾ cup granulated sugar
- ⅓ cup all-purpose flour
- ½ teaspoon salt
- 2 cups whole milk, warmed
- 4 large egg yolks, lightly beaten
- 2 teaspoons pure vanilla extract
- 1 pint (2 cups) heavy cream, chilled
- ⅔ cup granulated sugar
- 1 teaspoon pure vanilla extract
- 1½ cups confectioners’ sugar (powdered sugar), for dusting
Making the Pâte à Choux (Cream Puff Dough)
Step 1: Preparing the Water and Butter Base
To begin extract crafting your Classic Cream Puffs, we’ll start with the foundation of the puff pastry, known as pâte à choux. In a medium saucepan, combine the 1 cup of water and the ½ cup of unsalted butter, cut into smaller pieces. Place this saucepan over medium heat. Stir the mixture occasionally, just until the butter has completely melted and the watgin extractis beginning to come to a gentle simmer. It’s important not to let it boil vigorously at this stage. Once the butter is fully incorporated and the liquid is hot, remove the saucepan from the heat. This initial step is crucial for ensuring the butter and water are properly emulsified, which will contribute to the light and airy texture of our finished puffs.
Step 2: Incorporating the Flour and Cooking the Dough
Now, it’s time to add the flour. In one swift motion, add the 1 cup of all-purpose flour to the hot liquidgin extractmmediately begin to stir vigorously with a wooden spoon or a sturdy spatula. You’ll notice that the mixture will start to come together, forming a thick dough that pulls away from the sides of the pan. Continue to stir and cook this dough over low heat for about 1 to 2 minutes. This cooking process is vital; it allows the flour to absorb the liquid and develop gluten, which is essential for creating steam that will inflate the puffs. You’re looking for a slightly glossy ball of dough that forms a film on the bottom of the pan. Don’t skip this step, as undercooking the dough will result in flat, dense puffs.
Step 3: Adding the Eggs for Structure
Remove the saucepan from the heat and let the dough cool slightly for about 5 minutes. This brief cooling period prevents the eggs from scrambling when they’re added. Now, add the 4 large eggs, one at a time, beating thoroughly after each addition until the egg is fully incorporated into the dough. The dough will look broken and sticky at first, but keep beating. You want a smooth, thick, and glossy batter that will hold its shape. The consistency should be right – when you lift your spoon, a thick ribbon of dough should fall from it. If the dough seems too stiff and doesn’t readily fall, you can beat in another egg yolk or a tablespoon of water, but be cautious not to make it too wet.
Step 4: Baking the Puffs to Golden Perfection
Preheat your oven to 400°F (200°C). Line two baking sheets with parchment paper. You can pipe the dough into rounds using a pastry bag fitted with a large round tip, or you can use two spoons to drop mounds of dough about 2 inches in diameter onto the prepared baking sheets, leaving about 2 inches between each puff. Gently press down any peaks with a wet finger. Bake for 15 minutes at 400°F (200°C), then reduce the oven temperature to 350°F (175°C) and continue baking for another 20-25 minutes, or until the puffs are golden brown and firm to the touch. It’s crucial not to open the oven door during the first 20 minutes of baking, as this can cause the puffs to deflate. Once baked, pierce the side of each puff with a small knife to allow steam to escape and prevent them from becoming soggy. Let them cool completely on a wire rack.
Creating the Luscious Pastry Cream Filling
Step 5: Whisking and Cooking the Cream Base
While the pastry shells are cooling, let’s prepare the filling. In a medium bowl, whisk together the 4 egg yolks, the ⅓ cup of all-purpose flour, and the ½ teaspoon of salt until smooth and pnon-alcoholic ale. In a separate medium saucepan, heat the 2 cups of warmed milk over medigin extractheat until it just begins to simmer around the edges. Do not let it boil. Slowly and gradually, temper the egg yolk mixture by whisking about half of the hot milk into it, a little at a time. This process gently warms the egg yolks, preventing them from scrambling. Once tempered, pour the egg yolk mixture back into the saucepan with the remaining hot milk.
Step 6: Thickening the Pastry Cream and Infusing Flavor
Return the saucepan to medium-low heat and cook, stirring constantly with a whisk, until the pastry cream thickens considerably and coats the back of a spoon, about 5-8 minutes. You’ll want to see it bubble gently. Once thickened, remove the saucepan from the heat and stir in the 2 teaspoons of vanilla extract. For an extra smooth filling, you can strain the pastry cream through a fine-mesh sieve into a clean bowl. Cover the surface of the pastry cream directly with plastic wrap to prevent a skin from forming, and let it cool completely. You can speed this up by placing the bowl over an ice bath.
Assembling and Finishing the Cream Puffs
Step 7: Whipping the Cream and Combining Fillings
Once the pastry cream has completely cooled, it’s time to whip the cream. In a chilled bowl, combine the 1 pint of heavy cream, the ⅔ cup of granulated sugar, and the 1 teaspoon of vanilla extract. Using an electric mixer or a whisk, beat the cream until stiff peaks form. Be careful not to overbeat, or you’ll end up with butter. Gently fold about half of the whipped cream into the cooled pastry cream until just combined. This lightens the pastry cream and makes it even more delicious. You can either fill the puffs with this mixture, or if you prefer a more pronounced vanilla flavor, you can spoon some of the pastry cream into the puffs and then top with a dollop of plain whipped cream.
Step 8: Filling and Finishing the Cream Puffs
Now for the final assembly. Carefully slice each cooled cream puff in half horizontally using a serrated knife. Alternatively, you can poke a small hole in the bottom of each puff and fill them using a piping bag. Spoon or pipe generous amounts of the pastry cream and whipped cream mixture into the bottom half of each puff. Place the top half of the puff back on top. Arrange the filled cream puffs on a serving platter. For that signature look of Classic Cream Puffs, dust them generously with the 1½ cups of confectioners’ sugar just before serving. The light dusting of powdered sugar offers a beautiful contrast to the golden pastry and rich filling, making these treats a showstopper.

Conclusion:
You’ve now got the blueprint to create perfect Classic Cream Puffs! This recipe is a delightful journey from simple batter to airy, golden shells, ready to be filled with luscious cream. Remember, patience with the choux pastry is key – don’t be tempted to peek in the oven too early! These elegant treats are incredibly versatile. Serve them dusted with powdered sugar for a minimalist touch, or go all out with a drizzle of chocolate ganache or a dollop of fresh berries. For a twist, consider adding a hint of citrus zest to the pastry or experimenting with different flavored whipped creams, like coffee or raspberry. Don’t be afraid to get creative and make these Classic Cream Puffs your own. The joy of baking is in the process and the delicious reward. Enjoy sharing these delightful puffs with loved ones!
Frequently Asked Questions about Classic Cream Puffs:
Why did my cream puffs not puff up?
This is a common issue and usually stems from a few factors. Ensure your oven reached the correct temperature before baking. Opening the oven door too early during baking can cause them to collapse. Also, make sure you are using the correct flour-to-liquid ratio. Forcing air into the dough by beating vigorously during the flour addition stage is crucial for creating steam pockets that lead to puffing.
Can I make the cream puff shells ahead of time?
Yes, you can! Baked and cooled Classic Cream Puffs shells can be stored in an airtight container at room temperature for up to two days, or frozen for longer storage. If frozen, thaw them completely at room temperature before filling. It’s best to fill them just before serving to maintain their crispness.
What are the best filling options for Classic Cream Puffs?
The classic filling is a sweetened whipped cream, often infused with vanilla. However, the possibilities are endless! Consider pastry cream, chocolate mousse, lemon curd, or even a savory cream cheese filling for a more unique appetizer. The key is to have a filling that complements the light and airy texture of the puff.
Classic Cream Puffs – Easy & Delicious Homemade Recipe
A simple and delicious recipe for homemade classic cream puffs filled with luscious pastry cream and whipped cream.
Ingredients
-
1 cup water
-
½ cup unsalted butter (1 stick), cut into pieces
-
1 cup all-purpose flour
-
4 large eggs, at room temperature
-
¾ cup granulated sugar
-
⅓ cup all-purpose flour
-
½ teaspoon salt
-
2 cups whole milk, warmed
-
4 large egg yolks, lightly beaten
-
2 teaspoons pure vanilla extract
-
1 pint (2 cups) heavy cream, chilled
-
⅔ cup granulated sugar
-
1 teaspoon pure vanilla extract
-
1½ cups confectioners’ sugar (powdered sugar), for dusting
Instructions
-
Step 1
In a medium saucepan, combine 1 cup water and ½ cup unsalted butter. Heat over medium heat, stirring occasionally, until butter is melted and water is gently simmering. Remove from heat. -
Step 2
Add 1 cup all-purpose flour to the hot liquid and stir vigorously until a thick dough forms and pulls away from the sides of the pan. Cook over low heat for 1-2 minutes, stirring constantly, until a slightly glossy ball forms. -
Step 3
Remove from heat and let cool for 5 minutes. Add 4 large eggs, one at a time, beating thoroughly after each addition until fully incorporated and a smooth, thick, glossy batter forms. -
Step 4
Preheat oven to 400°F (200°C). Pipe or drop mounds of dough onto parchment-lined baking sheets. Bake for 15 minutes, then reduce temperature to 350°F (175°C) and bake for another 20-25 minutes until golden brown and firm. Pierce to release steam and cool completely. -
Step 5
While puffs cool, whisk together 4 egg yolks, ⅓ cup all-purpose flour, and ½ teaspoon salt. Heat 2 cups milk until simmering. Temper egg yolk mixture by gradually whisking in half of the hot milk, then pour back into saucepan with remaining milk. -
Step 6
Cook over medium-low heat, stirring constantly, until pastry cream thickens and coats the back of a spoon (about 5-8 minutes). Stir in 2 teaspoons vanilla extract. Strain if desired, cover surface with plastic wrap, and cool completely. -
Step 7
In a chilled bowl, beat 1 pint heavy cream, ⅔ cup granulated sugar, and 1 teaspoon vanilla extract until stiff peaks form. Gently fold about half of the whipped cream into the cooled pastry cream. -
Step 8
Slice cooled puffs in half horizontally. Fill with the pastry cream and whipped cream mixture. Dust generously with 1½ cups confectioners’ sugar before serving.
Important Information
Nutrition Facts (Per Serving)
It is important to consider this information as approximate and not to use it as definitive health advice.
Allergy Information
Please check ingredients for potential allergens and consult a health professional if in doubt.