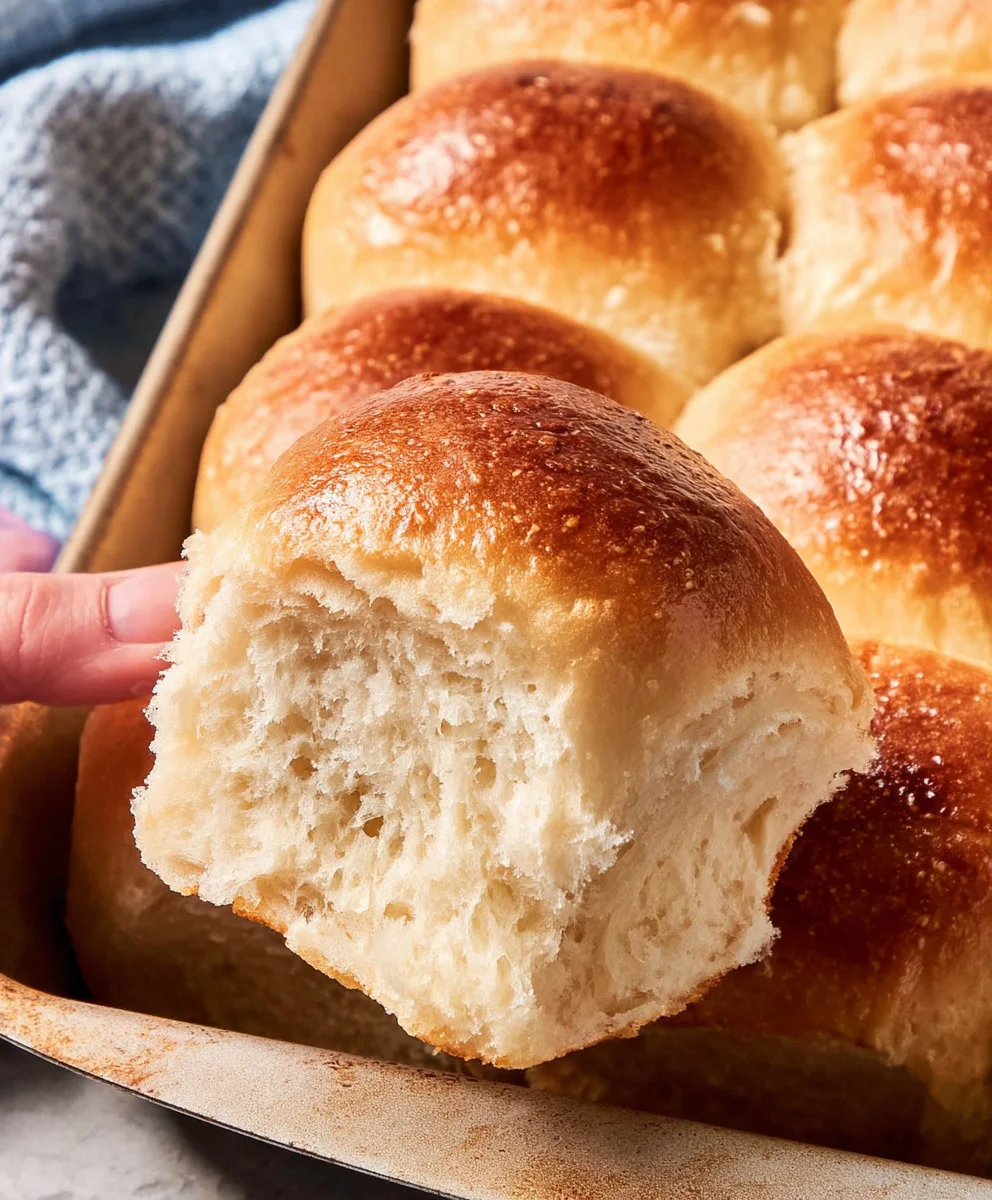
Quick Dinner Rolls-Easy Fast And Delicious
30 minute dinner rolls are the ultimate weeknight savior, a culinary miracle that transforms a busy evening into a cozy, carb-loaded delight. Imagin extracte the aroma of warm, fluffy bread wafting through your kitchen, beckoning everyone to the table. It’s no wonder these versatile rolls are a beloved staple; they’re incredibly satisfying, perfect for sopping up sauces, cradling a hearty stew, or simply enjoying with a generous smear of butter. What makes our particular 30 minute dinner rolls truly special is their astonishing speed without sacrificing an ounce of flavor or texture. We’ve cracked the code to achieving that perfect balance of a slightly crisp exterior and a pillowy, tender crum extractb in under an hour, making those last-minute meal dilemmas a thing of the past. Get ready to impress yourself and your loved ones with these incredibly achievable and utterly delicious 30 minute dinner rolls!
Ingredients:
- 1 1/4 cups warm water
- 1/4 cup granulated sugar
- 2 tablespoons active dry yeast
- 1/3 cup vegetable oil
- 1 teaspoon salt
- 1 large egg
- 3 3/4 cups all-purpose flour, plus more for dusting
Preparing the Dough for Your 30 Minute Dinner Rolls
The foundation of any good bread, and especially quick dinner rolls, is a well-prepared dough. We’re aiming for speed here, so this recipe is designed to be efficient without sacrificing that delightful homemade taste and texture. The key to activating the yeast quickly lies in using the right water temperature. It should feel warm to the touch, like a comfortable bath, not hot enough to kill the yeast or so cool that it won’t get activated. A good rule of thumb is between 105-115°F (40-46°C).
In a large mixing bowl, combine the warm water and the granulated sugar. Give it a gentle stir to help the sugar dissolve. Now, sprinkle the active dry yeast over the surface of the water and sugar mixture. Do not stir it in immediately. Let it sit for about 5 to 10 minutes. You should start to see a frothy, bubbly layer forming on top. This foam indicates that your yeast is alive and active, ready to work its magic. If you don’t see this foamy layer, your yeast might be old or the water temperature was off, and you’ll need to start again with fresh yeast.
Once you see that beautiful yeast bloom, it’s time to add the remaining wet ingredients. Pour in the vegetable oil and crack in the large egg. Whisk these ingredients together with the bloomed yeast mixture until everything is well combined. The oil will add tenderness and richness to your dinner rolls, while the egg will contribute to their structure and give them a lovely golden hue when baked.
Now comes the flour and salt. Add the salt to the liquid mixture and give it another quick whisk to distribute it evenly. Salt is crucial for flavor, but it also plays a role in controlling the yeast’s activity. Gradually add the all-purpose flour, about a cup at a time, mixing with a sturdy spoon or a dough hook attachment on your stand mixer. As you add the flour, the mixture will start to transform from a liquid into a shaggy dough. Continue adding flour until the dough begin extracts to pull away from the sides of the bowl.
Kneading and Shaping Your Quick Dinner Rolls
Once the dough is mostly formed and no longer overly sticky, it’s time to knead. Turn the dough out onto a lightly floured surface. If you’re using a stand mixer, you can switch to the dough hook and knead on medium-low speed for about 5-7 minutes. If you’re kneading by hand, dust your hands lightly with flougin extractnd begin to push, fold, and turn the dough. The goal of kneading is to develop the gluten in the flour, which gives bread its structure and chewy texture. You’ll know the dough is ready when it’s smooth, elastic, and springs back slowly when you poke it with a finger. It should no longer be sticky to the touch. If it feels too sticky, add a tablespoon of flour at a time, but be careful not to add too much, as this can result in dry rolls.
Now for the fun part: shaping! For quick 30 minute dinner rolls, we want them to be a manageable size. Lightly grease a baking sheet or line it with parchment paper. Divide the dough into 12 equal portions. You can do this by eye, or for precision, use a kitchen scnon-alcoholic ale. Roll each portion of dough into a smooth ball. For a slightly more rustic look and even quicker baking, you can simply flatten each ball slightly with your palm. If you prefer a more traditional roll shape, you can gently flatten the balls and then pinch the edges underneath to create a taut surface. Place the shaped rolls onto your prepared baking sheet, leaving a little bit of space between them to allow for expansion.
The Quick Bake for Your 30 Minute Dinner Rolls
Preheat your oven to a relatively high temperature, around 400°F (200°C). This hot oven is key to achieving those lovely golden-brown tops and fluffy interiors quickly. While the oven is preheating, give your shaped rolls a moment to rest. You don’t need a long proofing time for these 30 minute dinner rolls; a brief rest of about 10-15 minutes will allow them to relax slightly and puff up just a touch before baking. This short resting period also helps ensure a tender crum extractb.
If you like, you can brush the tops of the rolls with a little bit of melted butter or a beaten egg wash for an extra glossy finish and enhanced color. Once the oven is fully preheated, carefully place the baking sheet with your dinner rolls inside. Bake for approximately 12 to 15 minutes. Keep an eye on them, as oven temperatures can vary. You’re looking for them to be beautifully golden brown on top and sound hollow when tapped on the bottom. The interior should be cooked through.
Finishing Touches and Serving Your Warm Rolls
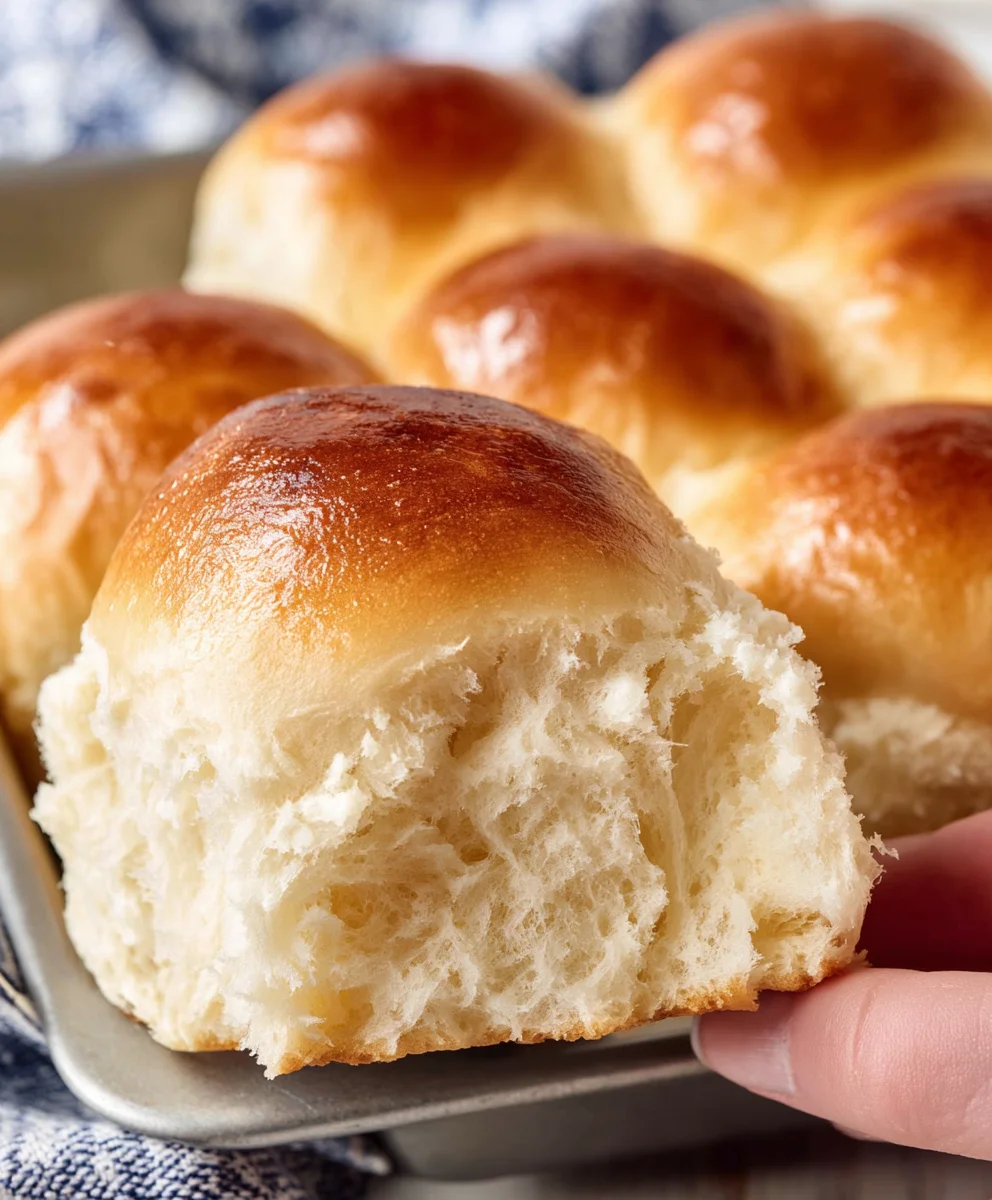
As soon as the rolls come out of the oven, I love to brush them with a little more melted butter. This adds a wonderful richness and keeps the tops from getting too crusty. The aroma of freshly baked bread, infused with butter, is simply irresistible. Let the rolls cool on the baking sheet for a few minutes before transferring them to a wire rack to cool further. They are best served warm, just a little bit out of the oven, when their interior is still soft and steamy. These 30 minute dinner rolls are perfect alongside a hearty soup, a rich stew, or simply spread with more butter. Enjoy the satisfaction of creating delicious, homemade rolls in such a short amount of time!
Conclusion:
There you have it – a foolproof guide to making incredibly delicious and impressively quick 30 minute dinner rolls! We’ve walked through each step, from activating the yeast to achieving that perfect golden crust, ensuring you can whip up these delightful rolls with confidence, even on your busiest weeknights. These 30 minute dinner rolls are so versatile; they are perfect as a simple accompaniment to any meal, be it a hearty stew, a fresh salad, or a comforting pasta dish. Consider serving them warm, brushed with a touch of melted butter, or even stuffed with a sprinkle of herbs or cheese for an extra layer of flavor.
Don’t be afraid to experiment with variations! You can add a pinch of garlic powder or onion powder to the dough for a savory twist, or even incorporate finely chopped chives or rosemary. For a touch of sweetness, a hint of honey or a sprinkle of sesame seeds on top before baking can elevate these 30 minute dinner rolls beautifully. The beauty of this recipe is its adaptability, allowing you to make it your own. So go ahead, give these 30 minute dinner rolls a try, and impress yourself and your loved ones with your baking prowess. Happy baking!
Frequently Asked Questions about 30 Minute Dinner Rolls:
Q1: Can I make these 30 minute dinner rolls ahead of time?
While these rolls are designed for speed and are best enjoyed fresh, you can certainly prepare the dough a few hours in advance. After the first rise, you can punch down the dough, cover it tightly, and refrigerate it. When you’re ready to bake, let the dough come to room temperature for about 30 minutes, then shape and bake as instructed. They won’t be quite as quick, but they’ll still be delicious!
Q2: My dough isn’t rising well. What could be the problem?
Several factors can affect dough rising. Ensure your yeast is fresh and hasn’t expired. The water used to activate the yeast should be lukewarm, not too hot (which kills yeast) or too cold (which doesn’t activate it properly). Also, make sure you’re giving the dough adequate time to rise in a warm, draft-free environment. If your kitchen is chilly, you can place the bowl in a slightly warmed (then turned-off) oven.
Quick Dinner Rolls-Easy Fast And Delicious
Effortlessly create soft, delicious, and homemade dinner rolls in just 30 minutes with this easy and fast recipe.
Ingredients
-
1 1/4 cups warm water
-
1/4 cup granulated sugar
-
2 tablespoons active dry yeast
-
1/3 cup vegetable oil
-
1 teaspoon salt
-
1 large egg
-
3 3/4 cups all-purpose flour
Instructions
-
Step 1
In a large bowl, combine warm water (105-115°F) and sugar. Sprinkle yeast over the top and let sit for 5-10 minutes until frothy. -
Step 2
Add vegetable oil and egg to the bloomed yeast mixture and whisk until combined. Stir in salt. -
Step 3
Gradually add all-purpose flour, about a cup at a time, mixing until a shaggy dough forms and pulls away from the sides of the bowl. -
Step 4
Turn dough onto a lightly floured surface and knead by hand for 5-7 minutes, or in a stand mixer with a dough hook on medium-low speed, until smooth and elastic. -
Step 5
Divide dough into 12 equal portions, roll into balls, and place on a lightly greased or parchment-lined baking sheet, leaving space between them. -
Step 6
Preheat oven to 400°F (200°C). Let shaped rolls rest for 10-15 minutes. Optionally brush tops with melted butter or egg wash. -
Step 7
Bake for 12-15 minutes, or until golden brown on top and sound hollow when tapped on the bottom. -
Step 8
Brush with melted butter immediately after baking. Let cool on the baking sheet for a few minutes before transferring to a wire rack. Serve warm.
Important Information
Nutrition Facts (Per Serving)
It is important to consider this information as approximate and not to use it as definitive health advice.
Allergy Information
Please check ingredients for potential allergens and consult a health professional if in doubt.