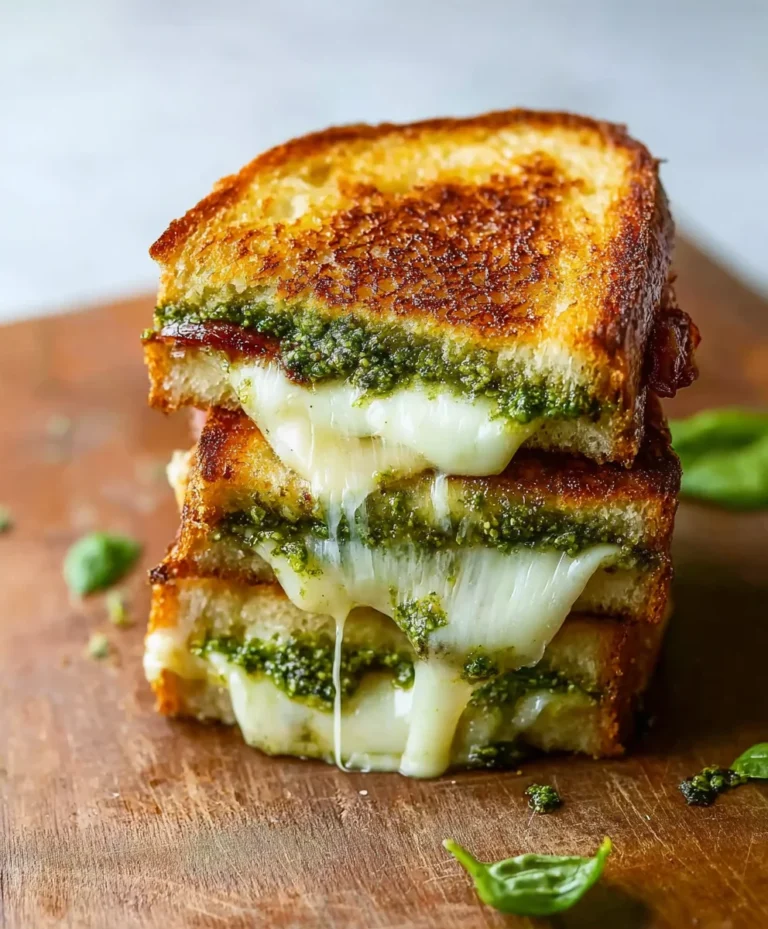
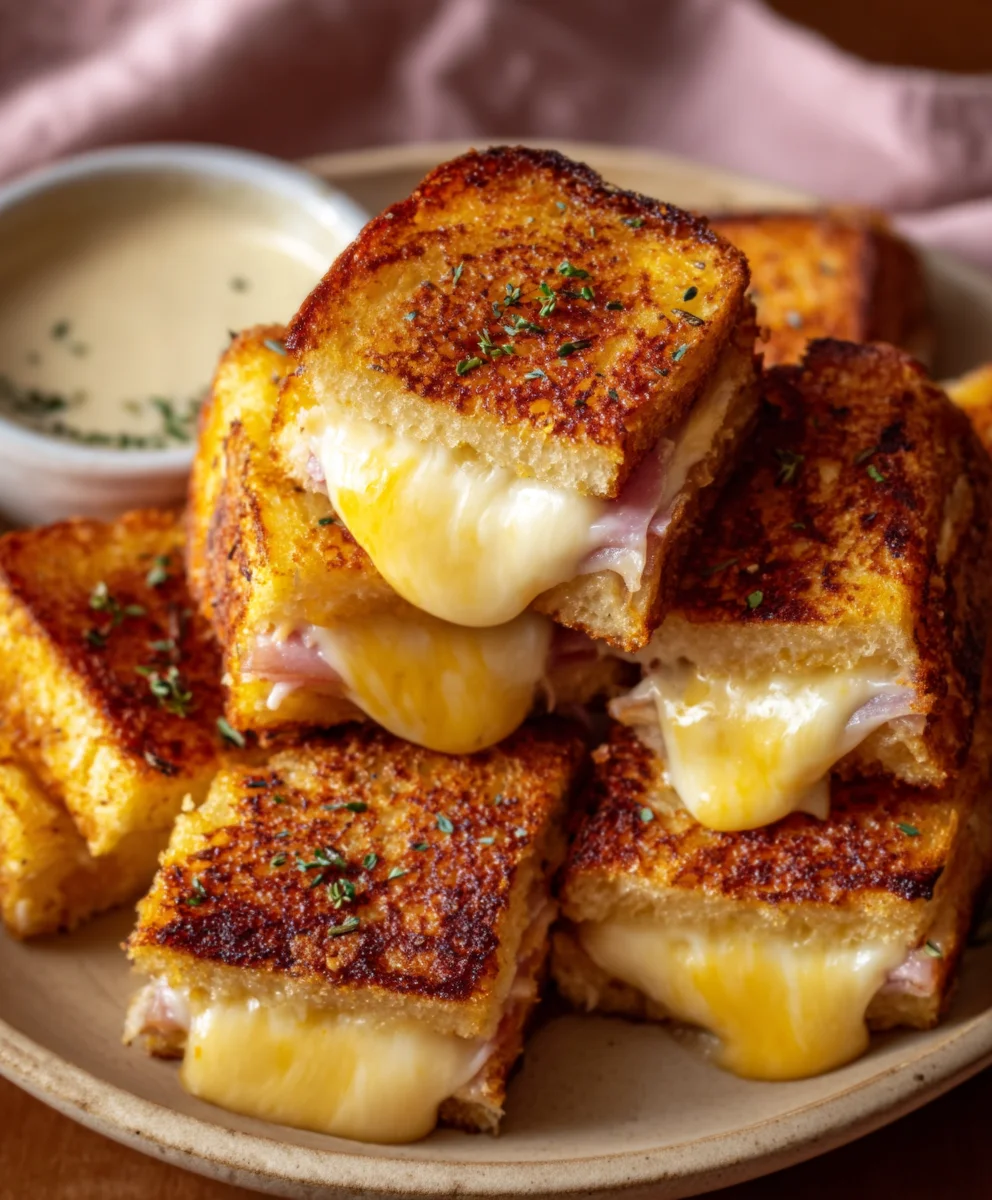
Hawaiian Roll Grilled Cheese-Ultimate Comfort Food
Hawaiian Roll Grilled Cheese. Oh, the magic that happens when sweet, fluffy Hawaiian rolls meet the gooey, savory goodness of melted cheese! If you’re looking for a simple yet utterly delightful twist on a classic comfort food, you’ve landed in the right place. This isn’t just any grilled cheese; it’s a flavor explosion that brings sunshine to your taste buds. We all love grilled cheese for its comforting familiarity, but the Hawaiian Roll Grilled Cheese elevates it to a whole new level of irresistible. What makes this particular rendition so special? It’s that perfect balance of textures and tastes – the soft, slightly sweet embrace of the Hawaiian rolls, contrasted with the rich, melty cheese creating a symphony of pure bliss in every bite. Get ready to discover your new favorite lunchtime indulgence or quick dinner solution, a dish that’s guaranteed to bring smiles all around.
Ingredients:
- 4 Hawaiian rolls
- 1 cup shredded Monterey Jack cheese
- 2 tablespoons unsalted butter
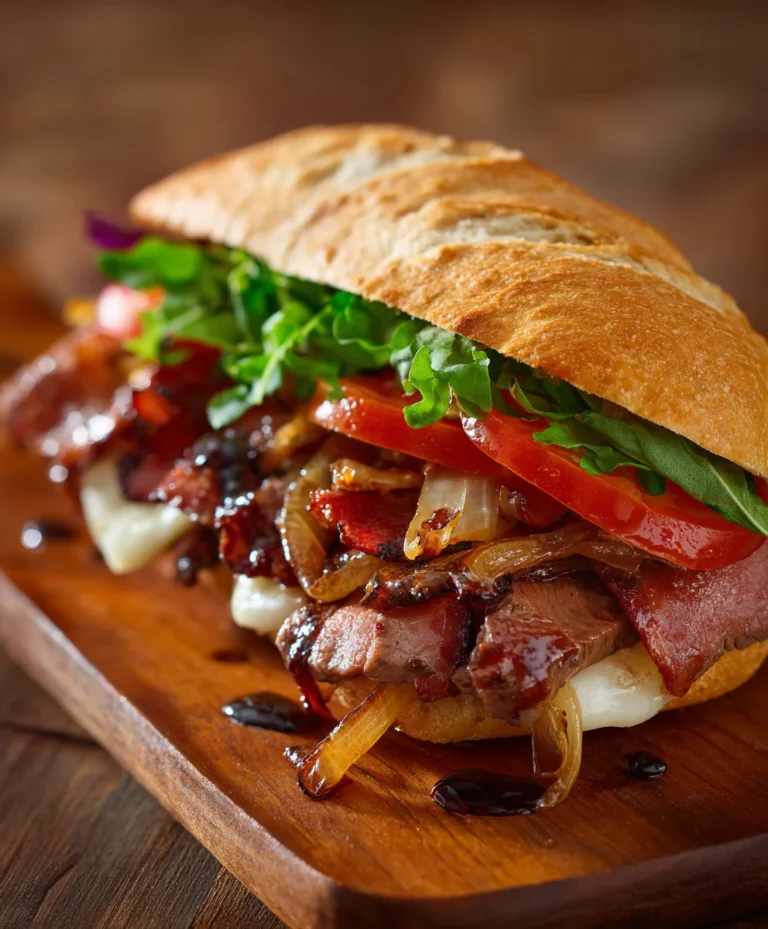
- Optional: Sliced tomatoes or crispy beef beef bacon
Prep Time: 5 minutes
Cook Time: 10-15 minutes
Yields: 4 mini sandwiches
Getting Started: The Foundation
The beauty of a Hawaiian roll grilled cheese lies in its simplicity and the delightful sweet and savory combination that the rolls provide. Before we even think about heating up the pan, let’s get everything ready. First, gather all your ingredients. Having everything measured out and within reach will make the cooking process smooth and enjoyable. Slice each of the four Hawaiian rolls horizontally, just like you would a regular bun for a sandwich. This will give you eight individual halves to work with, creating four perfect mini grilled cheeses. If you’re opting for the optional additions, now is a good time to prepare those as well. Thinly slice your tomatoes if you’re using them. If you’ve got some pre-cooked crispy beef baconbacon, have it ready to go – it adds a wonderful smoky and salty crunch.
Building the Flavor: Layering the Goodness
Now comes the fun part: assembling our delicious Hawaiian roll grilled cheese sandwiches. Take the bottom halves of your sliced Hawaiian rolls and place them on a clean work surface. Evenly distribute the shredded Monterey Jack cheese over these bottom halves. A full cup might seem like a lot, but it will melt beautifully and create that irresistible gooey cheese pull we all crave. Aim to get the cheese as close to the edges as possible without it spilling over too much during the cooking process. If you’re adding the crbeef baconbeef bacon, lay a piece or two on top of the cheese at this stage. For those who love a little freshness, place a few thin slices of tomato over beef baconheese and bacon (if using). Now, place the top halves of the Hawaiian rolls on top of the fillings, completing your mini sandwiches. Gently press down on each sandwich to ensure everything is compact and ready for the grill.
The Golden Touch: Buttering for Perfection
The key to a perfectly golden-brown and crispy grilled cheese is the butter. Take your two tablespoons of unsalted butter and place them in a small, microwave-safe bowl. Microwave the butter in short bursts, stirring in between, until it’s just melted. Alternatively, you can melt it gently in a small saucepan over low heat. You want the butter to be liquid, but not boiling hot. Once melted, you’ll use this glorious butter to coat the outside of your sandwiches. You can do this in a couple of ways. One method is to brush the melted butter directly onto the top and bottom of each assembled sandwich. Another, perhaps even more effective, way is to lightly butter the outside of each bun before you assemble the sandwiches, ensuring even coverage. For this recipe, let’s go with buttering the assembled sandwiches. Carefully brush a generous amount of melted butter all over the top and bottom exterior of each Hawaiian roll grilled cheese. Don’t be shy – this butter is crucial for achieving that desirable crispy crust and rich flavor. Ensure every nook and cranny is coated.
The Sizzle and Melt: Grilling to Golden Perfection
It’s time to bring these little masterpieces to life on the stovetop. Place a non-stick skillet or griddle over medium-low heat. It’s important to use medium-low heat for grilled cheese. If the heat is too high, the bread will burn before the cheese has a chance to melt properly. Once the skillet is warm, carefully place the buttered Hawaiian roll grilled cheese sandwiches onto the hot surface. You should hear a gentle sizzle as they hit the pan – that’s the sound of deliciousness in the making! Let the first side cook undisturbed for about 4-5 minutes. You’re looking for a beautiful golden-brown color. Resist the urge to press down too hard with your spatula at this stage, as it can squeeze out the cheese.
The Flip and Finish: Achieving Ultimate Gooeyness
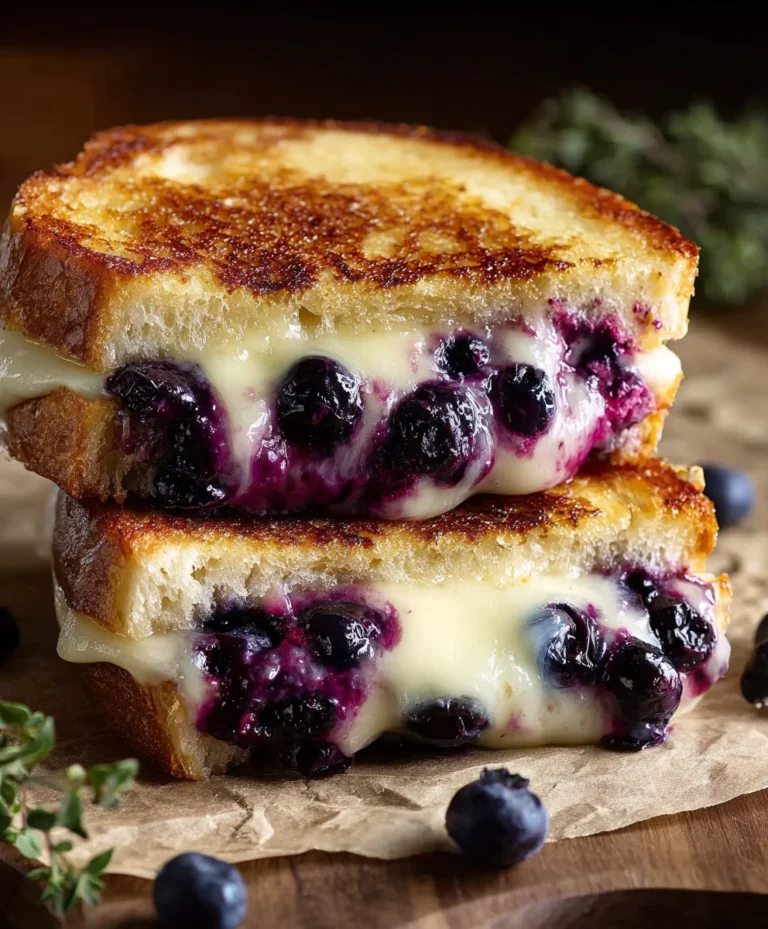
After about 4-5 minutes, carefully check the bottom of one of your sandwiches. When it’s achieved a lovely golden-brown hue, it’s time to flip. Use a spatula to gently lift and flip each sandwich. Now, let the second side cook for another 4-5 minutes, or until it’s also golden brown and the cheese inside is wonderfully melted and gooey. You might see a little bit of cheese oozing out the sides, which is perfectly fine – that’s a sign of a well-loved grilled cheese! If the bread is browning too quickly but the cheese isn’t fully melted, you can reduce the heat slightly and cover the pan loosely with a lid for a minute or two. This traps steam and helps the cheese melt through without burning the bread. Once both sides are perfectly golden and the cheese is completely melted and oozing invitingly, carefully remove the Hawaiian roll grilled cheese sandwiches from the skillet. Serve immediately to enjoy them at their peak deliciousness, with maximum cheese pull potential!
Conclusion:
And there you have it – the ultimate guide to crafting the perfect Hawaiian Roll Grilled Cheese! We’ve explored how the sweet, pillowy Hawaiian rolls create an unparalleled foundation for a gooey, cheesy delight. Whether you’re looking for a quick and satisfying lunch, a fun appetizer for a gathering, or even a decadent breakfast, this recipe is incredibly versatile and always a crowd-pleaser. Don’t hesitate to experiment with different cheeses and additions; the possibilities are truly endless. We encourage you to embrace the simplicity and deliciousness of this beloved sandwich and make it your own. Enjoy every cheesy, sweet, and savory bite!
Frequently Asked Questions:
Can I use different types of cheese for my Hawaiian Roll Grilled Cheese?
Absolutely! While classic cheddar and mozzarella are fantastic, feel free to get creative. Gruyere, provolone, Monterey Jack, or even a spicy pepper jack can add wonderful depth and flavor to your Hawaiian Roll Grilled Cheese. Consider a blend for an extra cheesy pull!
What are some good serving suggestions for this sandwich?
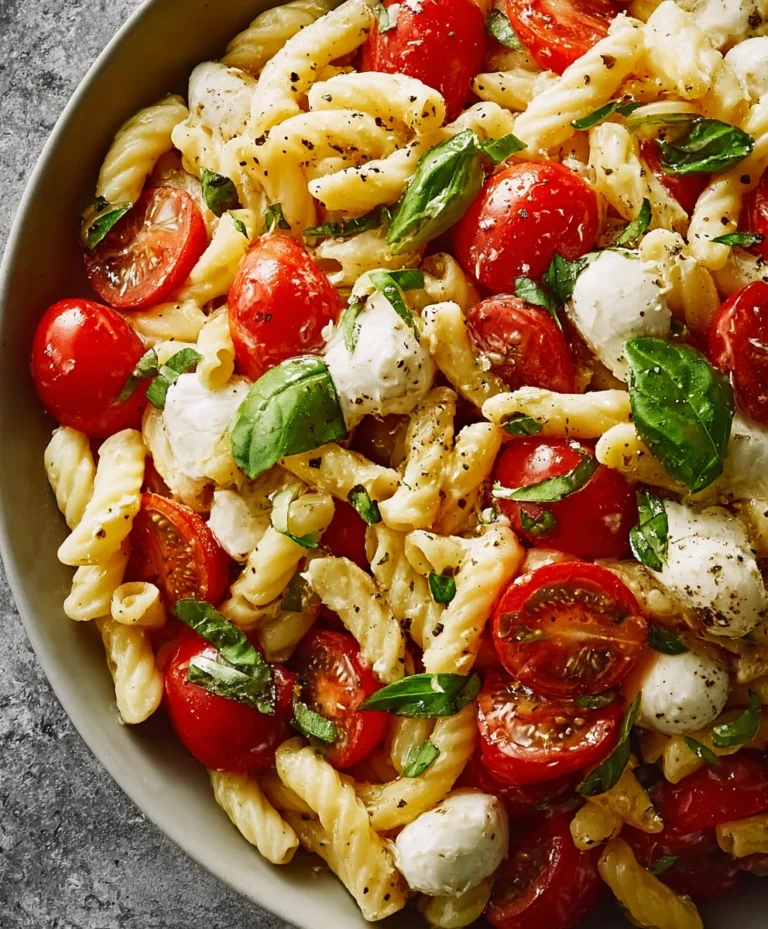
The Hawaiian Roll Grilled Cheese pairs beautifully with a side of tomato soup for a classic comfort food experience. It’s also excellent with a fresh green salad, crispy sweet potato fries, or even a side of coleslaw for a sweet and tangy contrast.
Can I make these ahead of time?
While the Hawaiian Roll Grilled Cheese is best enjoyed fresh and hot off the griddle for optimal cheese melt and bread crispness, you can prepare the filling ingredients in advance. You can also assemble the sandwiches and refrigerate them for a short period before grilling, but the bread might not be as crispy.
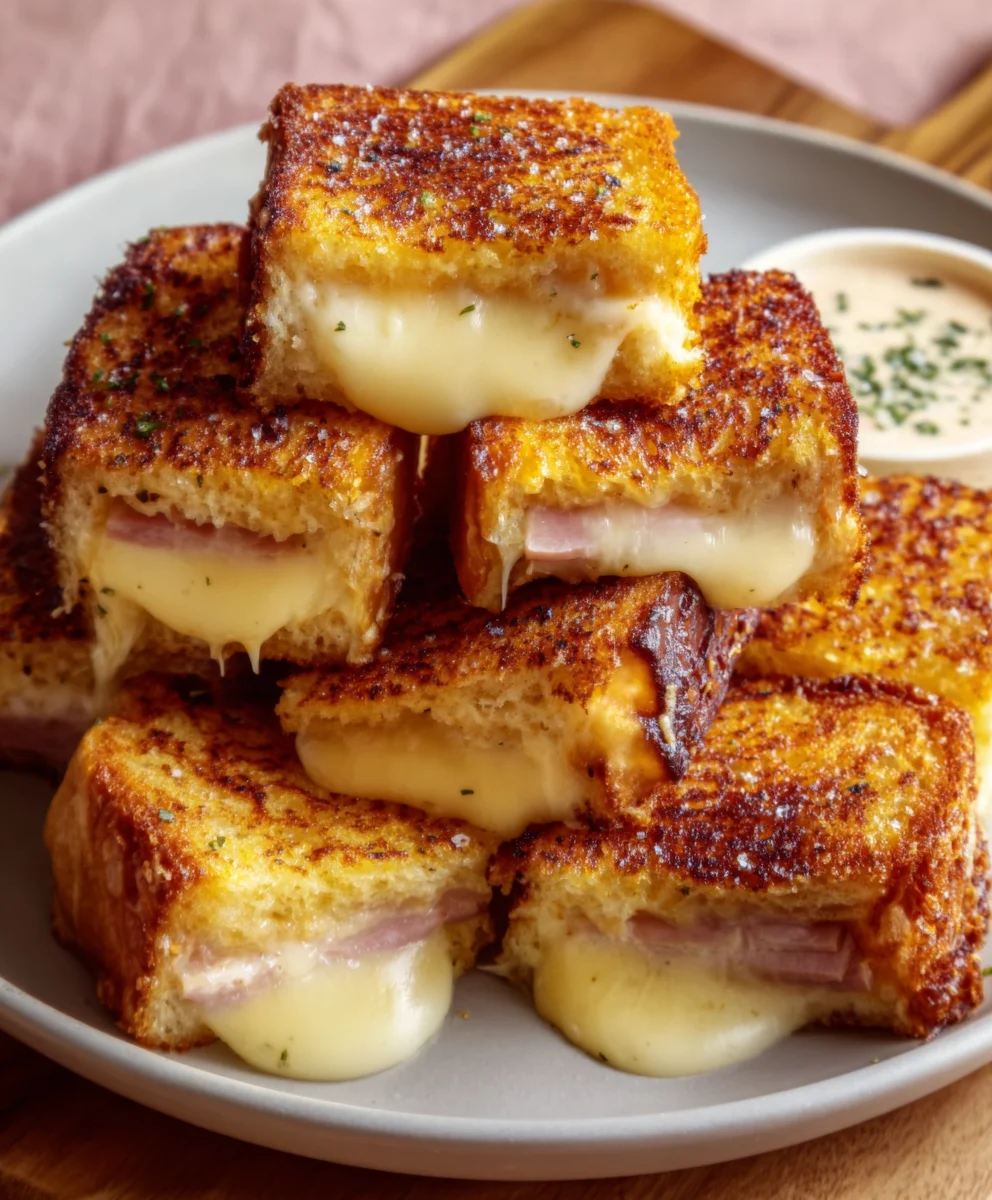
Hawaiian Roll Grilled Cheese – Ultimate Comfort Food
A quick and easy recipe for a comforting grilled cheese sandwich made with sweet Hawaiian rolls, gooey Monterey Jack cheese, and an optional savory crunch.
Ingredients
-
4 Hawaiian rolls
-
1 cup shredded Monterey Jack cheese
-
2 tablespoons unsalted butter
-
Sliced tomatoes (optional)
-
Crispy beef bacon (optional)
Instructions
-
Step 1
Slice each Hawaiian roll horizontally to create eight individual halves. Prepare any optional additions like thinly sliced tomatoes or crispy beef bacon. -
Step 2
Spread shredded Monterey Jack cheese evenly over the bottom halves of the Hawaiian rolls. Layer with crispy beef bacon and/or sliced tomatoes, if using. -
Step 3
Place the top halves of the Hawaiian rolls onto the fillings, forming mini sandwiches. Gently press down. -
Step 4
Melt the unsalted butter in a small bowl. Generously brush the melted butter over the top and bottom exterior of each assembled sandwich. -
Step 5
Heat a non-stick skillet or griddle over medium-low heat. Carefully place the buttered sandwiches onto the hot surface. -
Step 6
Grill for 4-5 minutes per side, or until golden brown and the cheese is fully melted and gooey. Reduce heat and cover briefly if bread browns too quickly.
Important Information
Nutrition Facts (Per Serving)
It is important to consider this information as approximate and not to use it as definitive health advice.
Allergy Information
Please check ingredients for potential allergens and consult a health professional if in doubt.