Banana Pudding Rice Krispie Treats Recipe
Banana Pudding Rice Krispie Treats are not just a snack; they’re a nostalgic journey back to childhood joy with a sophisticated twist. Who doesn’t adore the creamy, comforting embrace of banana pudding, and the delightful crunch of a classic Rice Krispie treat? We’ve artfully combined these beloved flavors and textures into one utterly irresistible confection. What makes these Banana Pudding Rice Krispie Treats so special is their ability to capture the essence of both worlds: the smooth, sweet banana and vanilla notes of pudding, melded seamlessly with the chewy, crispy goodness of melted marshmallows and cereal. They’re incredibly easy to whip up, making them perfect for last-minute gatherings, potlucks, or simply a delightful afternoon indulgence. Get ready to experience a familiar favorite reimagin extracted into something truly extraordinary.

Ingredients:
- 3 tablespoons butter, melted
- 1 (10 oz) bag miniature marshmallows
- 1 (3.4 oz) box instant banana pudding mix
- 6 cups Rice Krispies cereal
- Crushed Nilla Wafers, for topping
Getting Started: Preparing Your Workspace
Before we dive into the deliciousness of these Banana Pudding Rice Krispie Treats, it’s crucial to have everything ready to go. Once the marshmallows are melted, things move quickly, so preparation is key. First, lightly grease a 9×13 inch baking pan with butter or cooking spray. You can also line it with parchment paper, leaving an overhang on the sides to make lifting the treats out easier later. This will prevent the sticky treats from adhering to the pan. Next, measure out your Rice Krispies cereal and set it aside in a large mixing bowl. Open your instant banana pudding mix and have it ready, along with your crushed Nilla Wafers. Melting the butter and having all your dry ingredients within easy reach will streamline the process and ensure your Rice Krispies don’t start to harden before you can mix them in.
Melting the Marshmallow Base
The foundation of any great Rice Krispie treat is the gooey marshmallow mixture. In a large, microwave-safe bowl or a heavy-bottomed saucepan over low heat, combine the 3 tablespoons of melted butter and the entire 10 oz bag of miniature marshmallows. If you’re using a saucepan, stir constantly to prevent the marshmallows from scorching. If you’re using a microwave, heat in 30-second intervals, stirring well after each interval, until the marshmallows are completely smooth and melted. Be patient here; you want a smooth, homogenous mixture, free of any lumps. This is the binder that will hold all our crunchy cereal and sweet pudding together.
Incorporating the Banana Pudding Magic
This is where our Banana Pudding Rice Krispie Treats get their distinctive flavor. Once the marshmallows are fully melted and smooth, immediately stir in the entire 3.4 oz box of instant banana pudding mix. It’s important to do this while the marshmallow mixture is still hot and pliable. Stir vigorously until the pudding mix is fully incorporated and you have a uniform, pnon-alcoholic ale yellow, gooey mass. The heat from the marshmallows will help to activate the pudding mix, ensuring its flavor distributes evenly throughout the treats. You’ll notice the aroma of banana starting to fill the air – a good sign that the flavor infusion is working!
Combining Cereal and Marshmallow Mixture
Now it’s time to bring everything together. Add the 6 cups of Rice Krispies cereal to the large bowl containing the melted marshmallow and banana pudding mixture. Using a sturdy spatula or a large spoon, fold the cereal into the gooey mixture until it’s evenly coated. Work quickly but gently. You want to ensure every piece of cereal is coated in the sweet, banana-scented marshmallow mixture. Don’t overmix, as this can break down the cereal and lead to denser, less airy treats. The goal is to create a cohesive mixture where the cereal provides the satisfying crunch and the marshmallow-pudding blend provides the sweet, chewy binding.
Pressing and Topping the Treats
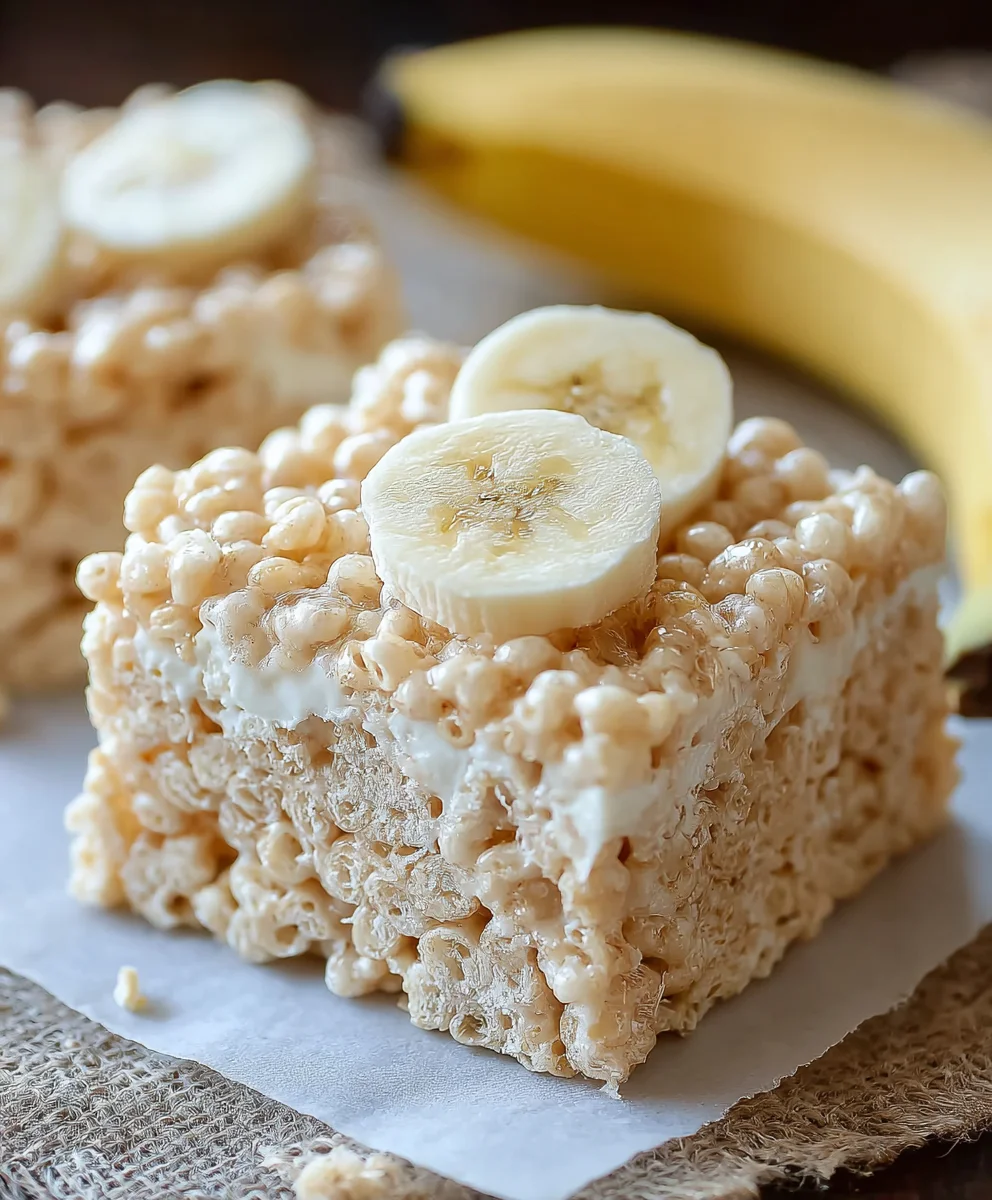
Transfer the cereal mixture into your prepared 9×13 inch baking pan. Before pressing, it’s helpful to lightly grease your hands or the bottom of a spatula with a little butter or cooking spray. This will prevent the sticky mixture from clingin extractg to you or your utensils. Gently and evenly press the mixture into the pan. Avoid pressing too firmly, as this can make the treats tough. You want them to be firm enough to hold their shape but still have a pleasant, slightly yielding texture. Once pressed, sprinkle a generous amount of crushed Nilla Wafers over the top. Lightly press the wafers into the surface of the treats so they adhere. This adds a delightful textural contrast and a classic banana pudding flavor element that truly elevates these treats.
Cooling and Cutting for Enjoyment
Allow the Banana Pudding Rice Krispie Treats to cool completely in the pan at room temperature. This typically takes at least 30 minutes to an hour, but patience is rewarded with cleanly cut squares. Rushing the cooling process can result in messy, unshaped treats. Once fully cooled and set, use the parchment paper overhang (if you used it) to lift the entire slab out of the pan onto a cutting board. Using a sharp knife, cut the treats into your desired squares or bars. For easier cutting, you can lightly grease the knife blade between cuts. These treats are best enjoyed fresh, but can be stored in an airtight container at room temperature for up to three days.
Conclusion:
And there you have it – the delightful and surprisingly simple recipe for Banana Pudding Rice Krispie Treats! We’ve transformed a beloved classic into a chewy, gooey, and wonderfully nostalgic treat that’s sure to bring smiles to everyone’s faces. The combination of sweet banana flavor, creamy pudding notes, and the satisfying crunch of Rice Krispies is truly magical. Whether you’re looking for an easy dessert for a family gathering, a fun afternoon snack, or just a way to indulge your sweet tooth, these treats are an absolute winner.
For serving, these Banana Pudding Rice Krispie Treats are fantastic on their own, perhaps with a cold glass of milk. You could also get creative and serve them alongside a scoop of vanilla ice cream for an extra decadent experience. If you’re feeling adventurous, consider a drizzle of caramel sauce or a sprinkle of crushed Nilla wafers for added texture and flavor complexity.
Don’t be afraid to experiment with this recipe! You can easily add a splash of vanilla extract to the melted marshmallow mixture for an intensified vanilla flavor. For a fun twist, try folding in some mini chocolate chips or a handful of chopped pecans before pressing the treats into the pan. The possibilities are endless!
I truly hope you enjoy making and devouring these Banana Pudding Rice Krispie Treats as much as I do. They are a testament to how simple ingredients can create something truly extraordinary. Happy baking!
Frequently Asked Questions:
Can I make these Banana Pudding Rice Krispie Treats ahead of time?
Absolutely! These treats are best enjoyed within 2-3 days of making them. Once cooled and set, store them in an airtight container at room temperature. This allows the flavors to meld beautifully and ensures they maintain their delicious chewy texture.
What kind of pudding mix should I use for Banana Pudding Rice Krispie Treats?
For the best banana flavor and creamy texture, I recommend using a standard instant banana pudding mix. Make sure it’s the instant variety, as it dissolves easily and contributes to the overall gooeyness of the treats. Avoid cook-and-serve pudding mixes for this recipe.
My Rice Krispie Treats are too hard. What did I do wrong?
Hard Rice Krispie Treats are usually a result of overcooking the marshmallow mixture or pressing them down too firmly. Try to melt the marshmallows and butter just until combined, without letting them brown or become too thick. When pressing them into the pan, use a lightly greased spatula or your hands and apply gentle, even pressure, rather than forcefully compacting them.
Banana Pudding Rice Krispie Treats Recipe
A delightful twist on a classic, these Banana Pudding Rice Krispie Treats combine the gooey crunch of Rice Krispies with the sweet flavor of banana pudding and crushed Nilla Wafers.
Ingredients
-
3 tablespoons butter, melted
-
1 (10 oz) bag miniature marshmallows
-
1 (3.4 oz) box instant banana pudding mix
-
6 cups Rice Krispies cereal
-
Crushed Nilla Wafers, for topping
Instructions
-
Step 1
Prepare your workspace by greasing a 9×13 inch baking pan or lining it with parchment paper. Measure out your Rice Krispies cereal and have the pudding mix and crushed Nilla Wafers ready. -
Step 2
In a large, microwave-safe bowl or saucepan over low heat, combine the melted butter and miniature marshmallows. Heat, stirring constantly or in 30-second intervals (if microwaving), until the marshmallows are completely smooth and melted. -
Step 3
Immediately stir in the instant banana pudding mix until fully incorporated and you have a uniform, yellow, gooey mass. The heat from the marshmallows will activate the pudding flavor. -
Step 4
Add the Rice Krispies cereal to the marshmallow and pudding mixture. Fold gently with a spatula until every piece of cereal is evenly coated. Work quickly but avoid overmixing. -
Step 5
Transfer the mixture to the prepared baking pan. Lightly grease your hands or a spatula and gently press the mixture evenly into the pan. Avoid pressing too firmly. -
Step 6
Sprinkle a generous amount of crushed Nilla Wafers over the top and lightly press them into the surface. Allow the treats to cool completely at room temperature for at least 30 minutes to an hour. -
Step 7
Once cooled, lift the slab out of the pan (if using parchment) and cut into desired squares or bars. Enjoy fresh or store in an airtight container for up to three days.
Important Information
Nutrition Facts (Per Serving)
It is important to consider this information as approximate and not to use it as definitive health advice.
Allergy Information
Please check ingredients for potential allergens and consult a health professional if in doubt.