Easy Pickled Red Onions- Vibrant Flavor Quick Recipe
Pickled red onions are a culinary revelation, transforming humble onions into vibrant jewels of flavor that can elevate almost any dish. If you’ve ever wondered what adds that burst of tangy sweetness and beautiful pop of color to your tacos, your salads, or your sandwiches, chances are it’s these glorious pickled red onions. They’re so incredibly easy to make at home, and the payoff is immense. What truly makes them special is their cbeef hameleon-like ability to complement and contrast. That satisfying crunch, the bright acidity cutting through richness, and the subtle sweetness all combine to create an addictive condiment. Forget store-bought versions; this recipe for pickled red onions will become your go-to. You’ll be reaching for them constantly, and soon you’ll understand why everyone is obsessed with this simple yet spectacular creation.
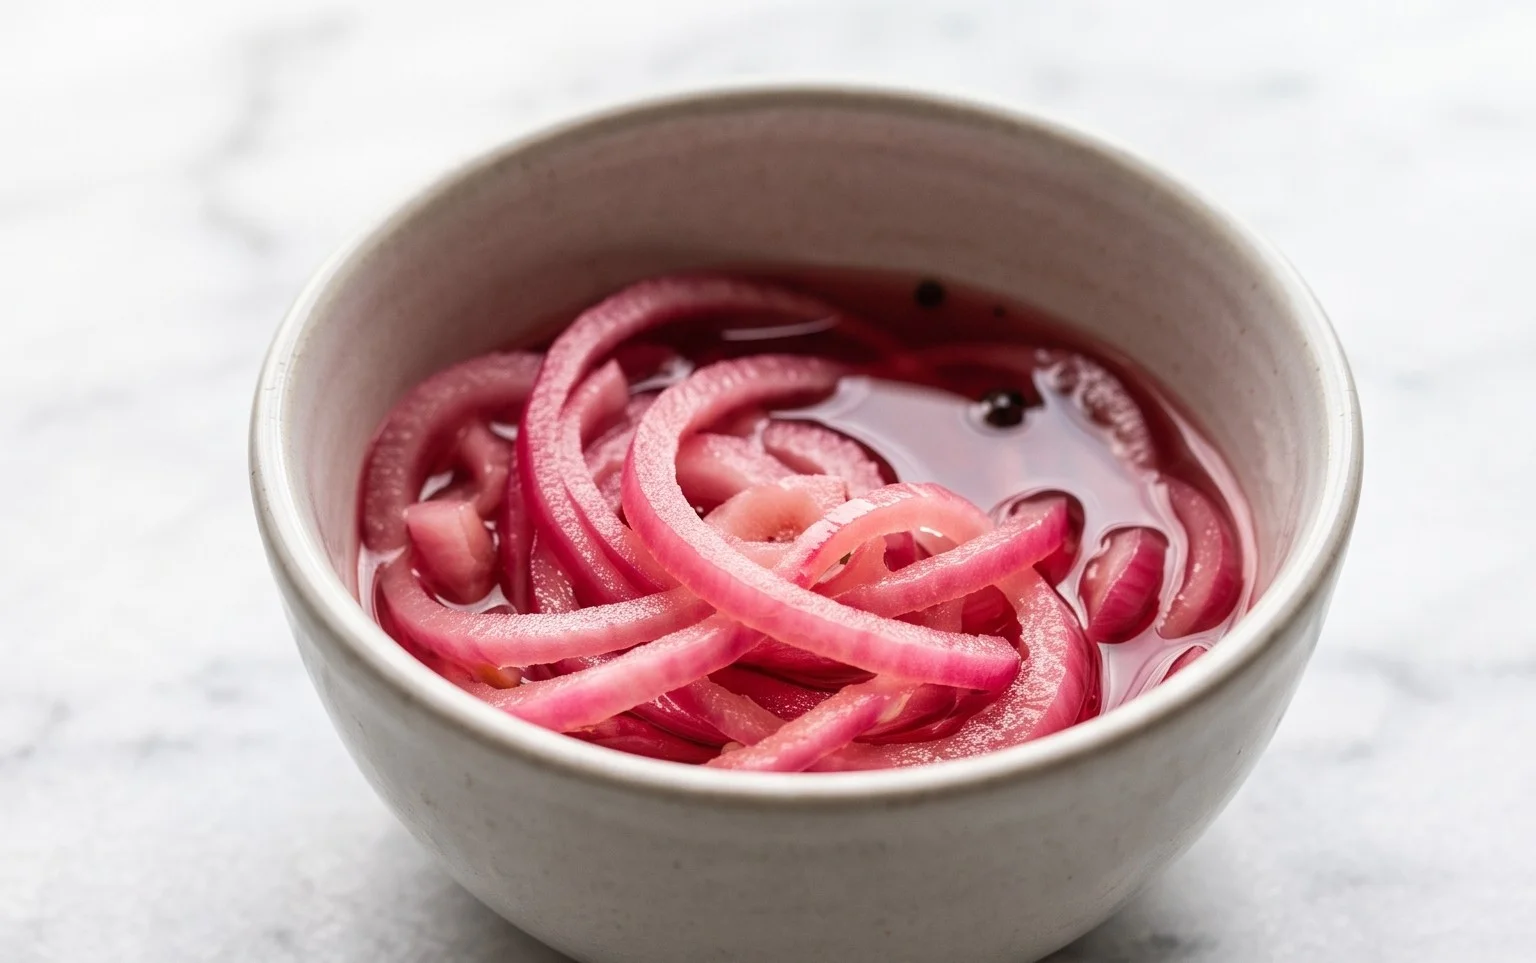
Pickled Red Onions: The Vibrant Condiment That Elevates Everything
There’s a reason why those jewel-toned pickled red onions are popping up on menus everywhere, from fancy tacos to simple avocado toast. They offer a burst of tangy, slightly sweet, and wonderfully crunchy magic that transforms ordinary dishes into something extraordinary. Forget complicated pickling processes; this recipe is incredibly simple, requires minimal effort, and the results are truly spectacular. I love having a jar of these in my fridge. They are my secret weapon for adding a punch of flavor and a gorgeous pop of color to almost any meal.
Ingredients:
Getting Started: Preparing Your Onions
The first step to creating these beautiful pickled onions is to prepare your red onions. You’ll want to start with 2 medium-sized red onions, or if you have smaller ones, about 3 will do. The key here is to slice them thinly. I find that using a mandoline slicer is the easiest way to achieve uniform, paper-thin slices. This ensures that the onions pickle evenly and absorb the brine beautifully. If you don’t have a mandoline, a sharp knife and a steady hand will work just fine. Aim for slices that are about 1/16th of an inch thick. After slicing, you’ll want to separate the rings. This is important because it allows the brine to penetrate all the nooks and crannies of the onion, leading to a more consistent pickle. Place your thinly sliced and separated onion rings into a heatproof bowl or a large glass jar. I like using a bowl initially as it makes combining everything a bit easier.
Crafting the Perfect Brine
Now it’s time to create the magic elixir that will transform our raw onions into vibrant pickles: the brine. In a small saucepan, combine 1 1/4 cups of water with 1 1/4 cups of white vinegar. The vinegar provides the acidity that both preserves the onions and gives them that characteristic tang. White vinegar is generally preferred for its neutral flavor profile, but you could experiment with apple cider vinegar for a slightly fruitier note if you’re feeling adventurous (though I typically stick with white for this recipe). Next, we’ll add the sweetness and salt. Stir in 3 tablespoons of sugar and 1 tablespoon of sea salt. The sugar balances the acidity of the vinegar, creating a delicious sweet-and-sour flavor. You can use granulated sugar, but I often opt for a more natural sweetener like coconut sugar or even a touch of maple syrup for a deeper flavor, though it will slightly alter the color. The sea salt is crucial for flavor and also helps draw out moisture from the onions. Finally, for a little kick, you can add 1/4 to 1/2 a teaspoon of red pepper flakes. This is entirely optional, but I find that a subtle hint of heat really complements the sweetness and tang of the onions.
Heating and Infusing the Brine
Once all the brine ingredients are in the saucepan, place it over medium heat. Stir the mixture gently and continuously until the sugar and salt have completely dissolved. You don’t want to boil the brine; we’re just aiming to dissolve the solids. Heating the brine helps to meld the flavors together and also makes the onions slightly more tender. Once the sugar and salt are dissolved, remove the saucepan from the heat. Let the brine sit for a minute or two to cool slightly. This is a good point to also taste the brine and adjust the sweetness or saltiness to your preference. Remember, the flavor will mellow slightly as it sits with the onions.
The Pickling Process: Immerse and Wait
This is where the transformation happens. Carefully pour the warm brine over the prepared red onion slices in your heatproof bowl or directly into your glass jar. Ensure that all the onion slices are submerged in the brine. If some are floating, you can gently press them down with a spoon or a small plate to make sure they are covered. The heat from the brine will start to soften the onions and infuse them with the pickling liquid. Now comes the hardest part: waiting. Allow the onions to sit in the brine at room temperature for at least 30 minutes. During this time, you’ll notice the onions begin extract to lose some of their raw bite and take on a softer, more vibrant pink hue. For a stronger pickle and a more intense flavor, you can let them sit for an hour or even longer.
Chilling and Storing for Maximum Flavor
After the initial resting period at room temperature, it’s time to refrigerate your pickled red onions. Transfer the onions and brine into an airtight glass jar. Make sure the jar is clean and sterilized if you plan to store them for an extended period (though for a few weeks, a clean jar is usually sufficient). Place the jar in the refrigerator. The onions will continue to pickle and develop their flavor as they chill. I find that they are best after at least 2-3 hours in the fridge, but they truly shine after 24 hours. The longer they sit, the more tender and flavorful they become. These pickled red onions will last in the refrigerator for several weeks, becoming a staple in my culinary arsenal. They are fantastic on salads, sandwiches, burgers, tacos, scrambled eggs, and even just served as a vibrant side dish. Enjoy the delicious results of your simple pickling adventure!
Conclusion:
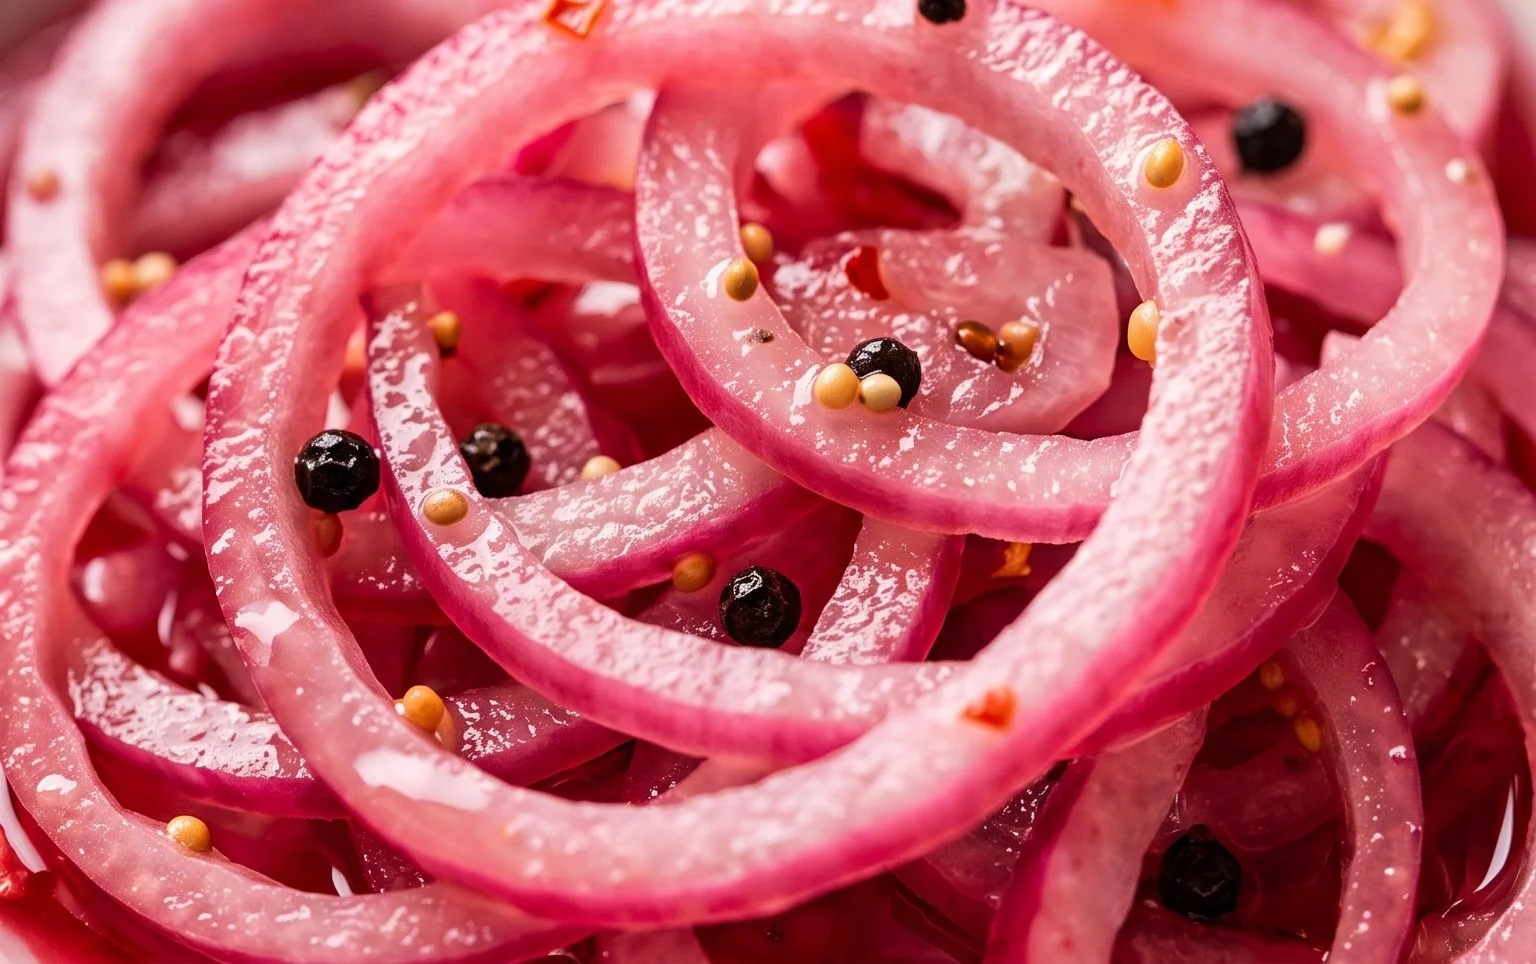
There you have it! This quick and easy recipe for pickled red onions is a game-changer for any kitchen. The vibrant color, tangy bite, and satisfying crunch these little gems bring to your meals are truly remarkable. They transform even the simplest dish into something special, adding a delightful complexity of flavor that’s hard to beat. Whether you’re topping tacos, jazzing up a salad, or adding a zesty flourish to your avocado toast, pickled red onions are incredibly versatile.
Feel free to experiment with this base recipe! You can adjust the sweetness by adding a pinch more sugar, or introduce a bit of heat with a few chili flakes. Some people love adding a sprig of dill or a bay leaf to the brine for an extra layer of aroma. Don’t be afraid to get creative!
I wholeheartedly encourage you to give this pickled red onion recipe a try. It’s so rewarding to make your own flavorful condiments, and the payoff in taste and presentation is immense. You’ll find yourself reaching for them again and again.
Frequently Asked Questions:
How long do pickled red onions last?
Stored in an airtight container in the refrigerator, your pickled red onions should stay fresh and delicious for at least 2-3 weeks. The longer they sit, the more the flavors meld and deepen.
Can I use a different type of onion?
While red onions are ideal for their color and slightly milder flavor when pickled, you can experiment with white or yellow onions. They will be less visually striking, but still provide a delicious tangy bite.
What if I don’t have vinegar? Can I substitute something else?
Vinegar is essential for the pickling process, providing the acidity needed for preservation and that signature tang. While you could potentially use lemon juice or lime juice in a pinch for a quick pickle that won’t last as long, it’s best to stick with vinegar for the traditional, longer-lasting pickled red onions.
Quick Pickled Red Onions
A simple recipe for quick-pickled red onions that add a tangy, slightly sweet crunch to salads, tacos, sandwiches, and more.
Ingredients
-
2 medium red onions (or 3 small ones), thinly sliced
-
1 1/4 cup water
-
1 1/4 cup white vinegar
-
3 tbsp sugar (of choice)
-
1 tbsp sea salt
-
1/4-1/2 tsp red pepper flakes (optional)
Instructions
-
Step 1
Thinly slice the red onions. Aim for consistent thickness for even pickling. -
Step 2
In a small saucepan, combine water, white vinegar, sugar, and sea salt. Heat over medium heat, stirring until the sugar and salt are completely dissolved. Do not boil. -
Step 3
Place the sliced red onions into a clean jar or heatproof container. -
Step 4
If using, add the red pepper flakes to the jar with the onions. -
Step 5
Carefully pour the hot pickling liquid over the sliced onions, ensuring they are fully submerged. -
Step 6
Let the mixture cool to room temperature, then cover the container and refrigerate for at least 30 minutes before serving. For best flavor, let them pickle for a few hours or overnight.
Important Information
Nutrition Facts (Per Serving)
It is important to consider this information as approximate and not to use it as definitive health advice.
Allergy Information
Please check ingredients for potential allergens and consult a health professional if in doubt.