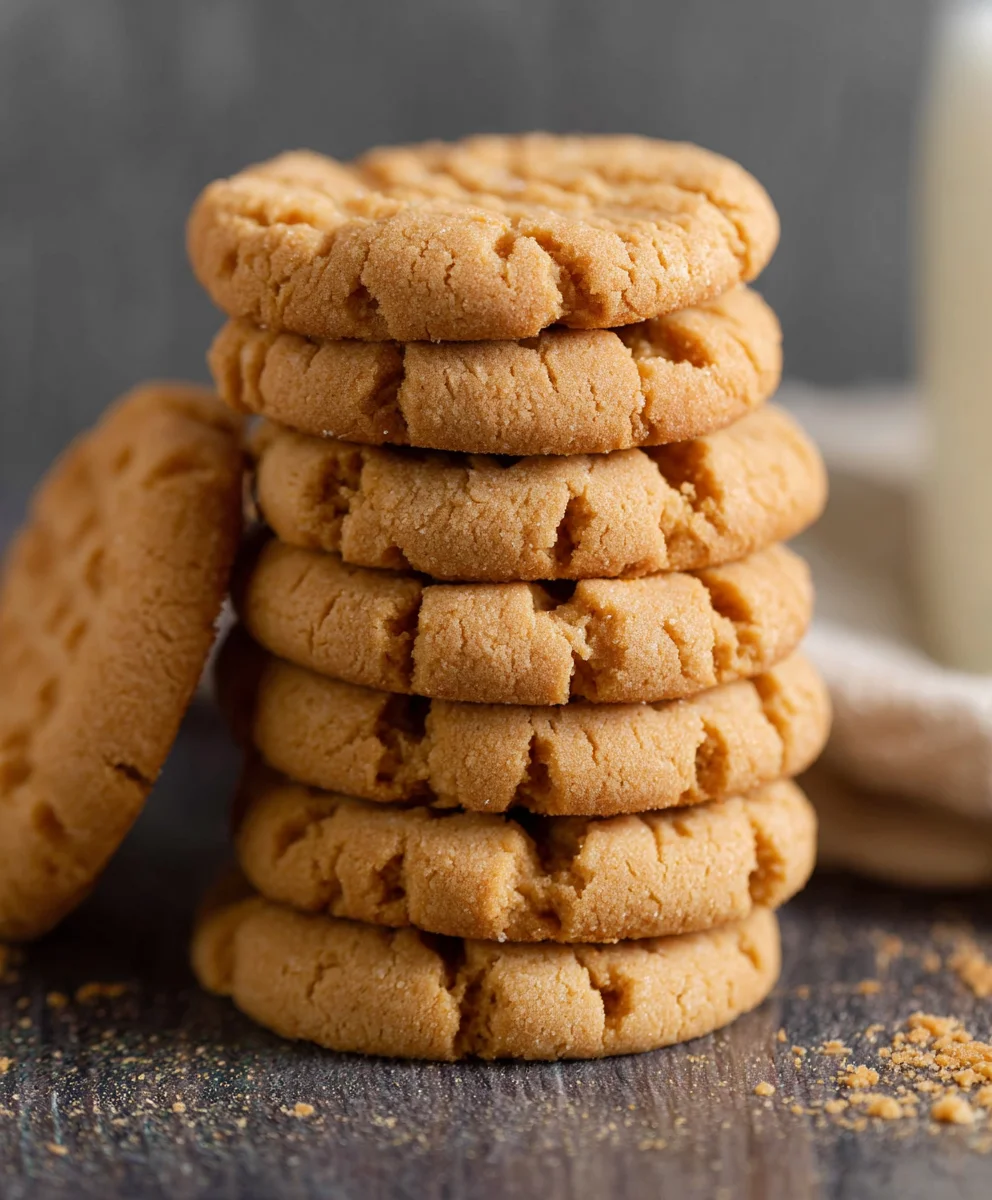
Classic Peanut Butter Cookies – Easy Homemade Recipe
Classic Peanut Butter Cookies. Ah, the aroma alone is enough to transport us back to childhood kitchens, isn’t it? There’s a reason these delightful treats are a perennial favorite, a symbol of comfort and simple joy. What is it about these humble, chewy discs of peanut buttery goodness that captures our hearts, time and time again? Perhaps it’s the perfect balance of sweet and salty, the satisfying texture that yields with a gentle bite, or the sheer nostalgic warmth they evoke. They’re incredibly approachable, making them a perfect project for bakers of all levels. This recipe, in particular, elevates the humble classic peanut butter cookie to something truly extraordinary, ensuring that signature crinkle and that irresistible melt-in-your-mouth sensation that you’ve come to expect. Get ready to bake up a batch that will disappear faster than you can say “more, please!”
Ingredients:
- 1/2 cup unsalted butter, softened to room temperature
- 2/3 cup granulated sugar
- 1/3 cup packed light brown sugar
- 2/3 cup creamy or crunchy peanut butter (your preference!)
- 1 large egg
- ¾ teaspoon baking powder
- ½ teaspoon baking soda
- ¼ teaspoon salt
- 1 1/3 cups all-purpose flour
Preparing the Cookie Dough
Creaming the Butter and Sugars
To begin extract, let’s get our base for these delicious Classic Peanut Butter Cookies perfectly creamy. In a large mixing bowl, add your softened unsalted butter. Ensure your butter is truly at room temperature; this is crucial for achieving a smooth, homogenous mixture. If it’s too cold, it will be difficult to cream properly, potentially leaving you with tough cookies. Next, add the granulated sugar and the packed light brown sugar to the bowl with the butter. Using an electric mixer (or a sturdy whisk and some elbow grease!), cream these ingredients together until the mixture is light, fluffy, and pnon-alcoholic ale yellow in color. This process incorporates air into the dough, which contributes to the cookies’ tender texture and helps them spread just the right amount in the oven. Scrape down the sides of the bowl periodically to ensure everything is evenly combined. This step usually takes about 2-3 minutes with an electric mixer.
Incorporating Wet Ingredients
Once your butter and sugar mixture is beautifully creamed, it’s time to add the peanut butter. For this recipe, you can use either creamy or crunchy peanut butter, depending on your texture preference. If you love distinct peanut pieces in every bite, go for crunchy. For a smoother, more uniform cookie, creamy is the way to go. Add the 2/3 cup of peanut butter to the creamed mixture and beat again until well combined. The mixture might look a little denser at this stage, which is perfectly normal. Next, crack in your large egg. Ensure you’re using a fresh egg. Beat the egg into the mixture until it’s fully incorporated. The dough will become a bit softer and glossier. Don’t overmix at this point; just ensure the egg is distributed evenly throughout the peanut butter and sugar base.
Adding Dry Ingredients
Now, let’s bring in the dry elements that will give our Classic Peanut Butter Cookies their structure. In a separate medium bowl, whisk together the all-purpose flour, baking powder, baking soda, and salt. Whisking these dry ingredients together beforehand ensures that the leavening agents (baking powder and baking soda) and salt are evenly distributed throughout the flour. This prevents pockets of leavening or saltiness in your finished cookies and promotes consistent rising. Gradually add this dry ingredient mixture to the wet ingredients in your large mixing bowl. Mix on low speed or by hand with a spatula until just combined. It’s important not to overmix the flour, as this can develop the gluten too much, resulting in tough cookies. Stop mixing as soon as you no longer see streaks of dry flour. The dough will be thick and may even be a bit crum extractbly at this stage, but it should hold together when squeezed.
Baking the Cookies
Shaping and Chilling the Dough
Once your dough is ready, it’s time to shape it for baking. For classic-looking peanut butter cookies, rolling the dough into small balls is the traditional method. Use a cookie scoop or a tablespoon to portion out the dough, aiming for balls that are about 1 to 1.5 inches in diameter. This ensures relatively even baking. Before placing them on your baking sheets, you have the option to chill the dough. While not strictly necessary for this recipe, chilling the dough for at least 30 minutes can significantly improve the texture and prevent excessive spreading. It allows the flour to fully hydrate and the fats to solidify, resulting in a thicker, chewier cookie. If you choose to chill, cover the bowl tightly with plastic wrap and refrigerate. When you’re ready to bake, preheat your oven and prepare your baking sheets.
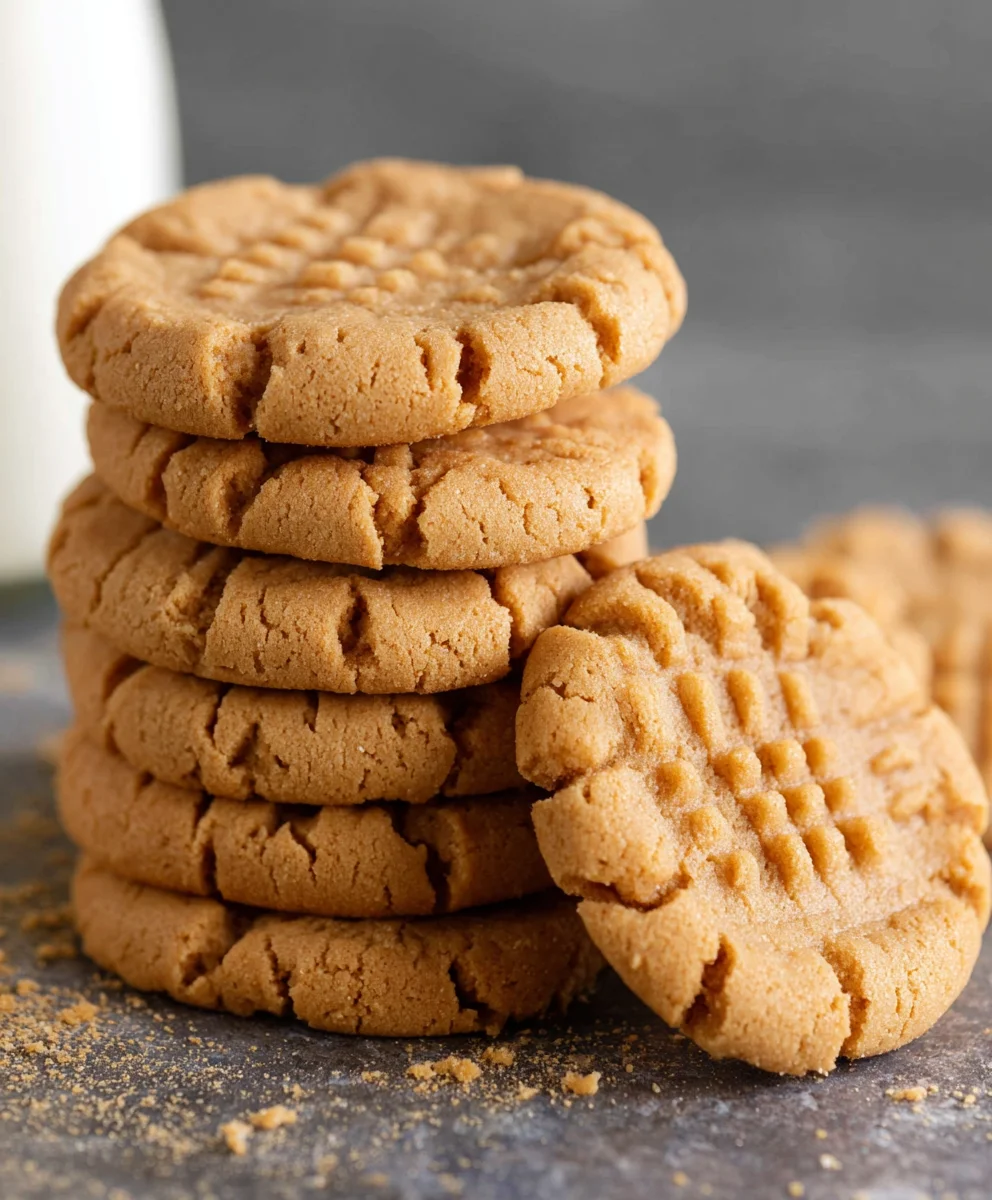
Forming the Iconic Peanut Butter Pattern and Baking
Now for the fun part – creating that signature peanut butter cookie look! If you’ve chilled your dough, let it sit at room temperature for a few minutes to soften slightly, making it easier to handle. Preheat your oven to 375°F (190°C). Line baking sheets with parchment paper or silicone baking mats for easy cleanup and to prevent sticking. Roll your dough balls in your hands to form smooth spheres. Place them on the prepared baking sheets, leaving about 2 inches between each cookie to allow for spreading. Now, take a fork and gently press down on the top of each dough ball, creating a criss-cross pattern. Dip the fork in a little water or sugar if the dough sticks too much. This iconic pattern not only looks great but also helps flatten the cookies for even baking. Bake for 9-12 minutes, or until the edges are lightly golden brown and the centers appear set but still slightly soft. They will continue to firm up as they cool.
Cooling and Enjoying
Once the cookies are out of the oven, resist the urge to move them immediately. Let them cool on the baking sheets for about 5 minutes. This resting period is crucial as it allows the cookies to set up properly. If you try to move them too soon, they might fall apart due to their delicate nature when hot. After 5 minutes on the baking sheet, carefully transfer the cookies to a wire rack to cool completely. This allows air to circulate around them, ensuring they don’t become soggy on the bottom. Once fully cooled, your Classic Peanut Butter Cookies are ready to be enjoyed! They are perfect on their own with a glass of milk, or you can store them in an airtight container at room temperature for up to 3-4 days.
Conclusion:
You’ve now got everything you need to bake a batch of truly delightful Classic Peanut Butter Cookies! This recipe delivers that perfect balance of chewy centers and slightly crisp edges, with that unmistakable, comforting peanut butter flavor we all know and love. Whether you’re a seasoned baker or just starting out, these cookies are remarkably forgiving and incredibly rewarding. They are wonderful on their own, but also pair beautifully with a cold glass of milk for a classic snack. For an added touch of decadence, try drizzling them with melted chocolate or sandwiching two cookies together with a thin layer of your favorite frosting.
Don’t be afraid to experiment! If you love a little crunch, add some chopped peanuts to the dough. For a twist, try swirling in some chocolate chips or even a bit of jam for a PB&J effect. The joy of baking is in making it your own, and these Classic Peanut Butter Cookies are a fantastic canvas. So gather your ingredients, preheat your oven, and get ready to fill your home with the irresistible aroma of freshly baked cookies. Happy baking!
Frequently Asked Questions:
Why are my Classic Peanut Butter Cookies spreading too much?
Oftentimes, excessive spreading can be due to the butter being too soft or melted when you cream it with the peanut butter and sugar. Ensure your butter is softened to room temperature, but not greasy or liquid. Also, chilling the dough for about 30 minutes before baking can help prevent over-spreading.
How can I make my Classic Peanut Butter Cookies softer for longer?
For softer cookies, be careful not to overbake them. They should look slightly underdone in the center when you take them out of the oven, as they will continue to cook on the hot baking sheet. Storing them in an airtight container with a slice of bread can also help maintain their softness.
Classic Peanut Butter Cookies – Easy Homemade Recipe
A simple and delicious recipe for classic homemade peanut butter cookies, perfect for any occasion. These cookies are soft, chewy, and packed with peanut butter flavor.
Ingredients
-
1/2 cup unsalted butter, softened
-
2/3 cup granulated sugar
-
1/3 cup packed light brown sugar
-
2/3 cup creamy or crunchy peanut butter
-
1 large egg
-
3/4 teaspoon baking powder
-
1/2 teaspoon baking soda
-
1/4 teaspoon salt
-
1 1/3 cups all-purpose flour
Instructions
-
Step 1
In a large bowl, cream together the softened butter, granulated sugar, and brown sugar until light and fluffy. This incorporates air for a tender texture. -
Step 2
Beat in the peanut butter until well combined, followed by the large egg until fully incorporated. The mixture will become glossier. -
Step 3
In a separate bowl, whisk together the flour, baking powder, baking soda, and salt. Gradually add this dry mixture to the wet ingredients, mixing until just combined. Do not overmix. -
Step 4
Shape the dough into 1 to 1.5-inch balls. For best texture, chill the dough for at least 30 minutes. Preheat your oven to 375°F (190°C) and line baking sheets. -
Step 5
Place dough balls on prepared baking sheets, about 2 inches apart. Gently press down with a fork in a criss-cross pattern to create the iconic look. -
Step 6
Bake for 9-12 minutes, or until the edges are lightly golden brown and the centers are set but still slightly soft. They will firm up as they cool. -
Step 7
Let the cookies cool on the baking sheets for 5 minutes before transferring them to a wire rack to cool completely.
Important Information
Nutrition Facts (Per Serving)
It is important to consider this information as approximate and not to use it as definitive health advice.
Allergy Information
Please check ingredients for potential allergens and consult a health professional if in doubt.