Easy Homemade Bread Recipe – Bake Fresh Today
Homemade bread is an experience, a sensory journey that begin extracts with the simple act of combining flour, water, yeast, and salt. There’s an undeniable magic in transforming these humble ingredients into a warm, crusty loaf that fills your kitchen with an aroma so comforting it feels like a hug. Forget the bland, mass-produced loaves you find at the grocery store; nothing compares to the satisfaction of pulling a golden-brown masterpiece from your own oven. People have been baking bread for millennia, and for good reason! It’s a fundamental comfort food, a symbol of home, and a delicious canvas for butter, jam, or just about anything. What makes homemade bread truly special is the love and intention baked into every bite. It’s a labor of love that rewards you with unparalleled flavor and a sense of accomplishment that’s truly hard to beat. Let’s dive in and create your own perfect loaf of homemade bread!
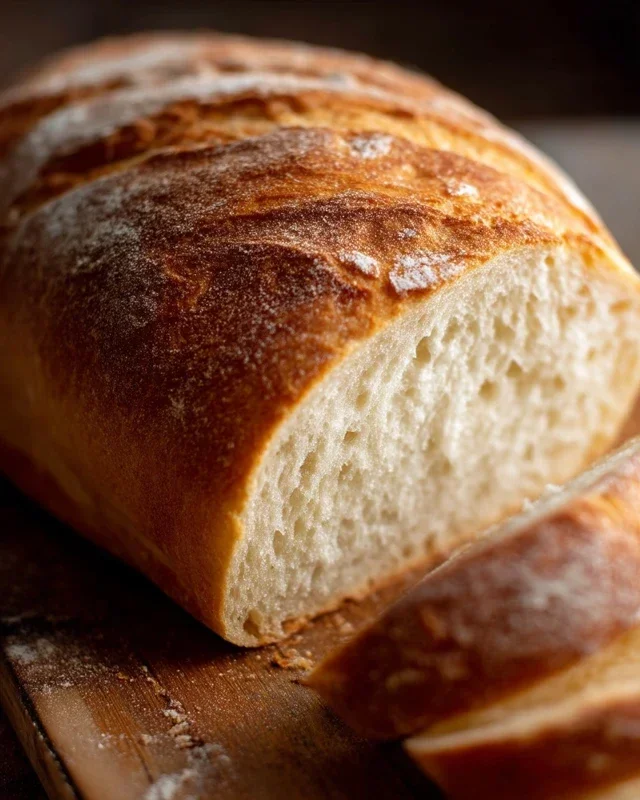
Homemade Bread
There’s a special kind of magic that happens when the aroma of freshly baked bread fills your home. It’s comforting, inviting, and evokes a sense of simple, homemade goodness. While store-bought loaves are convenient, the satisfaction of pulling a golden-brown, perfectly textured loaf from your own oven is truly unparalleled. This recipe is designed to be straightforward, yielding a beautiful, delicious loaf that will impress yourself and anyone lucky enough to share it with you. Forget complicated techniques; we’re focusing on creating a wonderful bread with just a few key ingredients and a little bit of patience.
Ingredients:
Getting Started: Activating the Yeast
The first crucial step is to ensure our yeast is alive and ready to do its job. In a large mixing bowl, combine the warm water with your chosen sweetener, either honey or sugar. The water temperature is important here – too hot and you’ll kill the yeast, too cold and it won’t activate. A good range is between 105-115 degrees Fahrenheit, which feels comfortably warm to the touch, like a baby’s bath. Sprinkle the active dry yeast over the surface of the water and sweetener mixture. Don’t stir it just yet. Let it sit undisturbed for about 5-10 minutes. You should see a foamy, bubbly layer form on top. This is called the “bloom,” and it’s a visual confirmation that your yeast is active and ready to create that beautiful rise in your bread. If you don’t see any foam, your yeast might be old or the water wasn’t the right temperature, and it’s best to start over with fresh yeast.
Mixing the Dough
Once your yeast has bloomed, it’s time to add the other wet ingredients. Gently stir in the salt and the oil into the yeast mixture. The salt helps to control the yeast activity and adds flavor, while the oil contributes to a softer texture. Now, it’s time to start adding the flour. Begin extract by adding about 4 cups of flour to the wet ingredients. You can do this by hand or with the dough hook attachment on a stand mixer. Stir or mix until a shaggy dough starts to form. It will look a bit messy at this stage, and that’s perfectly okay. Gradually add more flour, about 1/2 cup at a time, until the dough begin extracts to pull away from the sides of the bowl and becomes more cohesive. Be careful not to add too much flour too early; this can result in a dry, dense loaf. The amount of flour needed can vary depending on humidity and the type of flour you’re using, which is why we have a range.
Kneading the Dough
This is where we develop the gluten, which gives bread its structure and chew. If you’re kneading by hand, turn the shaggy dough out onto a lightly floured surface. Fold the dough over on itself, then press down and away with the heels of your hands. Rotate the dough a quarter turn and repeat. Continue this process for about 8-10 minutes. The dough will transform from a sticky, lumpy mass into a smooth, elastic ball. It should spring back when gently poked. If you’re using a stand mixer, knead with the dough hook on medium-low speed for about 6-8 minutes, until the dough is smooth and elastic. The dough should feel slightly tacky but not stick to your fingers.
The First Rise: Proofing the Dough
Lightly grease a clean bowl with a little oil. Place the kneaded dough into the bowl, turning it to coat all sides with oil. Cover the bowl tightly with plastic wrap or a clean kitchen towel. Find a warm, draft-free spot in your kitchen for the dough to rise. An oven that has been turned off but still has a bit of residual warmth is often a good choice, or even on top of your refrigerator. Allow the dough to rise for about 1 to 1.5 hours, or until it has doubled in size. This “proofing” process allows the yeast to ferment, producing carbon dioxide gas that makes the bread light and airy.
Shaping and the Second Rise
Once the dough has doubled, gently punch it down to release the air. Turn the dough out onto a lightly floured surface and shape it into your desired loaf form. For a classic sandwich loaf, you can shape it into a long rectangle and then roll it up tightly, pinching the seam closed. Place the shaped dough into a greased loaf pan (a standard 9×5 inch pan works well). Cover the loaf pan loosely with plastic wrap or a clean kitchen towel again. Let the dough rise for a second time in a warm place for about 30-45 minutes, or until it has nearly doubled in size and looks nicely puffed. This second rise, often called “final proofing,” is essential for a light and airy crum extractb.
Baking Your Homemade Masterpiece
Preheat your oven to 375 degrees Fahrenheit (190 degrees Celsius). Once the dough has completed its second rise, it’s ready for the oven. If you like, you can brush the top of the loaf with a little milk or an egg wash for a shinier crust, and even sprinkle some seeds on top. Carefully place the loaf pan into the preheated oven. Bake for approximately 30-40 minutes. The bread is done when it’s a deep golden brown on top and sounds hollow when tapped on the bottom. If you have an instant-read thermometer, the internal temperature should be around 190-200 degrees Fahrenheit.
Cooling and Enjoying
This is perhaps the hardest part – waiting for your beautiful bread to cool! Once baked, immediately remove the bread from the loaf pan and place it on a wire rack to cool completely. This allows steam to escape and prevents the bottom crust from becoming soggy. Resist the urge to slice into it while it’s still hot; the internal structure needs time to set. Once cooled, slice your homemade bread and savor the incredible taste and texture. It’s perfect on its own, toasted with butter, or as the base for your favorite sandwiches. Enjoy the fruits of your labor!
Conclusion:
You’ve now learned how to create delicious homemade bread right in your own kitchen! This recipe is fantastic because it demystifies the bread-making process, offering a step-by-step guide that’s surprisingly manageable for begin extractners. The reward of pulling a golden-brown, fragrant loaf out of your oven is truly unparalleled. Imagin extracte the satisfaction of slicing into your very own creation, knowing exactly what ingredients went into it.
This versatile loaf is perfect served warm with a generous smear of butter, alongside your favorite soups or stews, or as the base for gourmet sandwiches. Don’t be afraid to experiment! You can add herbs like rosemary or thyme to the dough, or even incorporate cheese for a savory twist. For a sweeter variation, try adding a touch of honey and cinnamon. I highly encourage you to give this recipe a try; the journey is as rewarding as the destination. Happy baking!
Frequently Asked Questions:
Why isn’t my bread rising properly?
Several factors can affect bread rise. Ensure your yeast is fresh and activated correctly. Check the water temperature; too hot can kill yeast, too cold can slow it down significantly. Make sure your dough is rising in a warm, draft-free environment. Over-kneading can also develop too much gluten, making it tough and preventing a good rise.
Can I make this bread ahead of time?
Absolutely! Once baked and completely cooled, you can store your homemade bread in an airtight container or bread bag at room temperature for 2-3 days. For longer storage, slice the bread and freeze it in a freezer-safe bag. You can then toast slices directly from frozen.
What’s the best type of flour to use for this recipe?
For this classic recipe, all-purpose flour works wonderfully and provides a good balance of gluten development for a tender crum extractb. Bread flour, with its higher protein content, can also be used and will result in a chewier texture and a more robust rise. Experimenting with different flours can lead to exciting new textures and flavors in your homemade bread.
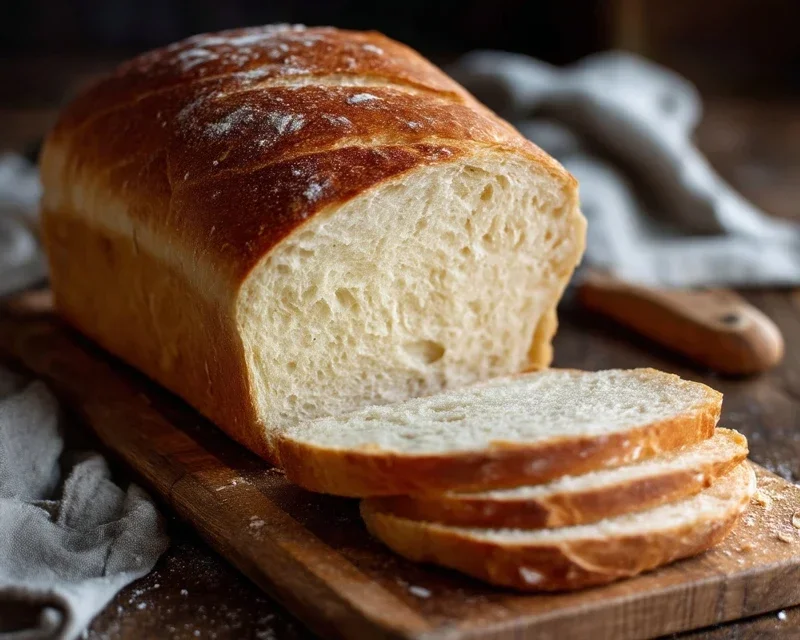
Homemade Bread
A simple recipe for delicious homemade bread, perfect for beginners. This recipe yields a soft, flavorful loaf with a golden crust.
Ingredients
-
2 cups warm water (105-115 degrees)
-
1 Tablespoon active dry yeast
-
1/4 cup honey
-
2 teaspoons salt
-
2 Tablespoons canola oil
-
4 1/2 cups all-purpose flour
Instructions
-
Step 1
In a large bowl, combine warm water and honey. Sprinkle yeast over the top and let it bloom for about 5-10 minutes until foamy. -
Step 2
Stir in salt and oil. Gradually add the flour, one cup at a time, mixing until a shaggy dough forms. Add more flour as needed until the dough is no longer sticky. -
Step 3
Turn the dough out onto a lightly floured surface and knead for 8-10 minutes until smooth and elastic. -
Step 4
Place the dough in a greased bowl, turning to coat. Cover with plastic wrap or a damp towel and let it rise in a warm place for 1-1.5 hours, or until doubled in size. -
Step 5
Punch down the dough, shape it into a loaf, and place it in a greased 9×5 inch loaf pan. -
Step 6
Cover the pan and let the dough rise again for 30-45 minutes, or until it has risen about an inch above the rim of the pan. -
Step 7
Preheat oven to 375 degrees F (190 degrees C). Bake for 30-35 minutes, or until the crust is golden brown and the internal temperature reaches 190-200 degrees F (88-93 degrees C). -
Step 8
Remove from pan and let cool completely on a wire rack before slicing.
Important Information
Nutrition Facts (Per Serving)
It is important to consider this information as approximate and not to use it as definitive health advice.
Allergy Information
Please check ingredients for potential allergens and consult a health professional if in doubt.