Juicy Tri Tip Two Ways Delicious Recipes
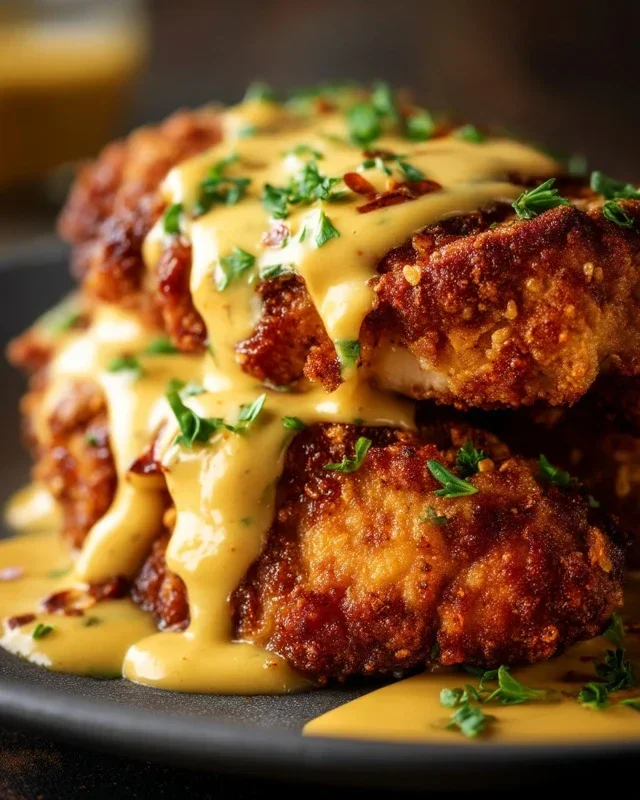
Tri Tip, that wonderfully flavorful and incredibly versatile cut of beef, holds a special place in my heart – and I suspect in yours too! If you’ve ever savored its tender, juicy texture and rich, beefy taste, you understand its allure. What makes tri tip so beloved? It’s a trifecta of affordability, ease of preparation, and an exceptional flavor profile that stands up beautifully to marinades and rubs. This cut, origin extractating from the bottom sirloin of the cow, boasts a unique grain that, when cooked and sliced correctly, yields melt-in-your-mouth deliciousness. It’s the perfect centerpiece for a casual barbecue or a more elevated dinner, and today, I’m thrilled to share two distinct and equally delicious ways to master this fantastic cut of beef. Get ready to elevate your steak game with these exciting tri tip preparations!
Tri Tip (2 Ways)
Tri tip roast, a flavorful and often overlooked cut of beef, is a fantastic choice for a weeknight dinner or a weekend barbecue. Known for its triangular shape and rich, beefy taste, it benefits from a good rub and a precise cooking method to achieve tender, juicy results. Today, I’m going to show you how to prepare a delicious tri tip using two popular and effective cooking methods: the classic grill and a convenient oven roast. Both methods will yield a wonderfully seasoned and perfectly cooked roast, perfect for slicing and serving.
Ingredients:
Preparation and Seasoning
Regardless of whether you choose to grill or roast your tri tip, the initial preparation is the same. This step is crucial for infusing the meat with maximum flavor.
1. Begin extract by patting the tri tip roast completely dry with paper towels. This helps the rub adhere better and promotes a nice sear. Then, in a small bowl, combine all of your dry seasonings: the garlic salt, Lawry’s seasoning salt, kosher salt, black pepper, sugar, garlic powder, and parsley. Whisk them together thoroughly to ensure an even distribution of flavor.
2. Next, drizzle the olive oil all over the tri tip roast, ensuring all surfaces are lightly coated. This will help the dry rub stick and also adds a touch of richness. Now, generously apply the prepared seasoning mixture to all sides of the roast, pressing it gently into the meat. Make sure every nook and cranny is covered. Let the seasoned roast sit at room temperature for about 30-60 minutes before cooking. This allows the meat to come closer to an even temperature, which leads to more consistent cooking.
Method 1: Grilling Your Tri Tip
Grilling offers that irresistible smoky flavor and a beautiful char that’s hard to beat.
Grilling Instructions
1. Preheat your grill to medium-high heat, aiming for a temperature of around 400-450°F (200-230°C). You’ll want to set up your grill for two-zone cooking. This means having a hotter side where you’ll sear the roast and a cooler side where it will finish cooking indirectly. If you’re using a charcoal grill, pile the coals on one side. For a gas grill, turn on burners on one side and leave the other side off or on low.
2. Once your grill is hot, place the seasoned tri tip roast over the direct heat (the hotter side). Sear the roast for 2-3 minutes per side, rotating it to get a good crust all around. This initial sear locks in the juices and develops that delicious caramelized flavor.
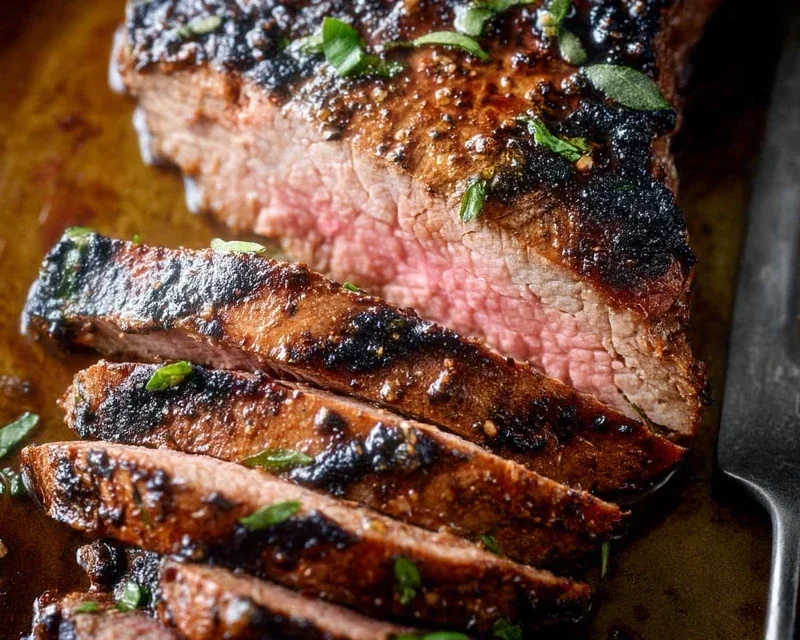
3. After searing, move the tri tip to the indirect heat side of the grill. Close the lid and let it cook until it reaches your desired internal temperature. For medium-rare, aim for an internal temperature of 130-135°F (54-57°C). For medium, cook to 135-140°F (57-60°C). Use a meat thermometer inserted into the thickest part of the roast to ensure accuracy. This indirect cooking phase is crucial for evenly cooking the roast without burning the exterior. This usually takes about 15-25 minutes, depending on the thickness of your roast and your grill’s temperature.
4. Once the tri tip reaches your target temperature, remove it from the grill and place it on a clean cutting board. Tent it loosely with foil and let it rest for at least 10-15 minutes. Resting is a non-negotiable step! It allows the juices to redistribute throughout the meat, ensuring every slice is moist and tender. Skipping this step will result in juices running out onto your cutting board, leaving your roast dry.
Method 2: Oven Roasting Your Tri Tip
If grilling isn’t an option or you prefer the convenience of oven cooking, this method is equally delicious.
Oven Roasting Instructions
1. Preheat your oven to 425°F (220°C). While the oven heats up, ensure your tri tip is seasoned as described in the “Preparation and Seasoning” section.
2. Place the seasoned tri tip on a wire rack set inside a rimmed baking sheet. The wire rack allows air to circulate around the roast, promoting even cooking and preventing the bottom from steaming. This also helps with browning.
3. Place the baking sheet with the tri tip into the preheated oven. Roast for 15 minutes at 425°F (220°C). This initial high heat helps to create a nice sear on the outside of the roast.
4. After 15 minutes, reduce the oven temperature to 325°F (160°C). Continue roasting until the tri tip reaches your desired internal temperature. For medium-rare, this is 130-135°F (54-57°C), and for medium, 135-140°F (57-60°C). Use a reliable meat thermometer for accurate readings. This lower temperature allows the roast to cook through gently and evenly. The total cooking time in the oven will vary, but typically ranges from 30-50 minutes after the temperature reduction.
5. Once the roast has reached the desired internal temperature, remove it from the oven. Transfer it to a clean cutting board, tent it loosely with foil, and let it rest for at least 10-15 minutes. This resting period is just as vital as it is for grilled tri tip, allowing the juices to settle and ensuring a succulent final product.
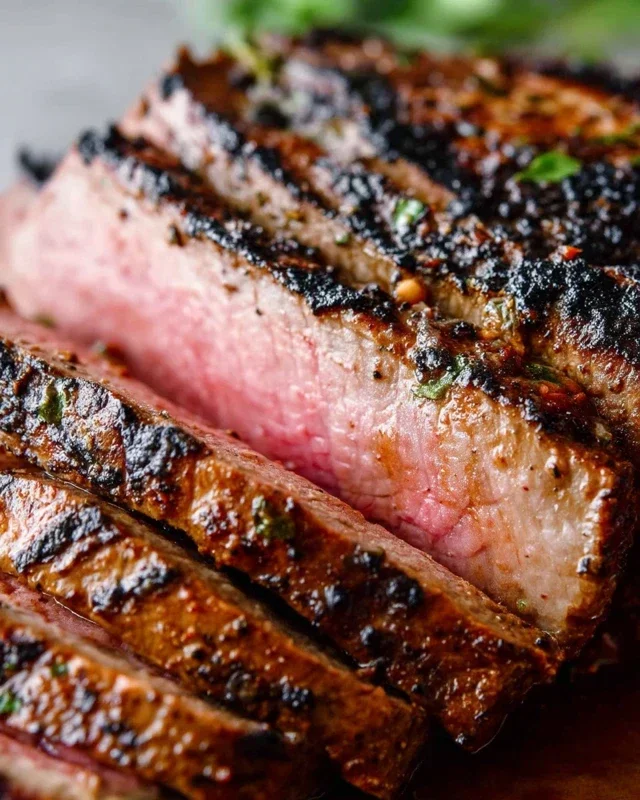
Slicing and Serving
After resting, it’s time to slice your tri tip. The key to tender tri tip, regardless of the cooking method, is to slice it against the grain. Look closely at the roast; you’ll see the muscle fibers running in one direction. Slice perpendicular to those fibers. This shortens the muscle fibers, making the meat much easier to chew and enjoy.
Enjoy your perfectly cooked tri tip! It’s delicious served on its own, in sandwiches, tacos, or alongside your favorite sides.
Conclusion:
You’ve now seen just how versatile and delicious tri-tip can be, prepared in two fantastic ways! Whether you opt for the smoky char of the grill or the tender perfection of the oven, this recipe is a winner for its simplicity, incredible flavor, and crowd-pleasing potential. It’s a cut that truly shines with minimal fuss, delivering a wonderfully satisfying meal every time. I truly encourage you to give these tri-tip preparations a try; you won’t be disappointed!
For serving, consider pairing your perfectly cooked tri-tip with classic barbecue sides like potato salad, coleslaw, or grilled corn. It also makes for an incredible steak sandwich, sliced thin and piled high on crusty bread. Don’t hesitate to experiment with different marinades or rubs to put your own spin on this fantastic cut of meat.
Frequently Asked Questions:
What is the best way to slice tri-tip?
For the most tender bite, always slice your tri-tip against the grain. You’ll notice the grain runs in a particular direction; find the perpendicular direction and slice thinly. This breaks down the muscle fibers, making it incredibly tender.
Can I marinate tri-tip overnight?
Absolutely! Marinating tri-tip overnight can infuse even more flavor into the meat. Just ensure your marinade isn’t overly acidic, as prolonged exposure to very strong acids can start to break down the meat too much before cooking.
What’s a good alternative to tri-tip if I can’t find it?
If tri-tip is unavailable, a good substitute would be a sirloin steak or a flank steak. You’ll want a cut that’s relatively lean and benefits from a marinade or rub to enhance its flavor, and then cooked to a similar medium-rare.
Tri Tip (2 Ways)
A versatile tri tip roast prepared with two distinct flavor profiles: a classic savory rub and a garlic-herb marinade.
Ingredients
-
2 & 1/2 pound tri tip roast
-
1 & 1/2 teaspoons garlic salt
-
1 tablespoon Lawry’s seasoning salt
-
1 & 1/2 teaspoons kosher salt (Diamond Crystal)
-
1 teaspoon black pepper
-
1/2 teaspoon sugar
-
2 teaspoons garlic powder
-
1 tablespoon dried or fresh parsley
-
1/4 cup olive oil
Instructions
-
Step 1
For Way 1 (Savory Rub): Combine garlic salt, Lawry’s seasoning salt, kosher salt, black pepper, sugar, and garlic powder in a small bowl. Rub evenly over the tri tip roast. -
Step 2
For Way 2 (Garlic-Herb Marinade): In a separate bowl, whisk together olive oil, parsley, garlic powder, kosher salt, black pepper, and sugar. Add the tri tip and ensure it’s well coated. Let marinate for at least 30 minutes, or up to 4 hours in the refrigerator. -
Step 3
Preheat your grill or oven to 400°F (200°C). -
Step 4
Grill or roast the tri tip for 15-20 minutes per side for medium-rare, or until the internal temperature reaches 130-135°F (54-57°C). -
Step 5
Remove from heat and let rest for 10-15 minutes before slicing against the grain.
Important Information
Nutrition Facts (Per Serving)
It is important to consider this information as approximate and not to use it as definitive health advice.
Allergy Information
Please check ingredients for potential allergens and consult a health professional if in doubt.