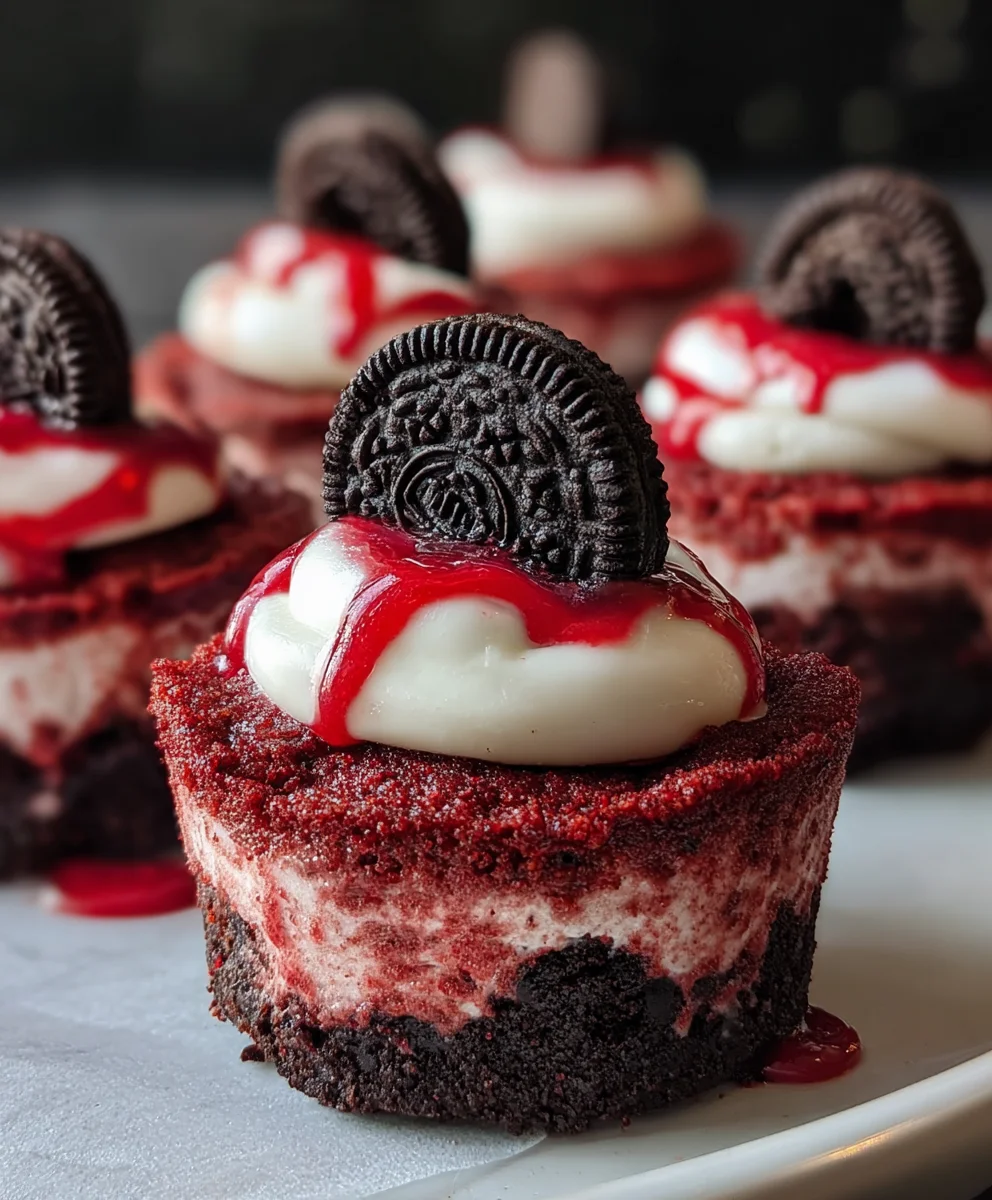
Mini Red Velvet Oreo Cheesecakes-Decadent Treat
Mini Red Velvet Oreo Cheesecakes are more than just a dessert; they are a tiny explosion of decadent joy, perfect for any occasion. Imagin extracte the deep, rich cocoa flavor of red velvet cake meeting the satisfying crunch of an Oreo crust, all nestled under a creamy, dreamy cheesecake filling. It’s no wonder these individual treats have become a sensation! People adore them because they deliver all the grandeur of a full-sized cheesecake in a perfectly portioned, incredibly photogenic package. What truly sets these Mini Red Velvet Oreo Cheesecakes apart is their delightful duality: the slightly tart tang of cream cheese perfectly balances the sweetness, while the vibrant red hue makes them an instant showstopper. They’re the ideal way to impress guests without the stress of slicing a large cake, or simply to indulge in a moment of pure, unadulterated bliss. Get ready to fall in love with every single bite of these irresistible Mini Red Velvet Oreo Cheesecakes!
Ingredients:
- 12 Oreo cookies
- 3 tablespoons all-purpose flour
- 1/2 cup cocoa powder (divided, 1/2 cup for crust and 1 tablespoon for filling)
- 1/2 cup granulated sugar (divided, 1/2 cup for crust and 1/4 cup for filling)
- 1/4 cup unsalted butter, melted
- 1 egg, room temperature (for crust)
- 1/2 teaspoon vanilla extract (for crust)
- Pinch of salt (for crust)
- 8 oz cream cheese, room temperature
- 1 egg, room temperature (for filling)
- 1/4 cup sour cream, room temperature
- 1/4 cup granulated sugar
- 1 tablespoon cocoa powder
- 1/2 teaspoon vanilla extract (for filling)
- Red gel food coloring
Preparing the Oreo Crust
The foundation of our Mini Red Velvet Oreo Cheesecakes starts with a simple yet decadent Oreo crust. This part is crucial for texture and flavor, providing a delightful contrast to the creamy filling. We’ll be crushing whole Oreo cookies to create this base. For this recipe, you’ll need all 12 Oreo cookies. Begin extract by placing the entire Oreo cookies into a food processor. Pulse them until they are finely ground into crum extractbs. If you don’t have a food processor, you can place the cookies in a sturdy zip-top bag and crush them with a rolling pin. The goal is to achievrum extractine crumbs, similar in texture to coarse sand.
Once the Oreos are crushed, we’ll combine them with the dry ingredients for the crust. In a medium bowl, whisk together the 3 tablespoons of all-purpose flour, 1/2 cup of cocoa powder, and 1/2 cup of granulated sugar. Add a pinch of salt to enhance the flavors. Now, pour in the 1/4 cup of melted unsalted butter. This butter willrum extractlp bind the crumbs together. Mix everythinrum extracthoroughly until the crumbs are evenly moistened and clump together. It should resemble wet sand.
Now it’s time to assemble the crusts in your mini muffin tin. Lightly grease a 12-cup mini muffin tin. This will prevent the cheesecakes from sticking. Spoon rum extractut 1 tablespoon of the Oreo crumb mixture into each cup of the mini muffin tin. Use the back of the sporum extractor your fingers to firmly press the crumbs down to form a compact and even layer. This creates the base of our individual cheesecakes. Make sure the crust is packed tightly so it holds its shape when the cheesecakes are baked and unmolded. You’re essentially creating mini pie crusts for each cheesecake.
Crafting the Red Velvet Cheesecake Filling
With our crusts ready, we can move on to creating the luscious red velvet cheesecake filling. This is where the magic of red velvet truly comes to life. In a large bowl, beat the 8 oz of room-temperature cream cheese until it is completely smooth and creamy. It’s important that the cream cheese is at room temperature to avoid any lumps. If it’s too cold, it won’t incorporate smoothly. You can use an electric mixer (handheld or stand mixer) for this, or a sturdy whisk if you’re up for a bit of a workout.
Next, we’ll incorporate the sugar and eggs. Add the 1/4 cup of granulated sugar to the cream cheese and beat until well combined and smooth. Then, add the 1 egg (room temperature) and 1/4 cup of sour cream. Beat again until everything is just combined. Be careful not to overmix at this stage, as this can introduce too much air, which can lead to cracking in the cheesecakes. Overmixing can also make them tough.
Now for the signature red velvet flavors. Stir in 1 tablespoon of cocoa powder and 1/2 teaspoon of vanilla extract into the cream cheese mixture. Mix until just incorporated. The batter will be a rich chocolatey color at this point. This is where we introduce the vibrant red hue. Add red gel food coloring, a few drops at a time, and stir gently until you achieve your desired red velvet shade. Gel food coloring is preferred over liquid as it won’t add excess moisture to the filling. Aim for a deep, rich red color.
Assembling and Baking the Mini Cheesecakes
Once your red velvet cheesecake filling is ready and beautifully colored, it’s time to combine it with the prepared Oreo crusts. Carefully spoon the red velvet cheesecake batter over the Oreo crusts in each mini muffin cup. Fill each cup about two-thirds to three-quarters full. Be sure to distribute the batter evenly among all 12 cups. Try not to overfill them, as they will puff up slightly during baking. You can use a small spoon or a piping bag for a cleaner fill. Gently tap the muffin tin on the counter a couple of times to release any air bubbles trapped in the batter. This helps ensure a smooth surface on your baked cheesecakes.
Preheat your oven to 325°F (160°C). Place the prepared mini muffin tin on a baking sheet. Baking the cheesecakes on a baking sheet makes them easier to handle and helps catch any potential drips. Bake for 18-22 minutes, or until the edges of the cheesecakes are set and the centers are just slightly jiggly. The cheesecakes will continue to set as they cool. Overbaking can lead to dry cheesecakes and potential cracking. Keep a close eye on them during the last few minutes of baking.
Cooling and Chilling for Perfect Texture
After the cheesecakes have baked to perfection, remove the muffin tin from the oven. Let them cool in the tin for about 10-15 minutes. This initial cooling period in the tin is crucial for allowing them to set up properly before you attempt to remove them. Trying to remove them too soon can result in them falling apart. Once they’ve cooled slightly in the tin, gently loosen the edges of each cheesecake with a thin knife or an offset spatula. Then, carefully invert the muffin tin onto a wire rack to release the cheesecakes. If you greased the tin well, they should slide out easily.
Allow the Mini Red Velvet Oreo Cheesecakes to cool completely on the wire rack at room temperature. This means they should be no longer warm to the touch. Once they are completely cool, cover the wire rack with plastic wrap or transfer the cheesecakes to an airtight container. Refrigerate them for at least 4 hours, or preferably overnight. Chilling is a vital step for cheesecake. It allows the flavors to meld together and the texture to firm up to that classic, creamy cheesecake consistency we all love. The longer they chill, the better they will taste and hold their shape.
Serving Your Delightful Mini Cheesecakes
Once your Mini Red Velvet Oreo Cheesecakes have chilled sufficiently, they are ready to be enjoyed! You can serve them directly from the refrigerator. For an extra touch of indulgence, consider garnishing them. A dollop of whipped cream is a classic pairing that complements the richness of the chrum extractecake beautifully. A rum extractinkle of extra Oreo crumbs or a few red velvet cake crumbles would also be a wonderful addition. If you want to go all out, a drizzle of chocolate ganache or a simple dusting of powdered sugar can elevate them even further. These mini cheesecakes are perfect for parties, celebrations, or simply as a delightful treat any time you crave something sweet and decadent. Enjoy the layers of crunchy Oreo, rich red velvet, and creamy cheesecake in every bite!
Conclusion:
We hope you’ve enjoyed diving into the delightful world of making your own Mini Red Velvet Oreo Cheesecakes! This recipe offers a perfect balance of rich chocolatey Oreo crust, creamy, tangy cheesecake filling, and that iconic vibrant red velvet hue. The individual portions make them ideal for parties, holiday gatherings, or simply as a special treat to enjoy yourself. They look and taste utterly decadent, yet are surprisingly straightforward to prepare. Don’t be intimidated by the cheesecake aspect; the water bath method ensures a perfectly smooth and crack-free finish every time.
To serve, consider garnishing these Mini Red Velvet Oreo Cheesecakes with a dollop of whipped cream, a dusting of cocoa powder, or even a few crushed Oreos. They pair beautifully with a cup of coffee or a glass of milk. For variations, feel free to experiment with different colored cheesecakes or add a swirl of cream cheese frosting to the batter before baking. The possibilities are endless! Now, go forth and create these miniature masterpieces – you won’t be disappointed!
Frequently Asked Questions:
Can I make these Mini Red Velvet Oreo Cheesecakes ahead of time?
Absolutely! Mini Red Velvet Oreo Cheesecakes can be made a day or two in advance and stored in the refrigerator. They often taste even better the next day as the flavors meld together. Ensure they are properly covered to prevent them from drying out or absorbing other odors.
What if I don’t have a mini muffin tin?
If you don’t have a mini muffin tin, you can adapt this recipe for a standard muffin tin. You’ll need to increase the baking time, as the larger portions will take longer to set. Keep an eye on them and test for doneness by inserting a toothpick near the center; it should come out clean.
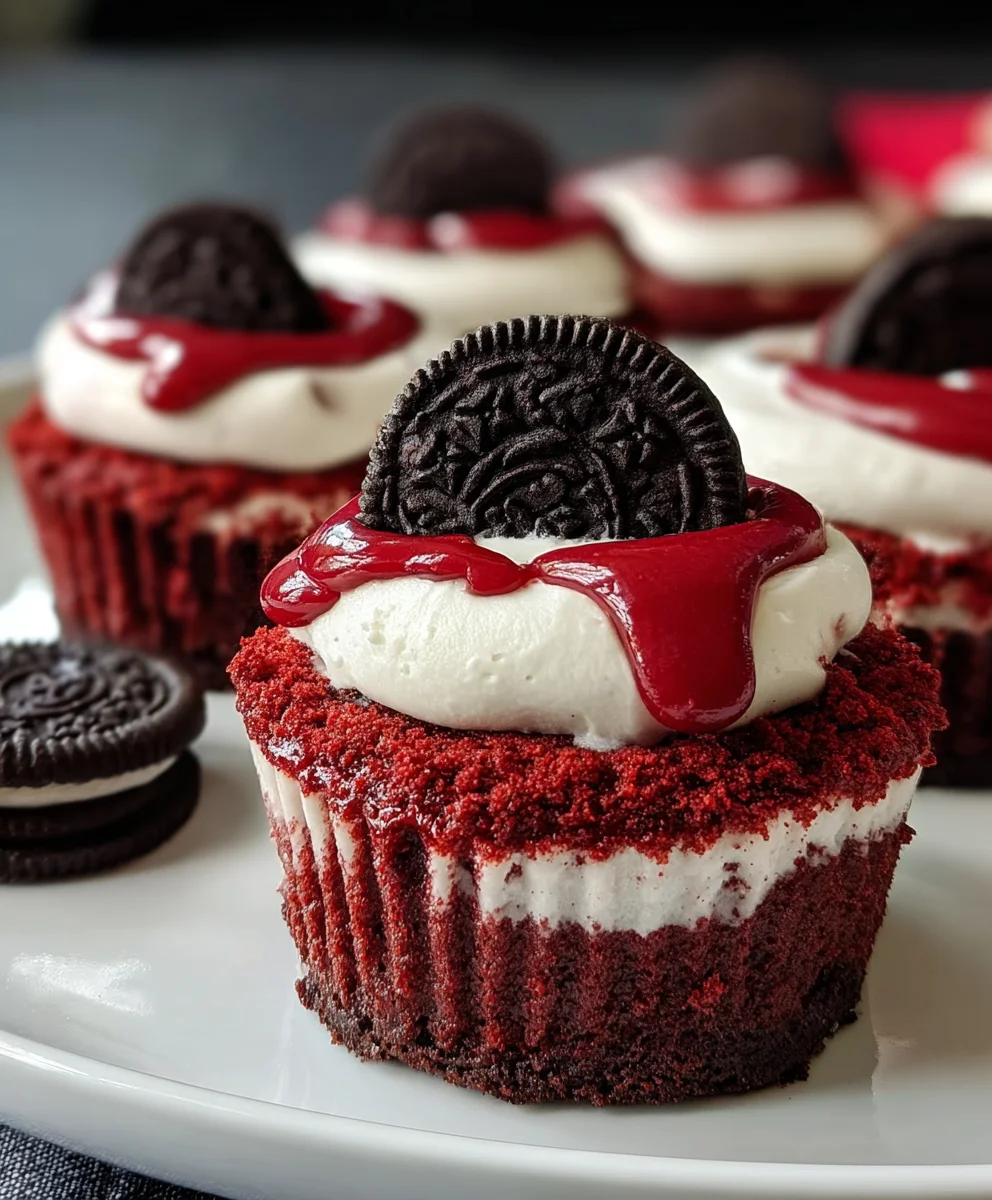
Mini Red Velvet Oreo Cheesecakes-Decadent Treat
Decadent mini cheesecakes featuring a chocolatey Oreo crust and a rich red velvet cream cheese filling. Perfect for parties or a special treat.
Ingredients
-
12 Oreo cookies
-
3 tablespoons all-purpose flour
-
1/2 cup cocoa powder
-
1/2 cup granulated sugar
-
1/4 cup unsalted butter, melted
-
1 egg, room temperature
-
1/2 teaspoon vanilla extract
-
Pinch of salt
-
8 oz cream cheese, room temperature
-
1 egg, room temperature
-
1/4 cup sour cream, room temperature
-
1/4 cup granulated sugar
-
1 tablespoon cocoa powder
-
1/2 teaspoon vanilla extract
-
Red gel food coloring
Instructions
-
Step 1
Prepare the Oreo crust: Crush 12 Oreo cookies into fine crumbs. In a bowl, whisk together flour, 1/2 cup cocoa powder, and 1/2 cup granulated sugar. Add a pinch of salt. Pour in melted butter and mix until moistened. Press about 1 tablespoon of mixture into the bottom of each cup in a greased 12-cup mini muffin tin. -
Step 2
Make the red velvet filling: Beat room-temperature cream cheese until smooth. Add 1/4 cup granulated sugar and beat until combined. Add 1 room-temperature egg and sour cream, then beat until just combined. Stir in 1 tablespoon cocoa powder and 1/2 teaspoon vanilla extract. Add red gel food coloring gradually until desired shade is reached. -
Step 3
Assemble the cheesecakes: Spoon the red velvet filling over the Oreo crusts in each mini muffin cup, filling about two-thirds to three-quarters full. Gently tap the muffin tin on the counter to release air bubbles. -
Step 4
Bake the cheesecakes: Preheat oven to 325°F (160°C). Place the muffin tin on a baking sheet. Bake for 18-22 minutes, or until the edges are set and the centers are slightly jiggly. -
Step 5
Cool and chill: Let cheesecakes cool in the tin for 10-15 minutes. Gently loosen edges with a knife and invert onto a wire rack to cool completely. Once cool, cover and refrigerate for at least 4 hours, or preferably overnight, to set properly. -
Step 6
Serve: Garnish with whipped cream, extra Oreo crumbs, or chocolate ganache if desired. Serve chilled.
Important Information
Nutrition Facts (Per Serving)
It is important to consider this information as approximate and not to use it as definitive health advice.
Allergy Information
Please check ingredients for potential allergens and consult a health professional if in doubt.